Part 2: Provision
What Will You Do
In this part of the self-paced exercise, you will provision an Amazon EKS cluster based on a declarative cluster specification using the default blueprint. This EKS cluster will be used to manage the pipeline.
Step 1: Cluster Spec
- Open Terminal (on macOS/Linux) or Command Prompt (Windows) and navigate to the folder where you cloned the Git repository
- Navigate to the folder "
/getstarted/eks-gitops/cluster"
The "cluster.yaml" file contains the declarative specification for our Amazon EKS Cluster.
The following items may need to be updated/customized if you made changes to these or used alternate names.
- project: "defaultproject"
- cloudCredentials: "aws-cloud-credential"
apiVersion: infra.k8smgmt.io/v3
kind: Cluster
metadata:
  name: gitops-eks-cluster
  project: defaultproject
spec:
  blueprintConfig:
    name: default
    version: latest
  cloudCredentials: aws-cloud-credential
  config:
    availabilityZones:
    - us-west-2a
    - us-west-2b
    addons:
    - name: kube-proxy
      version: latest
    - name: vpc-cni
      version: latest
    - name: coredns
      version: latest
    managedNodeGroups:
    - amiFamily: AmazonLinux2
      availabilityZones:
      - us-west-2a
      - us-west-2b
      desiredCapacity: 1
      iam:
        withAddonPolicies:
          albIngress: true
          autoScaler: true
      instanceType: t3.large
      maxSize: 1
      minSize: 1
      name: managed-ng1
    metadata:
      name: gitops-eks-cluster
      region: us-west-2
      tags:
        email: [email protected]
        env: qa
      version: latest
    vpc:
      autoAllocateIPv6: false
      clusterEndpoints:
        privateAccess: true
        publicAccess: true
      cidr: 192.168.0.0/16
      nat:
        gateway: Single
  type: aws-eks
Step 2: Provision Cluster
- Type the command below to provision the EKS cluster
rctl apply -f cluster.yaml
If there are no errors, you will be presented with a "Task ID" that you can use to check progress/status. Note that this step requires creation of infrastructure in your AWS account and can take ~20-30 minutes to complete.
Cluster: gitops-eks-cluster
{
  "taskset_id": "pk0xz7k",
  "operations": [
    {
      "operation": "NodegroupCreation",
      "resource_name": "managed-ng1",
      "status": "PROVISION_TASK_STATUS_PENDING"
    },
    {
      "operation": "ClusterCreation",
      "resource_name": "gitops-eks-cluster",
      "status": "PROVISION_TASK_STATUS_PENDING"
    }
  ],
  "comments": "The status of the operations can be fetched using taskset_id",
  "status": "PROVISION_TASKSET_STATUS_PENDING"
}
- Navigate to the "defaultproject" project in your Org
- Click on Infrastructure -> Clusters. You should see something like the following
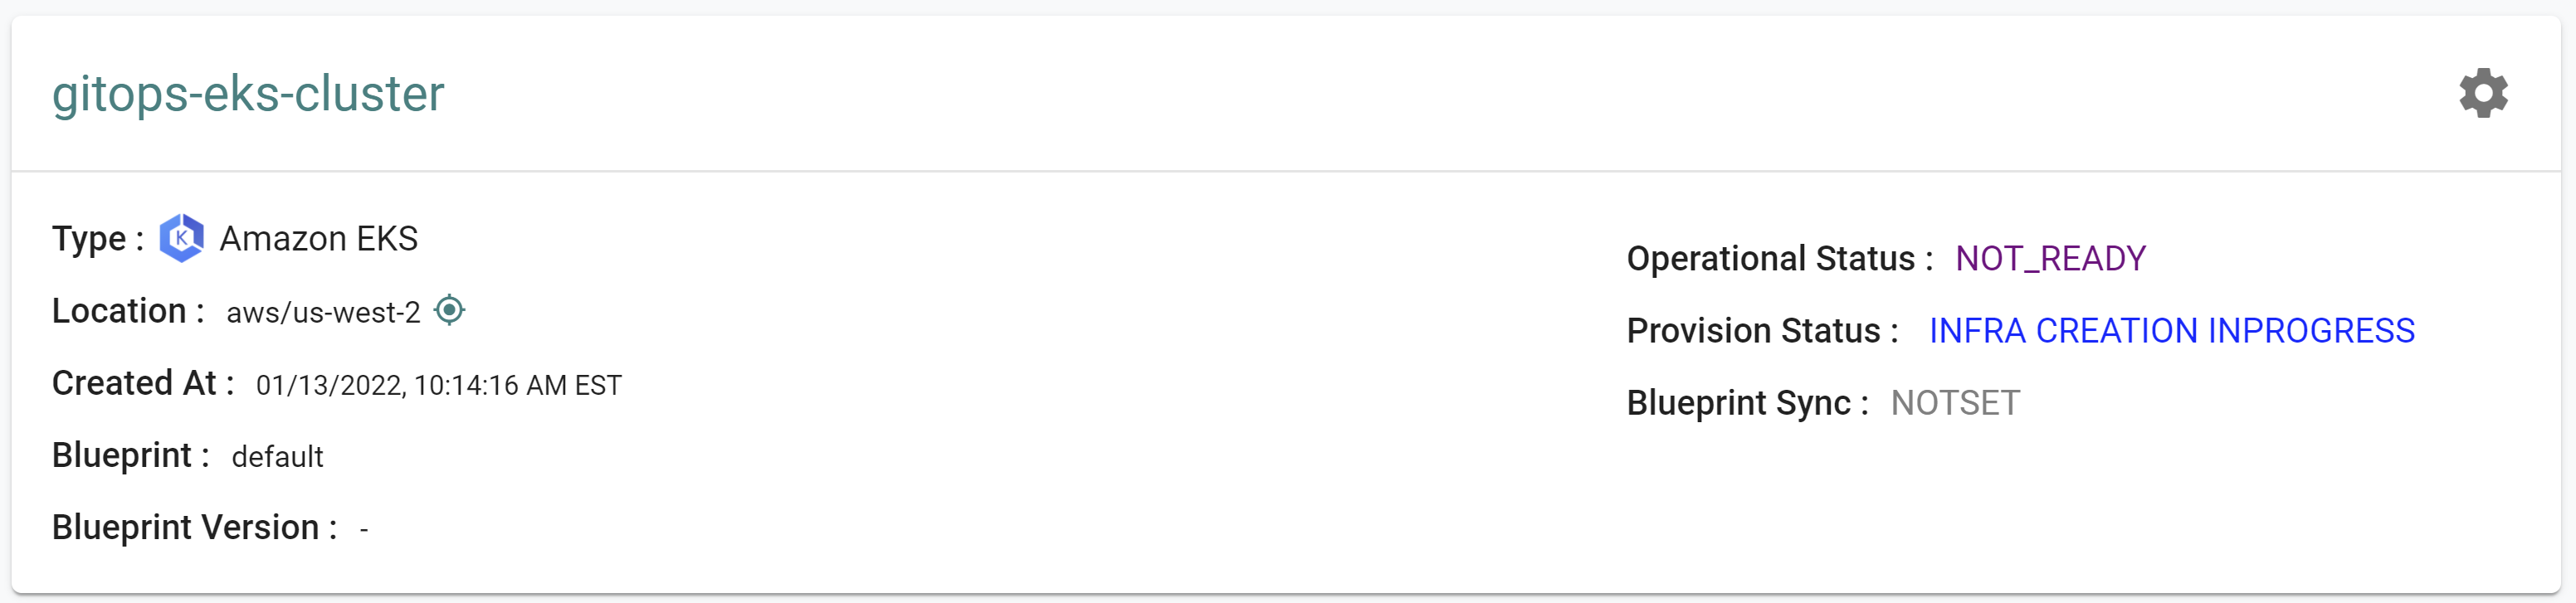
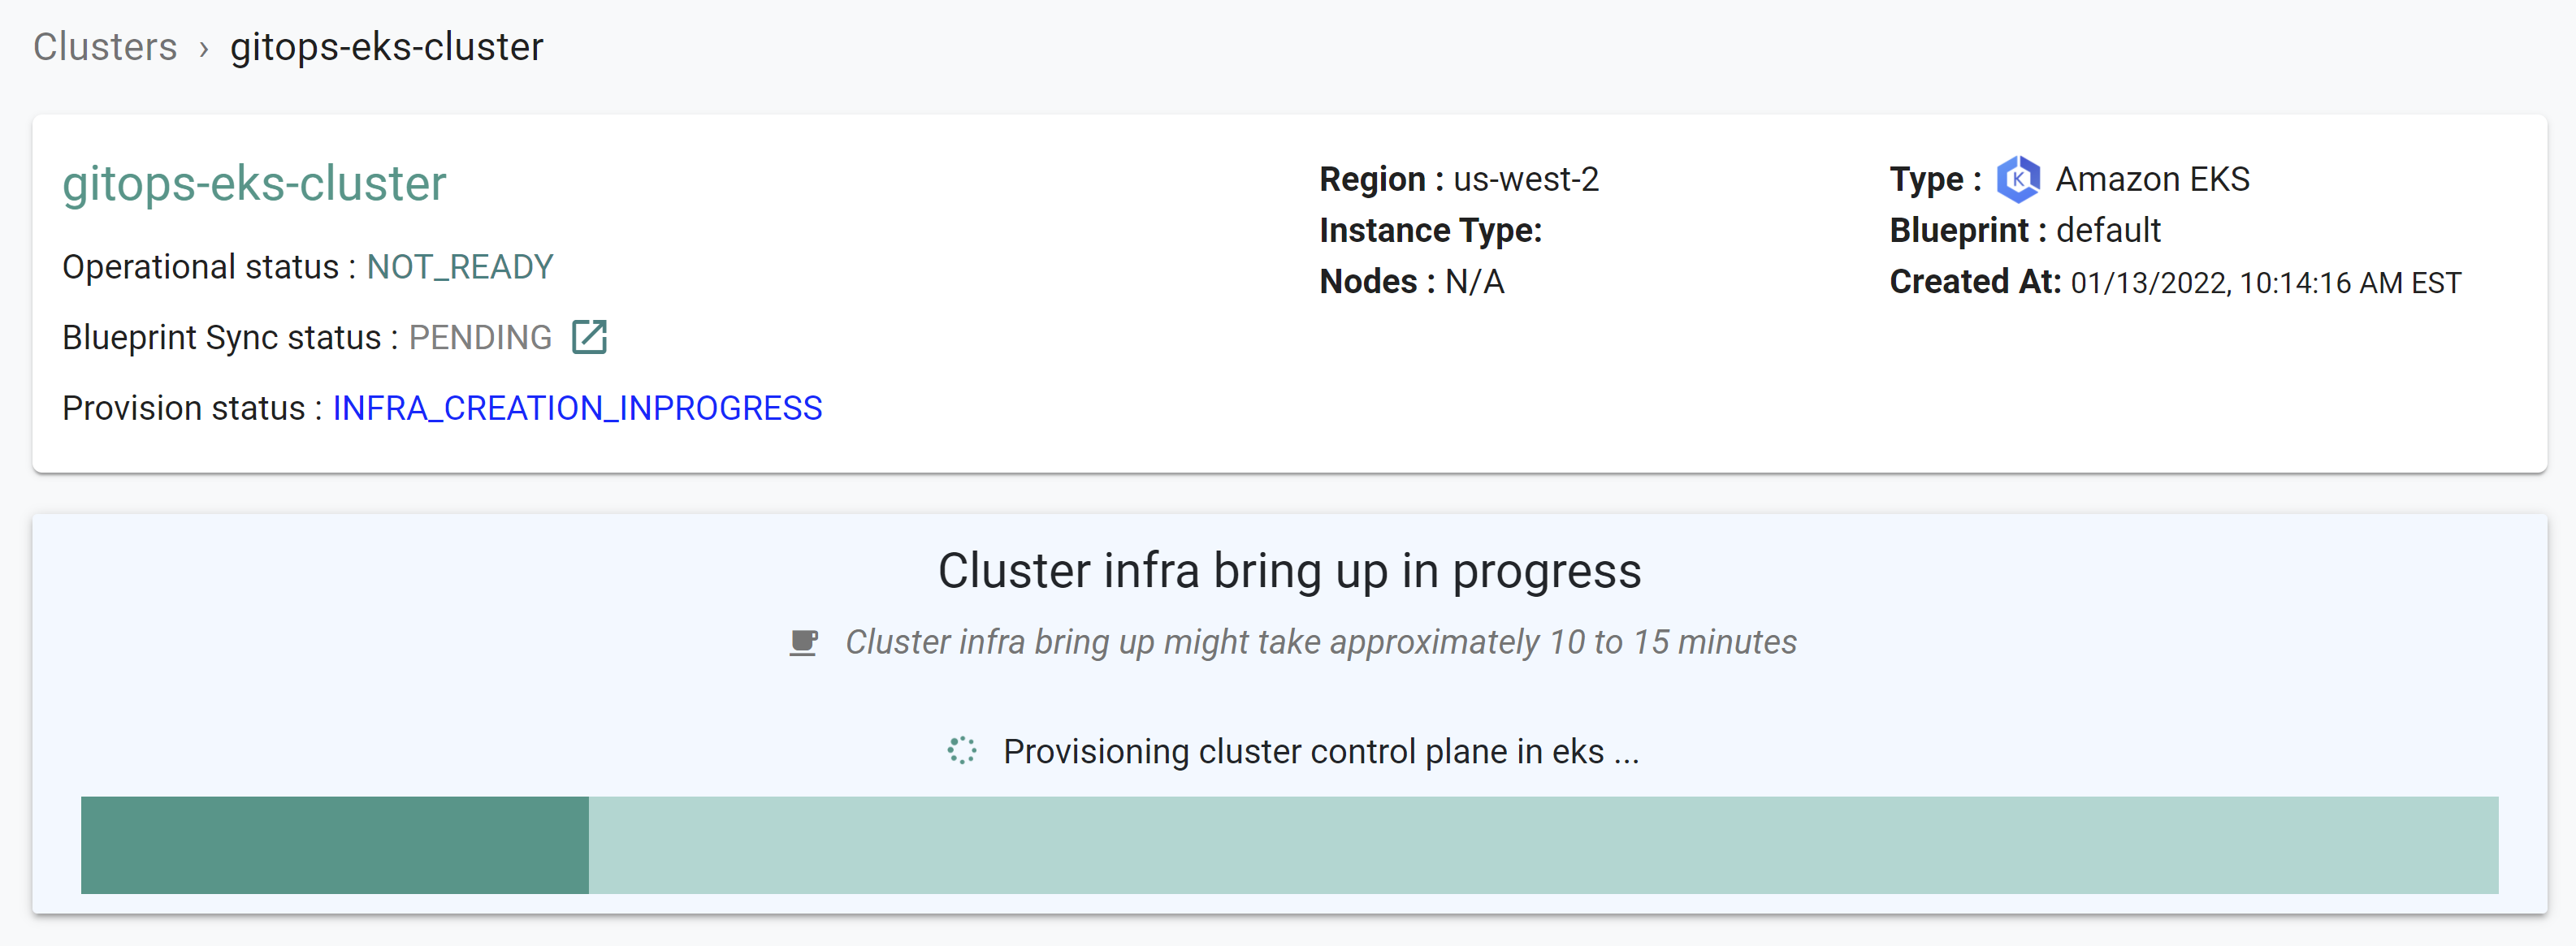
- Click on the cluster name to monitor progress
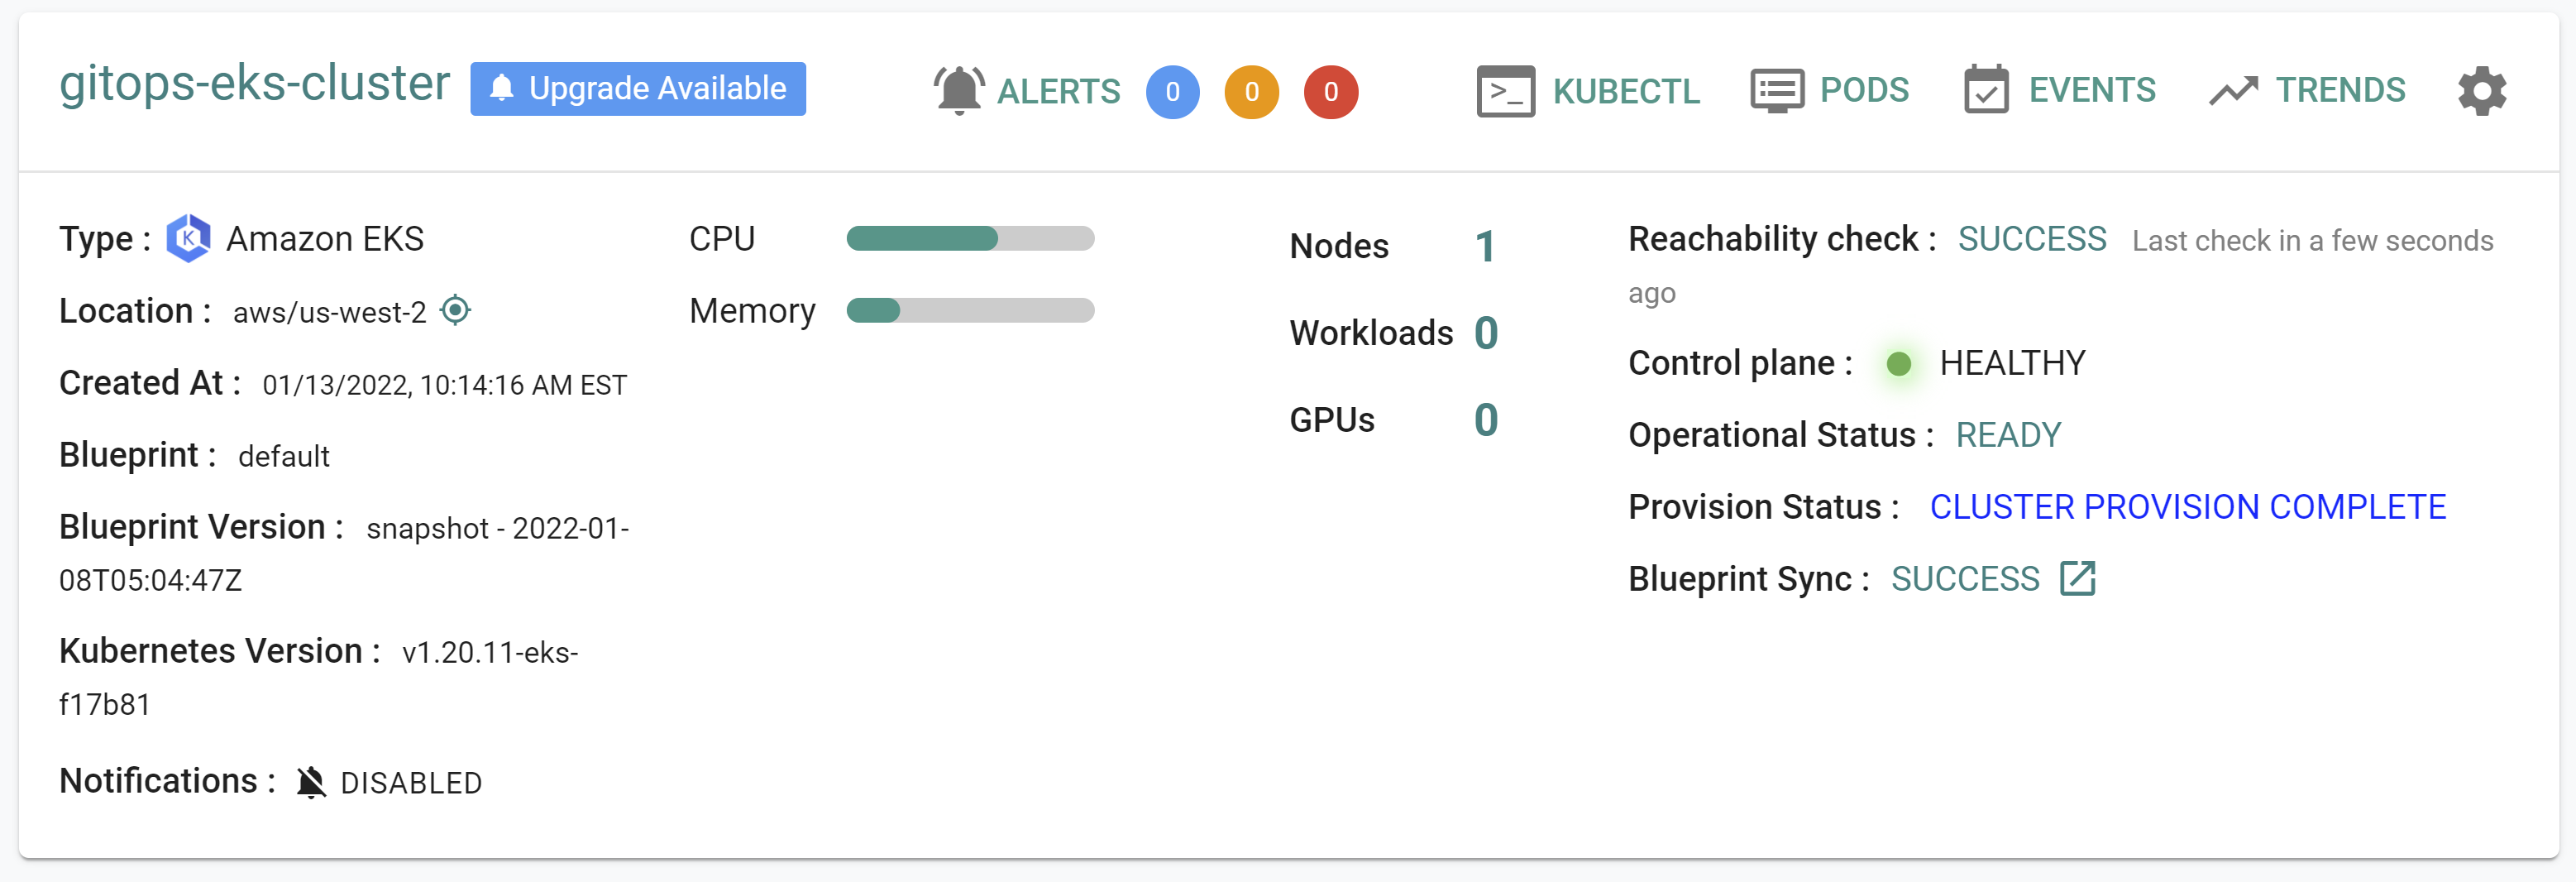
Step 3: Verify Cluster
Once provisioning is complete, you should see the cluster in the web console
- Click on the kubectl link and type the following command
kubectl get nodes
You should see something like the following
NAME                                           STATUS   ROLES    AGE   VERSION
ip-192-168-98-104.us-west-2.compute.internal   Ready    <none>   14m   v1.20.11-eks-f17b81
Recap
Congratulations! At this point, you have successfully provisioned an Amazon EKS cluster with the default blueprint in your AWS account using the RCTL CLI.