Backup & Restore using IRSA
Users can associate an IAM role with a Kubernetes service account. The service account provides permissions to the containers in any pod using this specific service account. Without providing any extended permissions to the Amazon EKS node IAM role, pods on the node can call APIs
Benefits of IAM roles for Service Accounts
- Users can scope IAM permissions to a service account, and the pods using that specific service account have access to those permissions
- A container can only retrieve credentials for the IAM role associated with the service account to which it belongs. A container never has access to credentials intended for another container, belonging to another pod
- Access and event logging is available through CloudTrail to ensure retrospective auditing
Data Backup and Restore using IRSA
To complete the Data Backup and Restore using the IRSA process, perform the following steps:
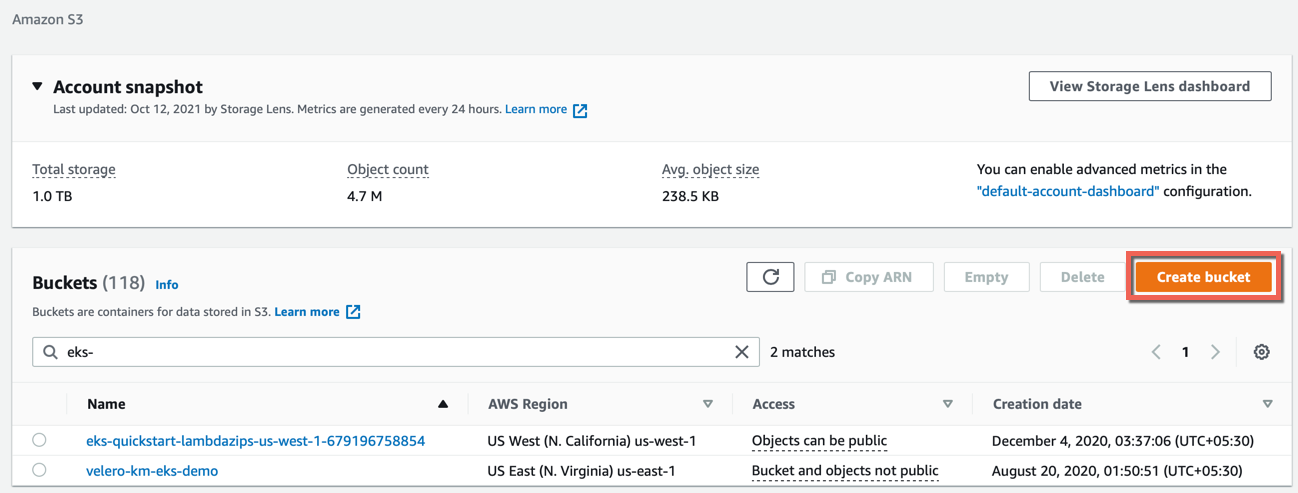
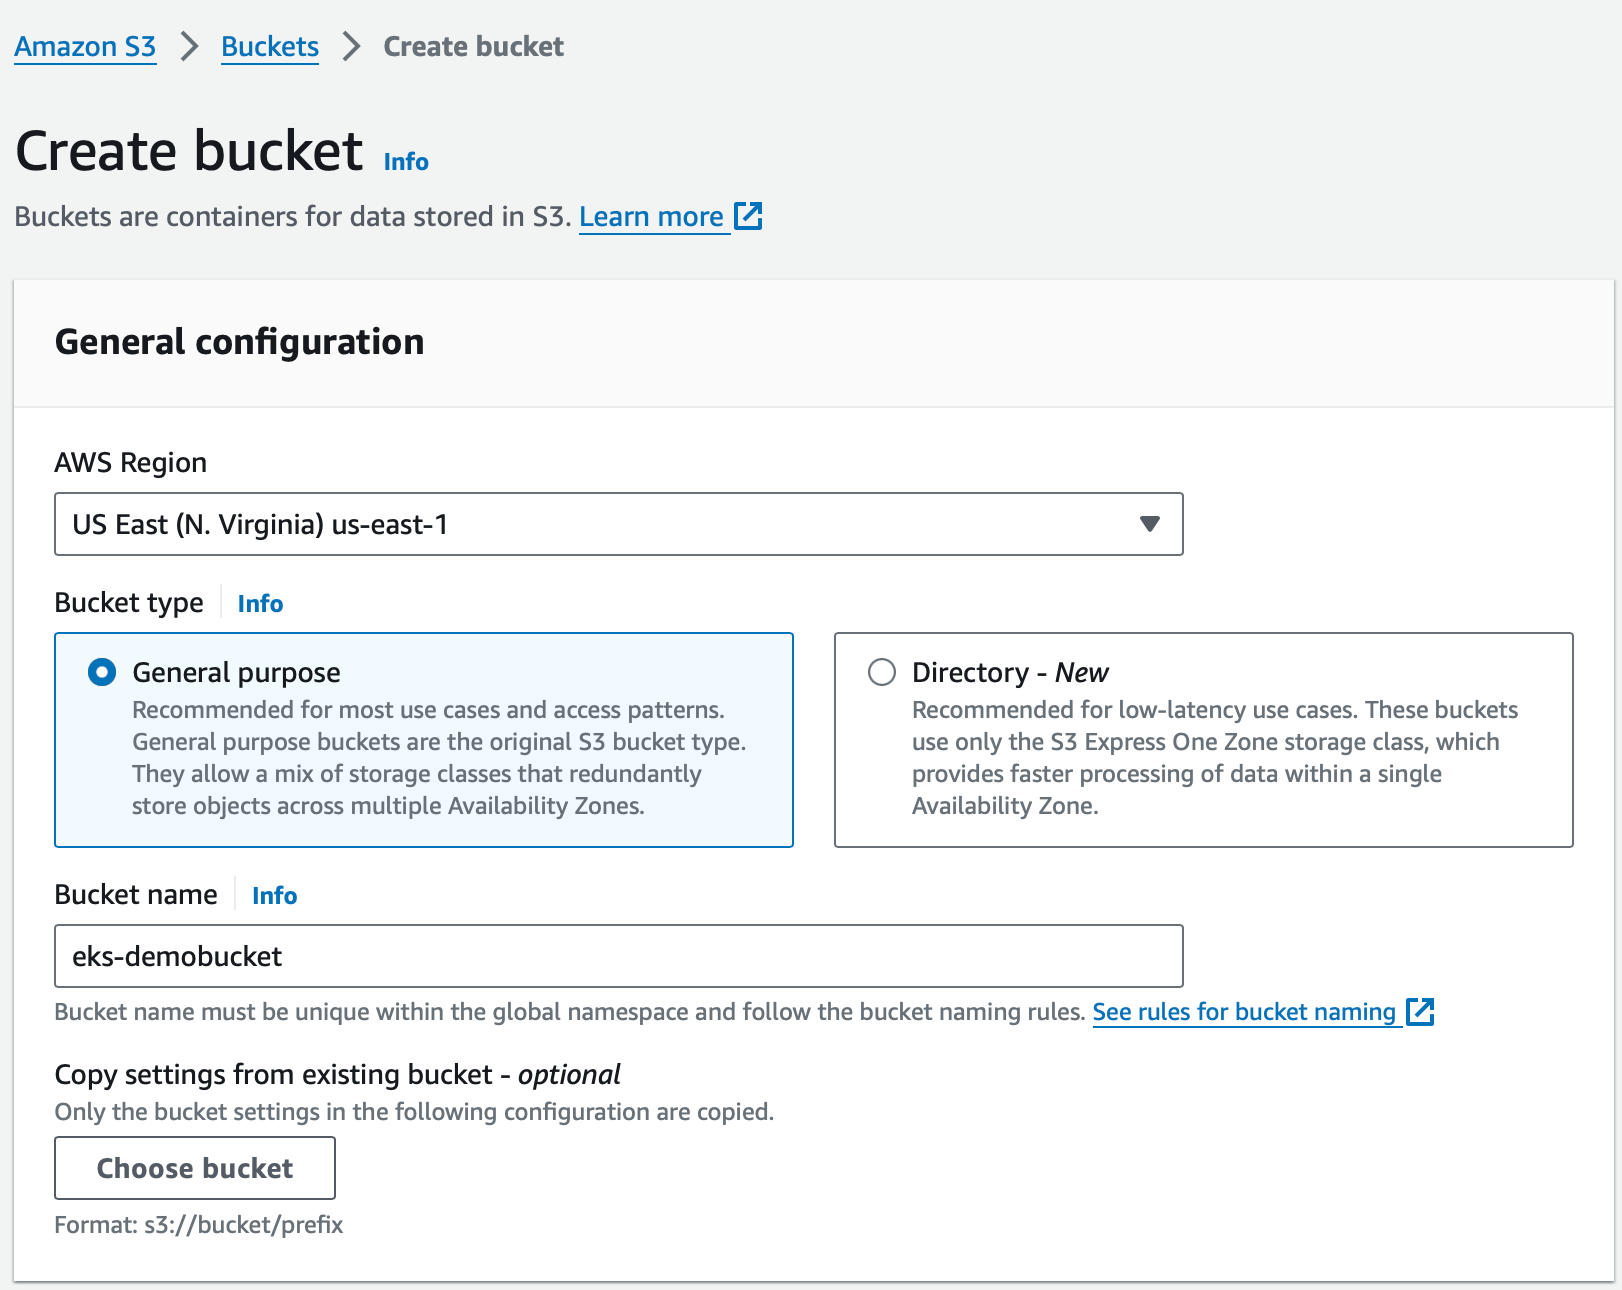
Step 1: Create a Bucket
- Login to AWS Portal and open the Buckets page
- Click Create bucket
- Select AWS Region and Bucket Type
- Provide the Bucket name and click Create bucket
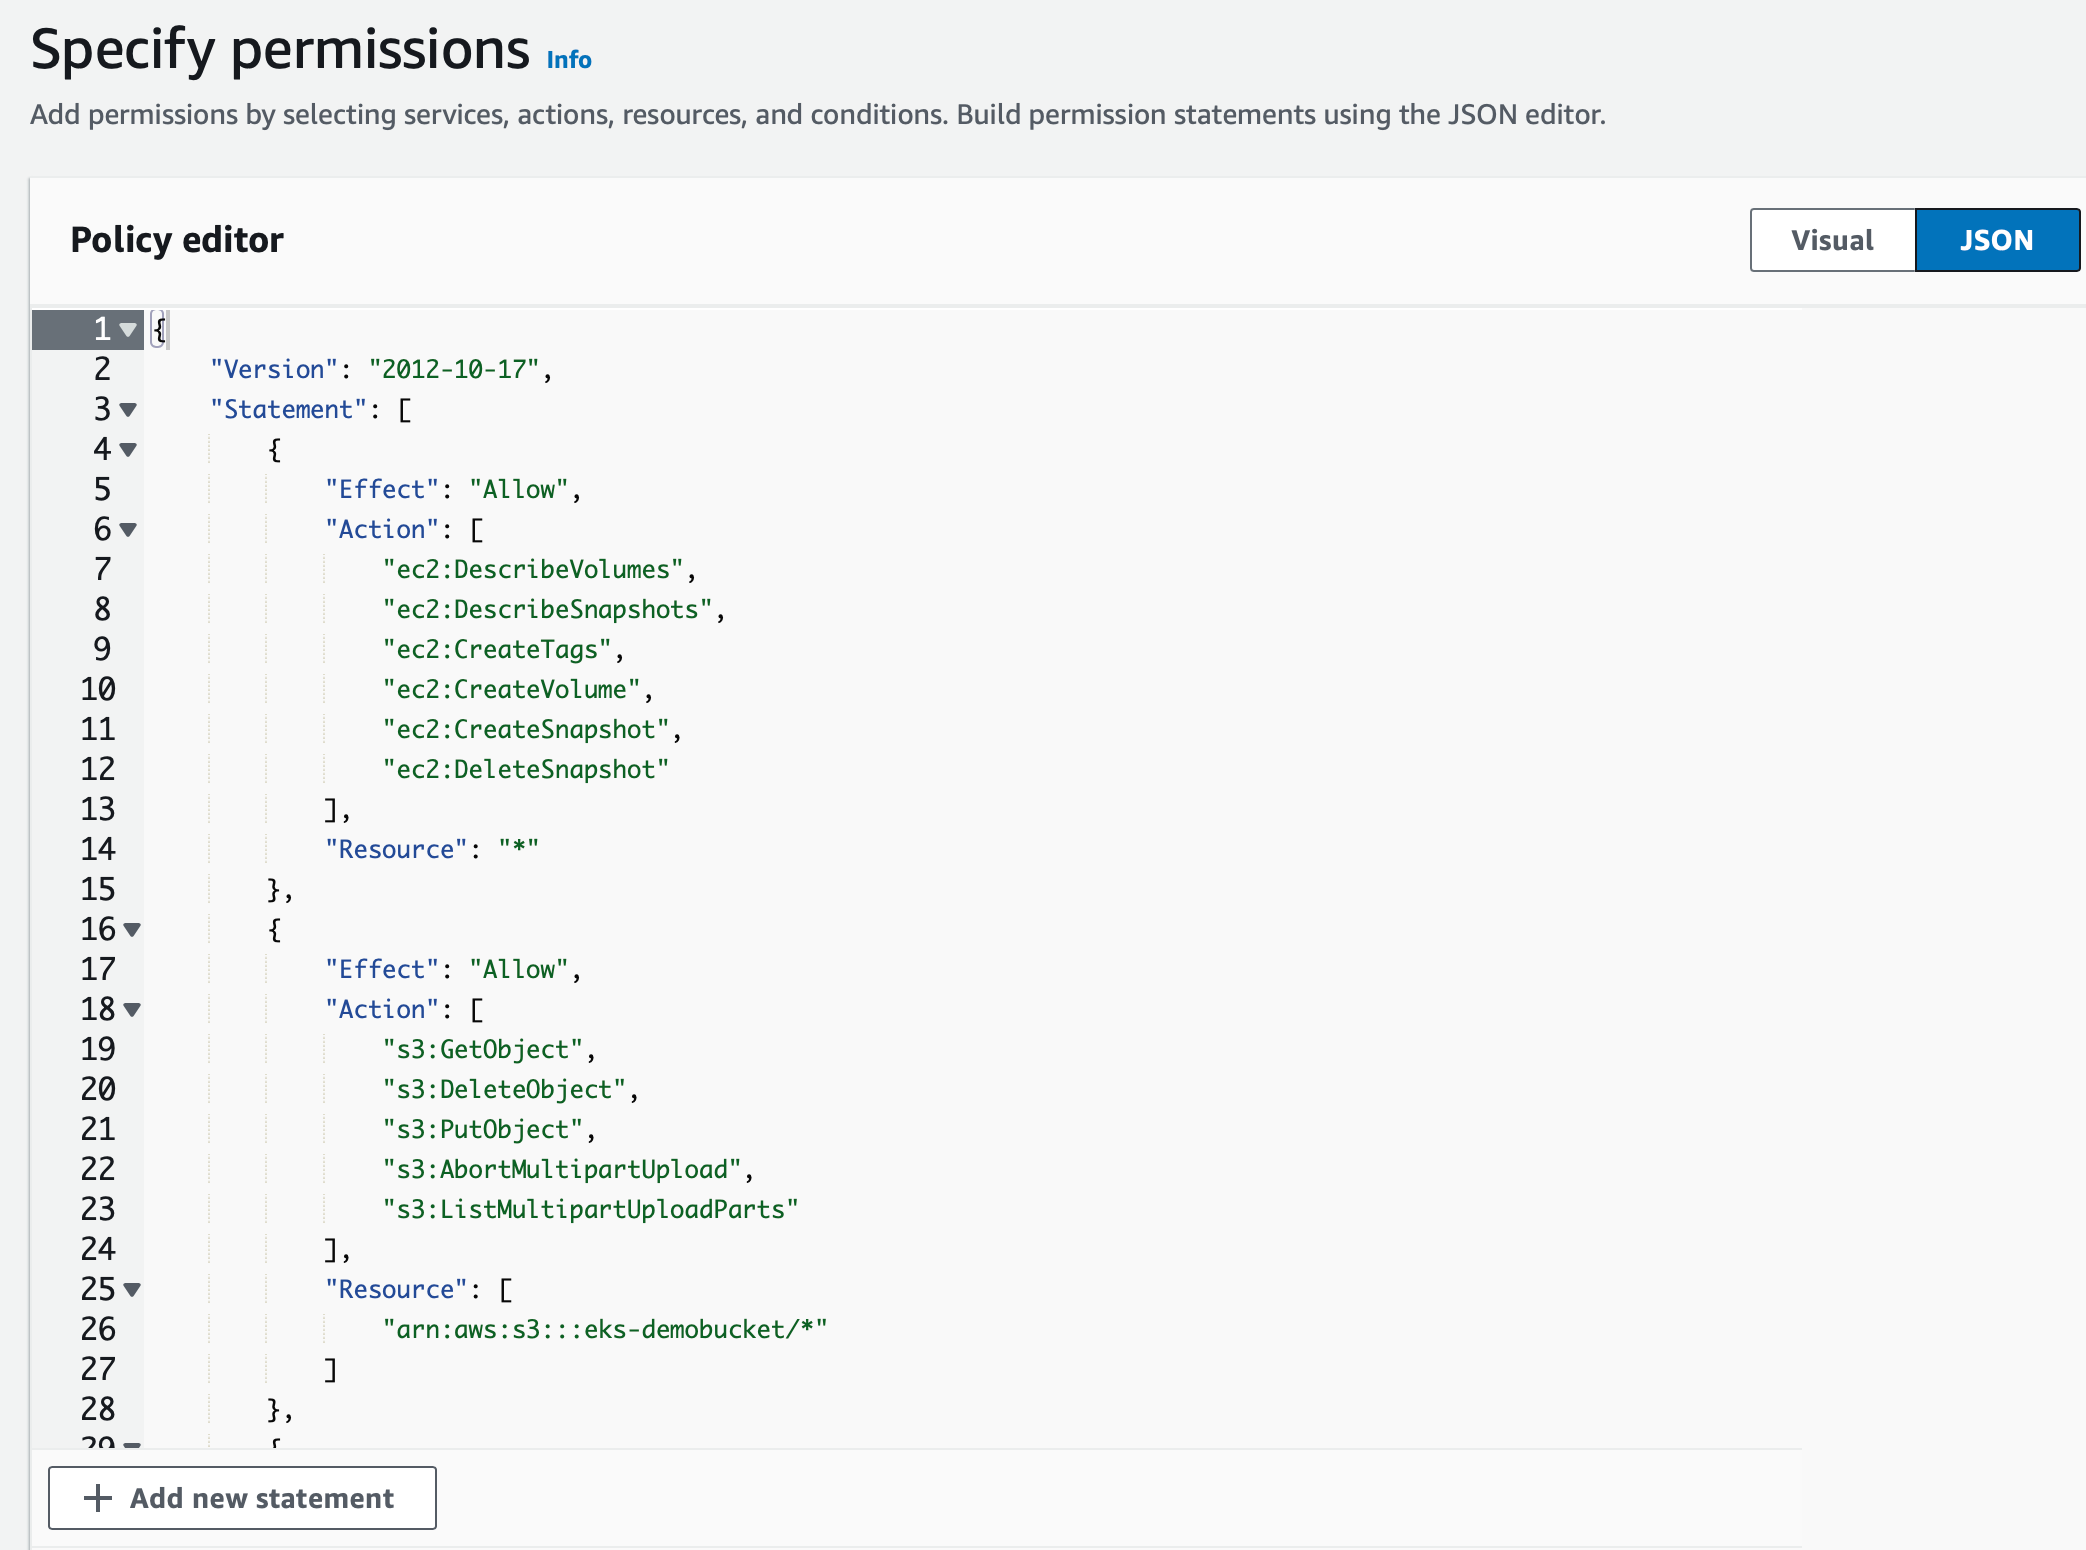
Step 2: Create a Policy
- Open the Policies page and click Create Policy
- Enter the below policy code with the appropriate bucket name
{
    "Version": "2012-10-17",
    "Statement": [
        {
            "Effect": "Allow",
            "Action": [
                "ec2:DescribeVolumes",
                "ec2:DescribeSnapshots",
                "ec2:CreateTags",
                "ec2:CreateVolume",
                "ec2:CreateSnapshot",
                "ec2:DeleteSnapshot"
            ],
            "Resource": "*"
        },
        {
            "Effect": "Allow",
            "Action": [
                "s3:GetObject",
                "s3:DeleteObject",
                "s3:PutObject",
                "s3:AbortMultipartUpload",
                "s3:ListMultipartUploadParts"
            ],
            "Resource": [
                "arn:aws:s3:::<bucket-name>/*"
            ]
        },
        {
            "Effect": "Allow",
            "Action": [
                "s3:ListBucket"
            ],
            "Resource": [
                "arn:aws:s3:::<bucket-name>"
            ]
        }
    ]
}
If your S3 bucket is configured to use encryption with AWS Key Management Service (AWS KMS) key, then additionally include the below snippet in your policy.
        {
            "Effect": "Allow",
            "Action": [
                "kms:Decrypt",
                "kms:GenerateDataKey"
            ],
            "Resource": "*"
        }
Below is an example of policy with the bucket name eks-demobucket
- Click Next
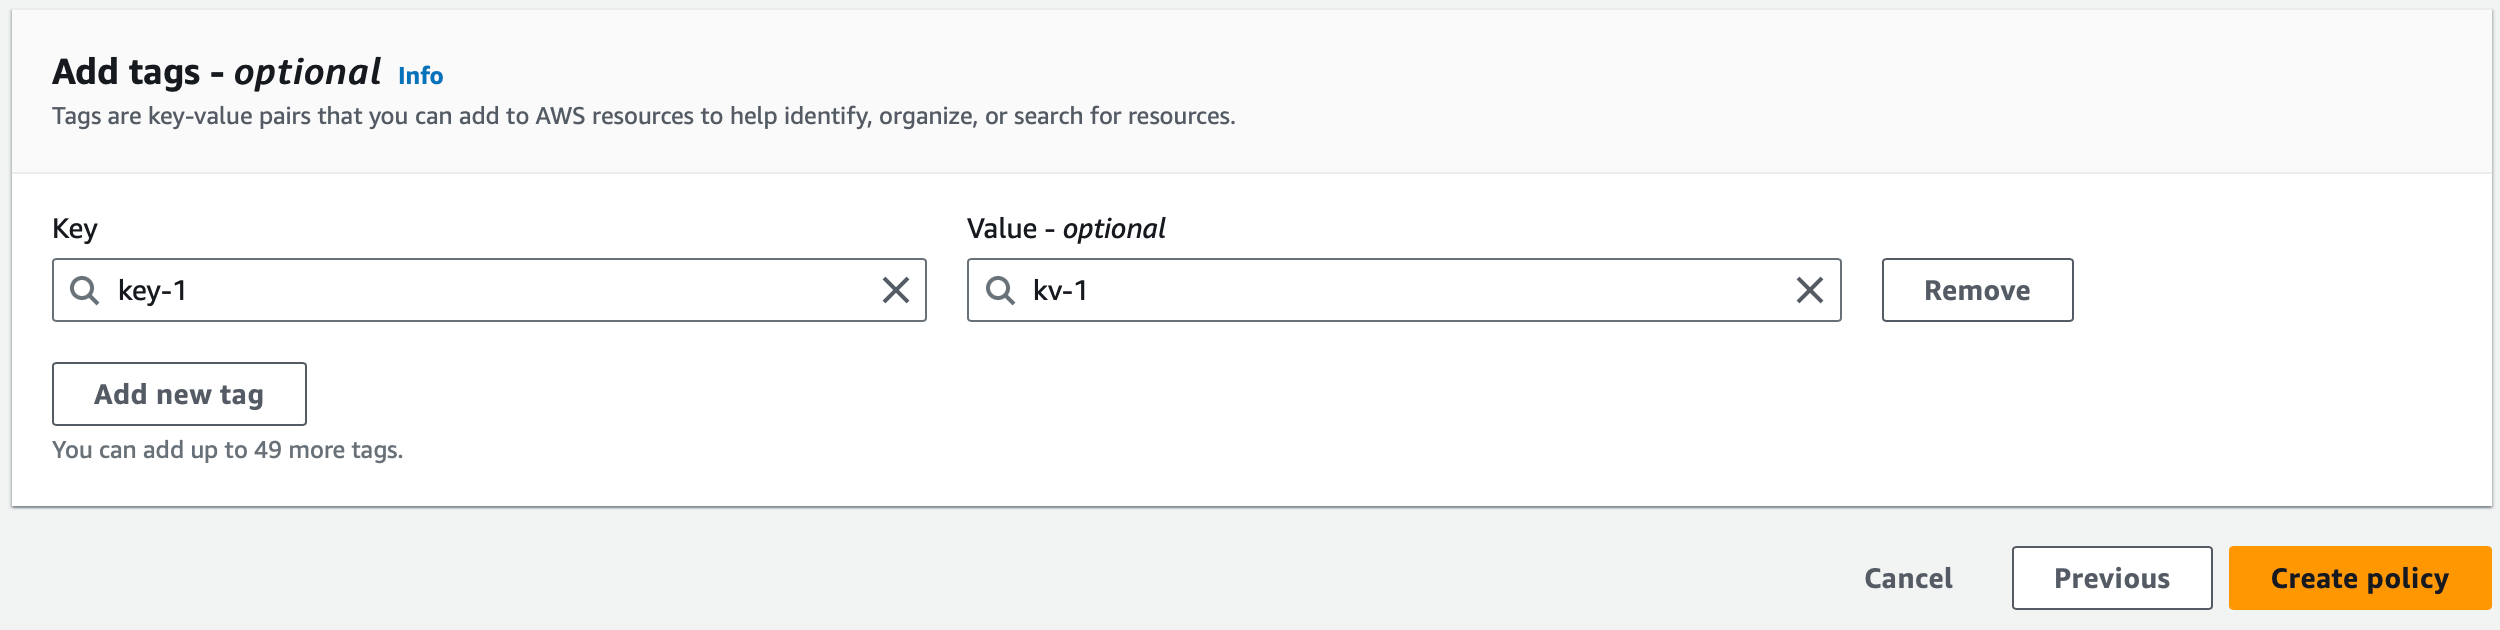
- Enter the Policy name and Description (optional) on the Review Policy page
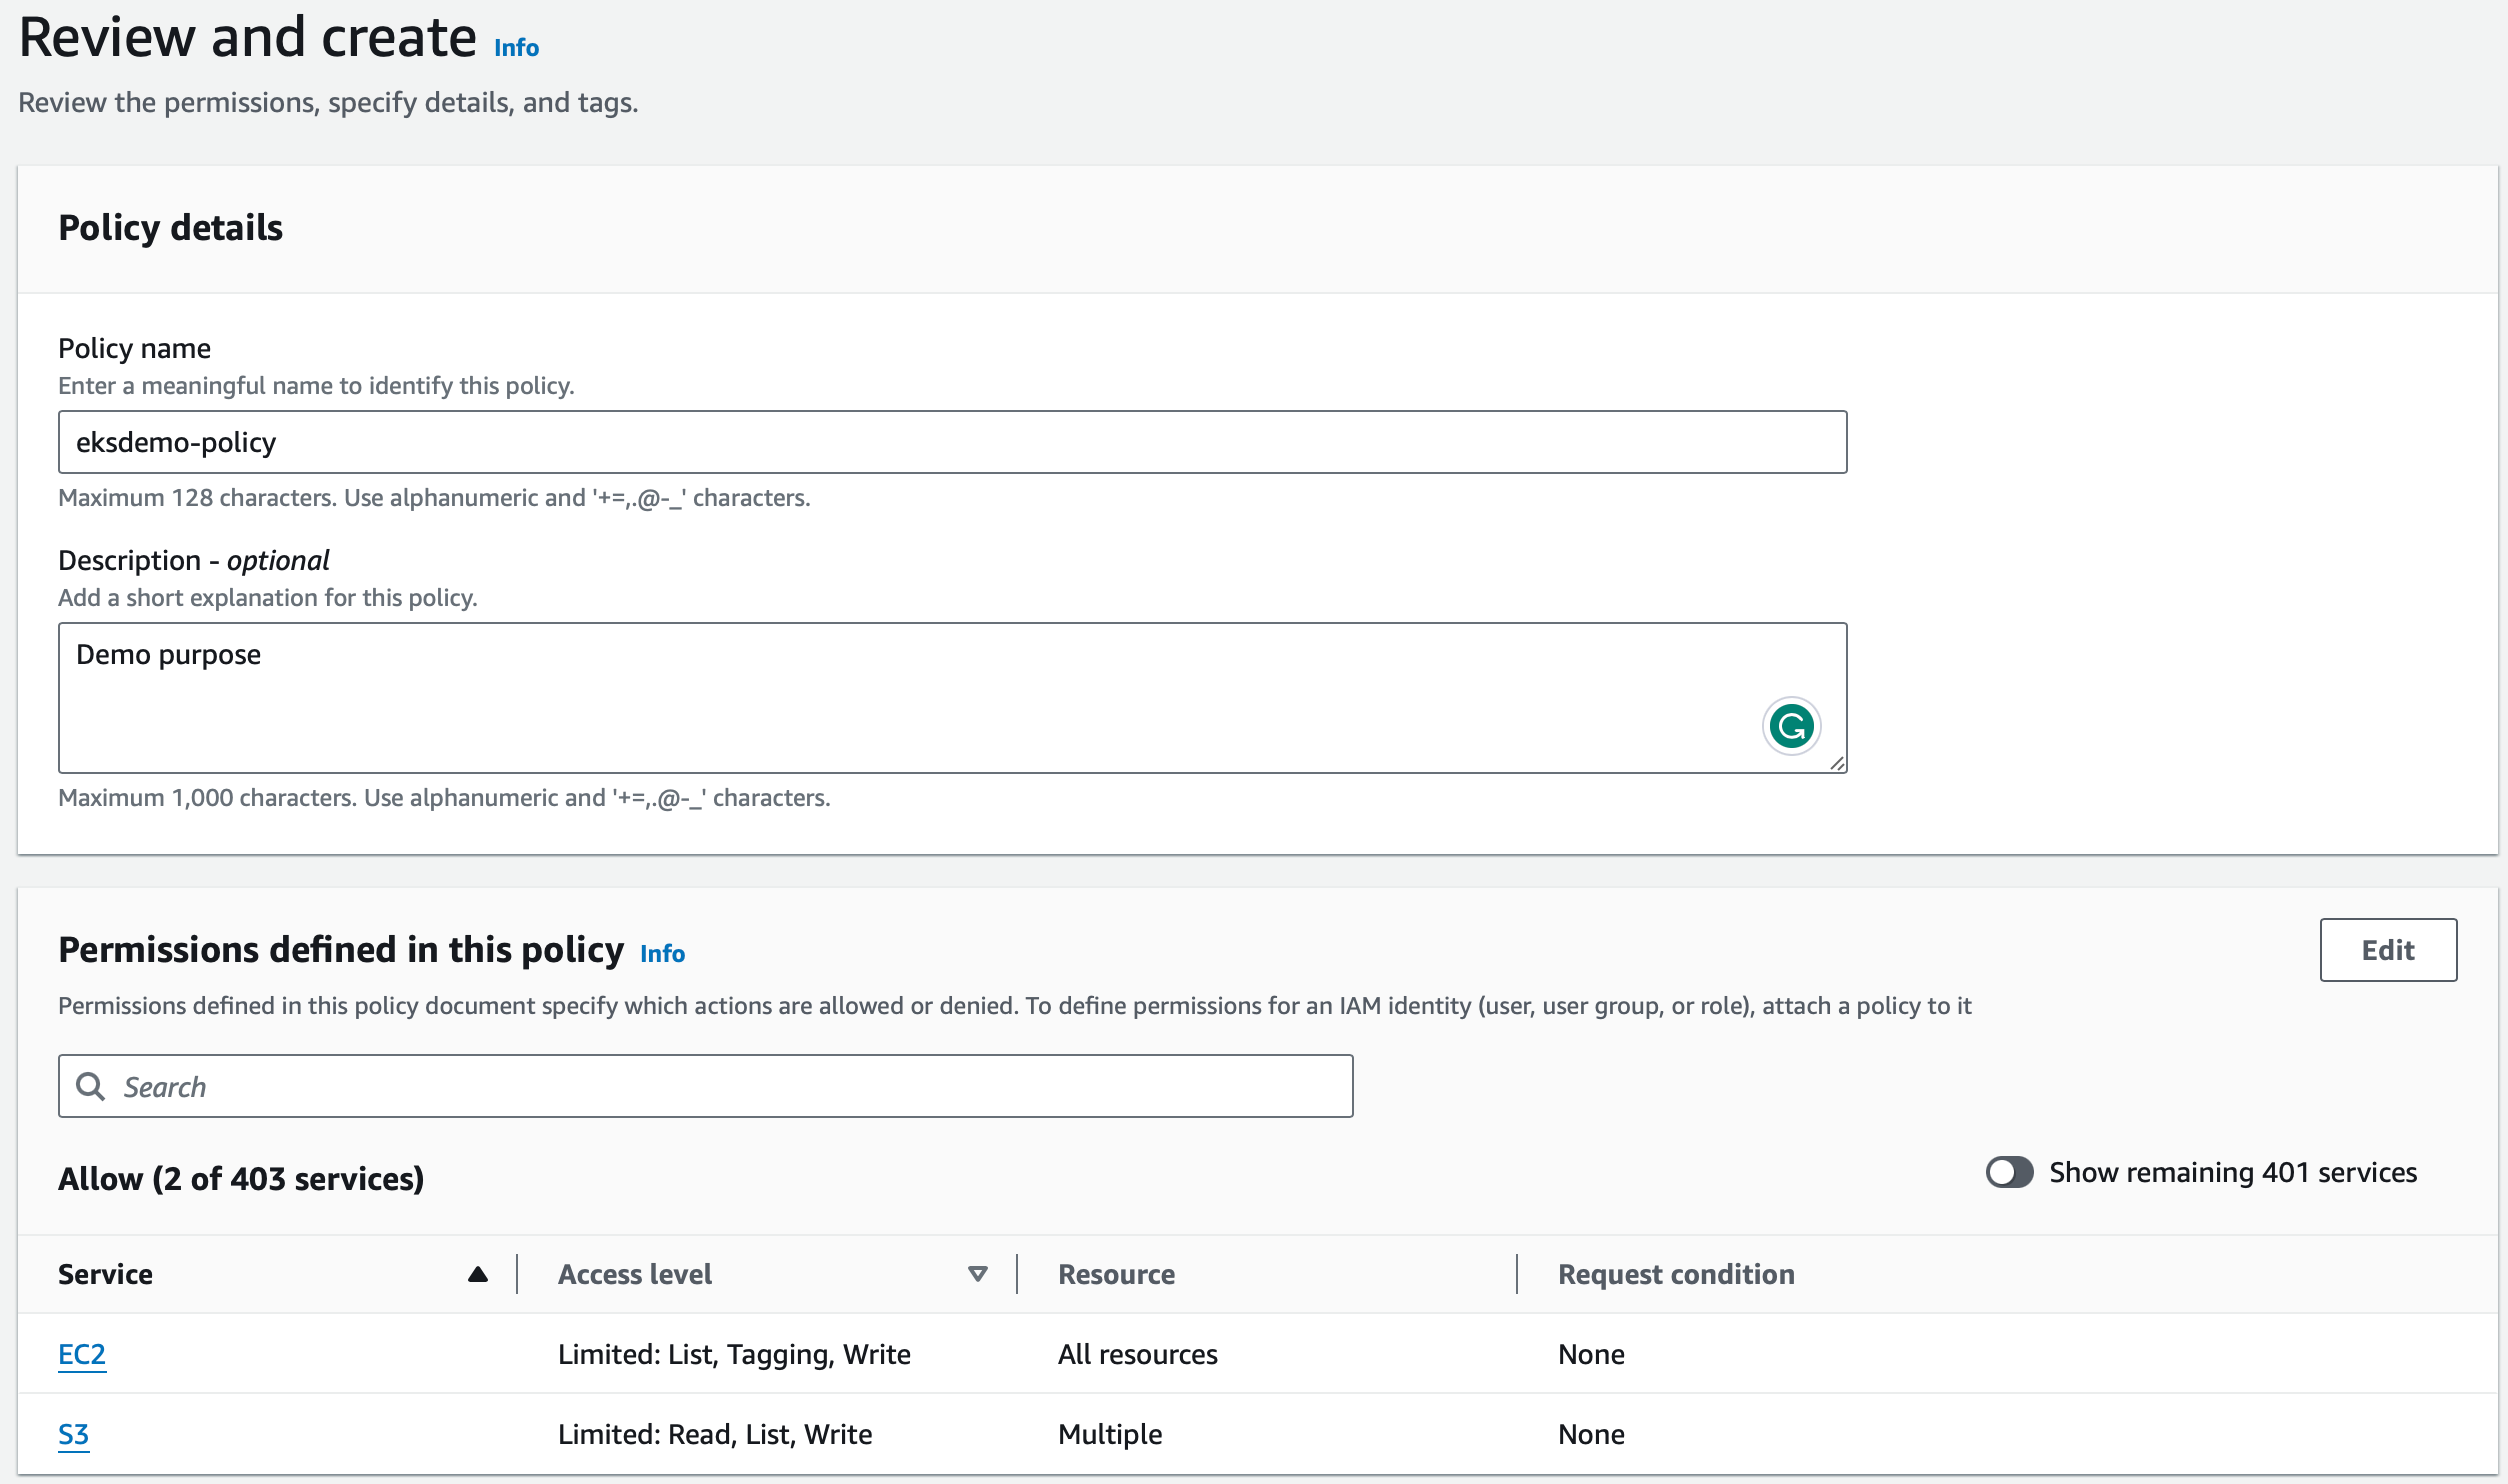
- Add tags, if required in the next page and click Create policy
Step 3: Identity Provider
- Open EKS Clusters page and select the required EKS cluster
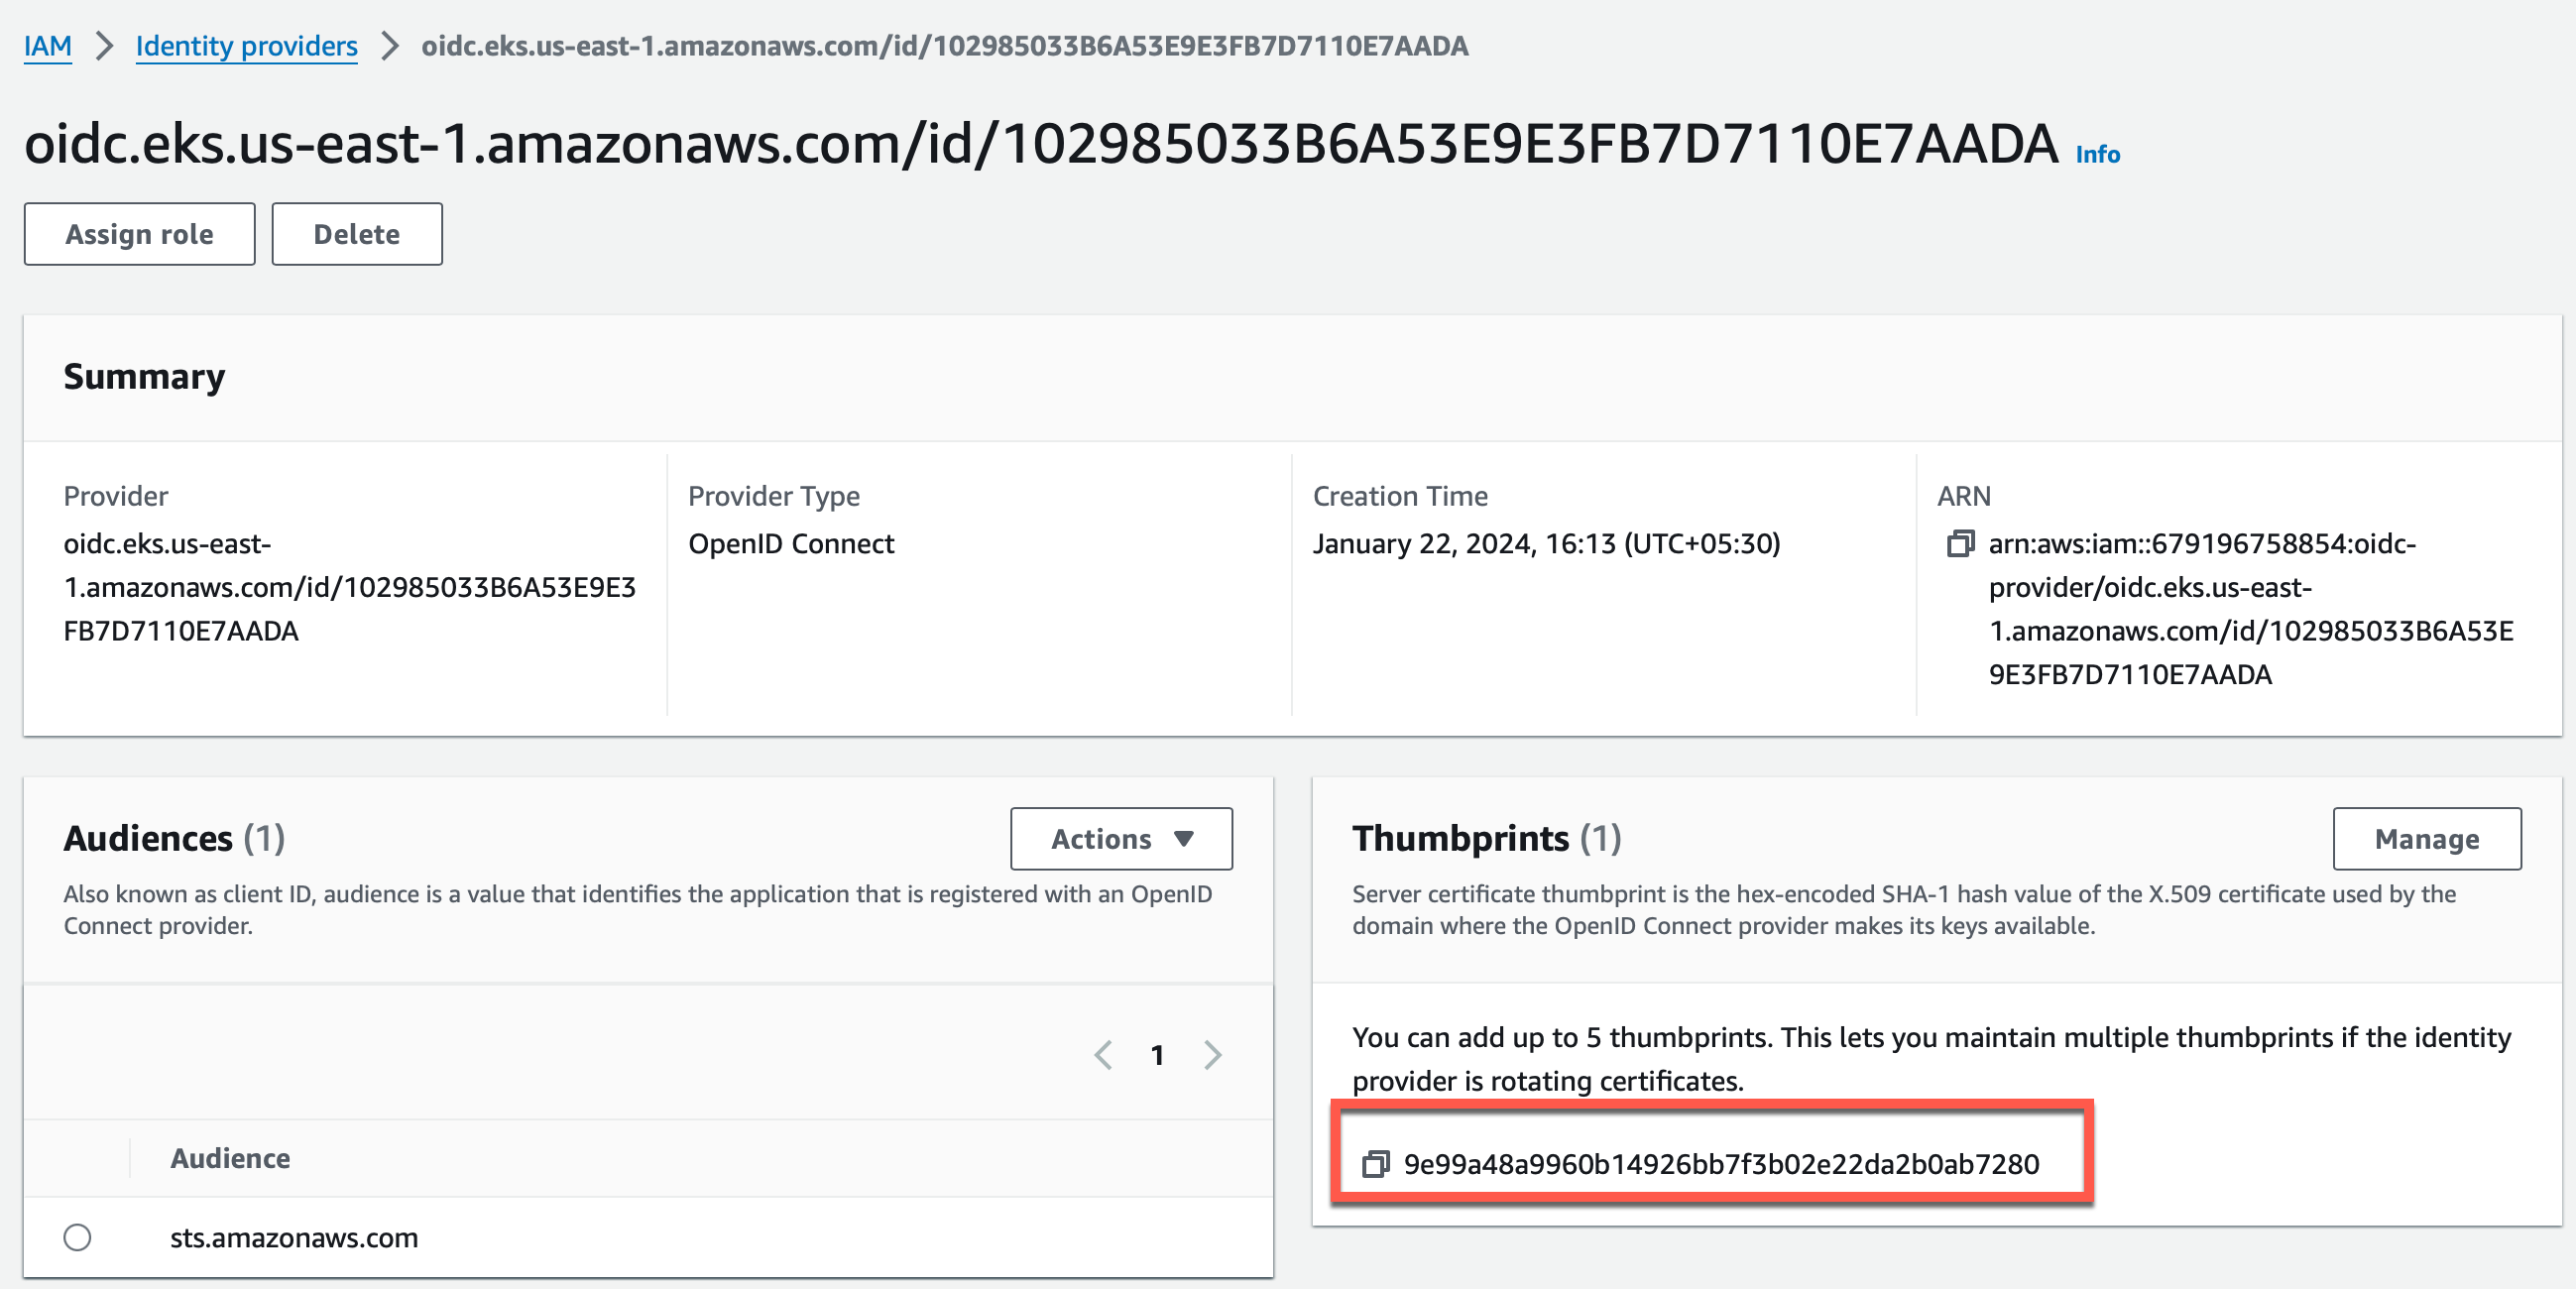
- Copy the OpenID identity provider, which was already created during cluster creation

- Open the Identity Provider page and paste the OpenID to search for the required Identity Provider. Here you can view the generated Thumbprint
- Select
sts.amazonaws.comas the Audience field
- Add Tags if required and click Save changes
Important
To use two different clusters for data backup and restore, repeat the same steps for each of the clusters
Step 4: Create Role ARN
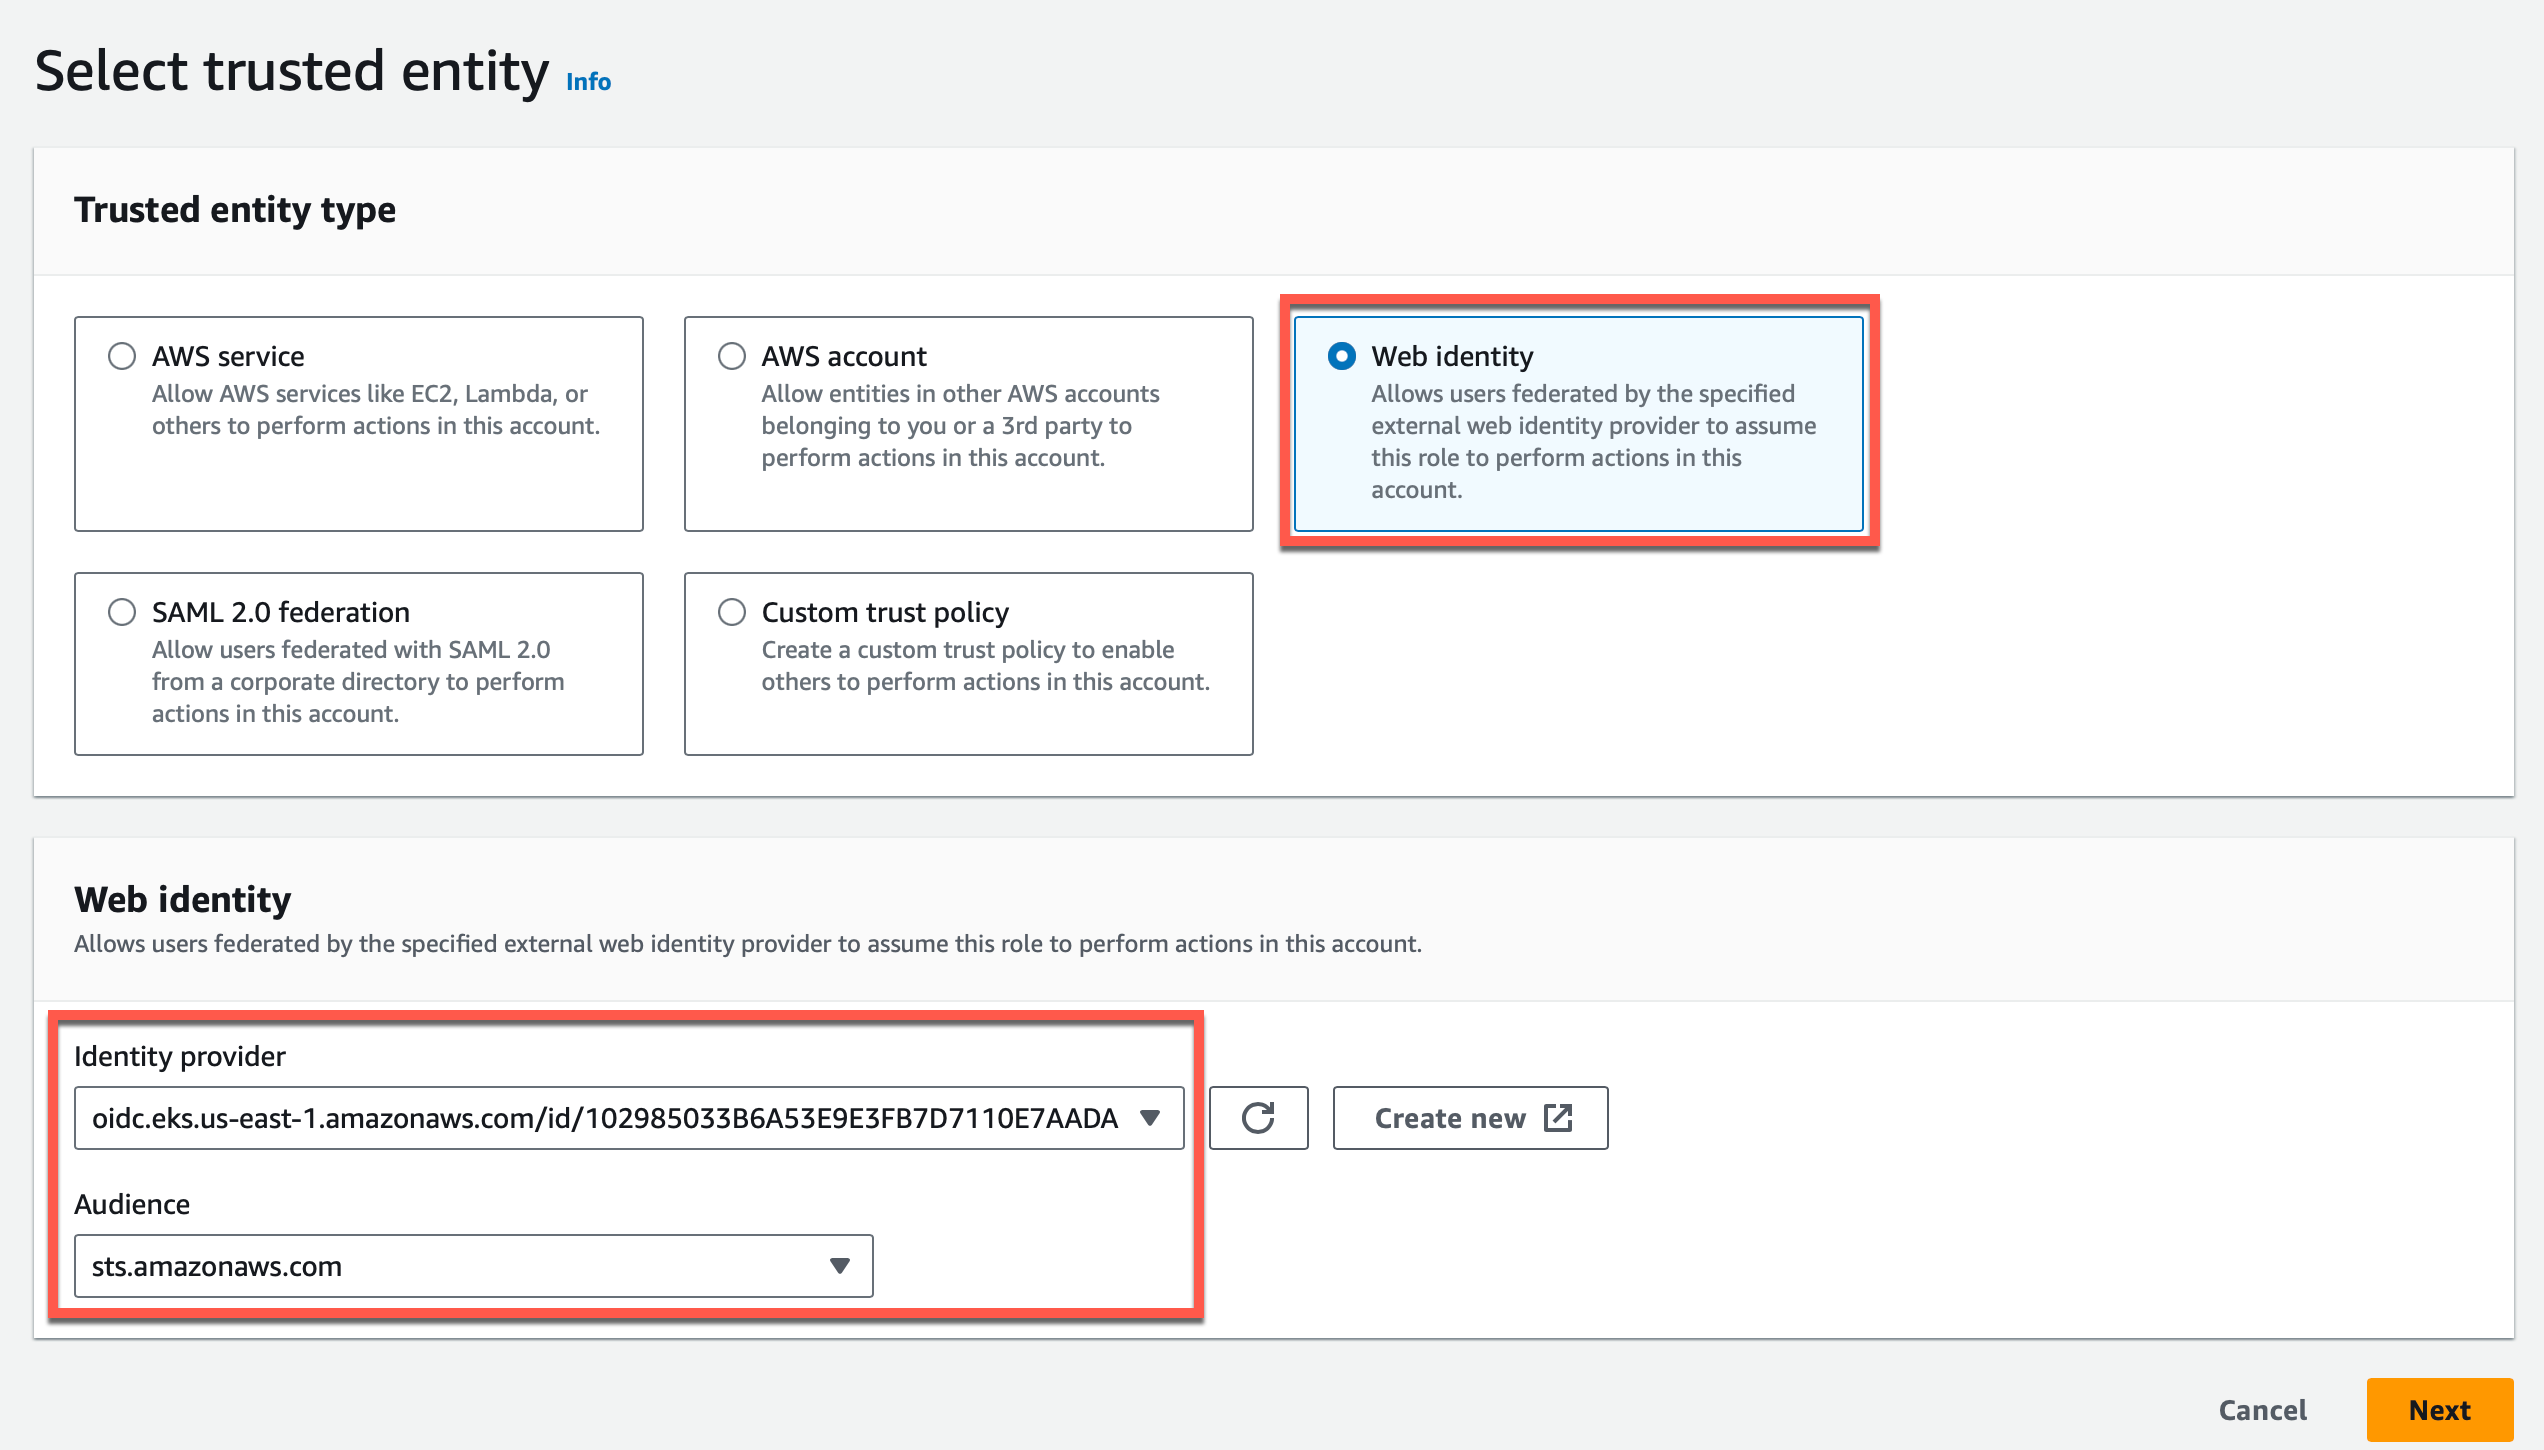
- On the IAM Roles page, click Create role
- Select the trusted entity Web Identity
- Select the Identity Provider and sts.amazonaws.com as Audience from the drop-down
- Click Next
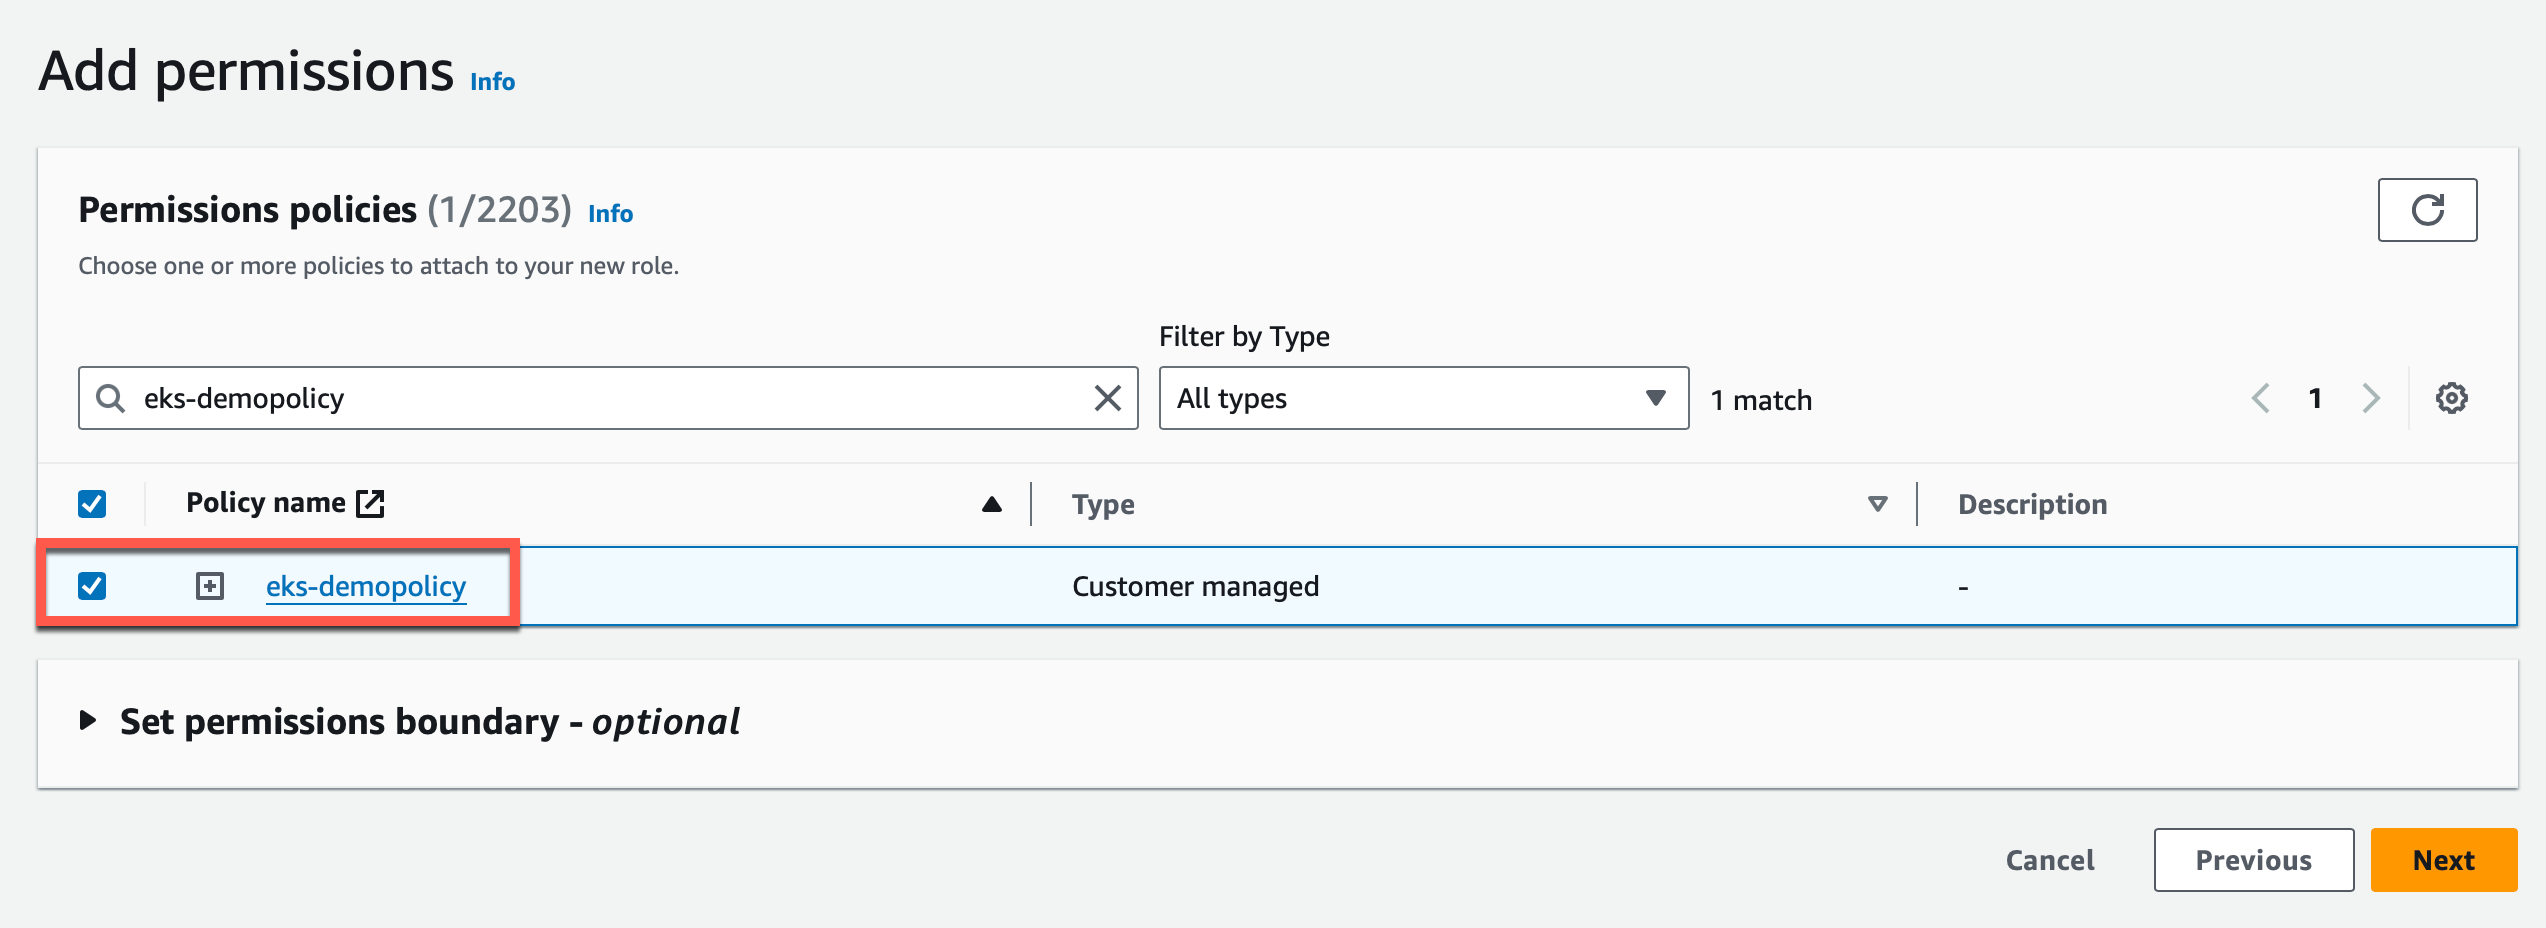
- Select the policy name from the list of available policies and click Next
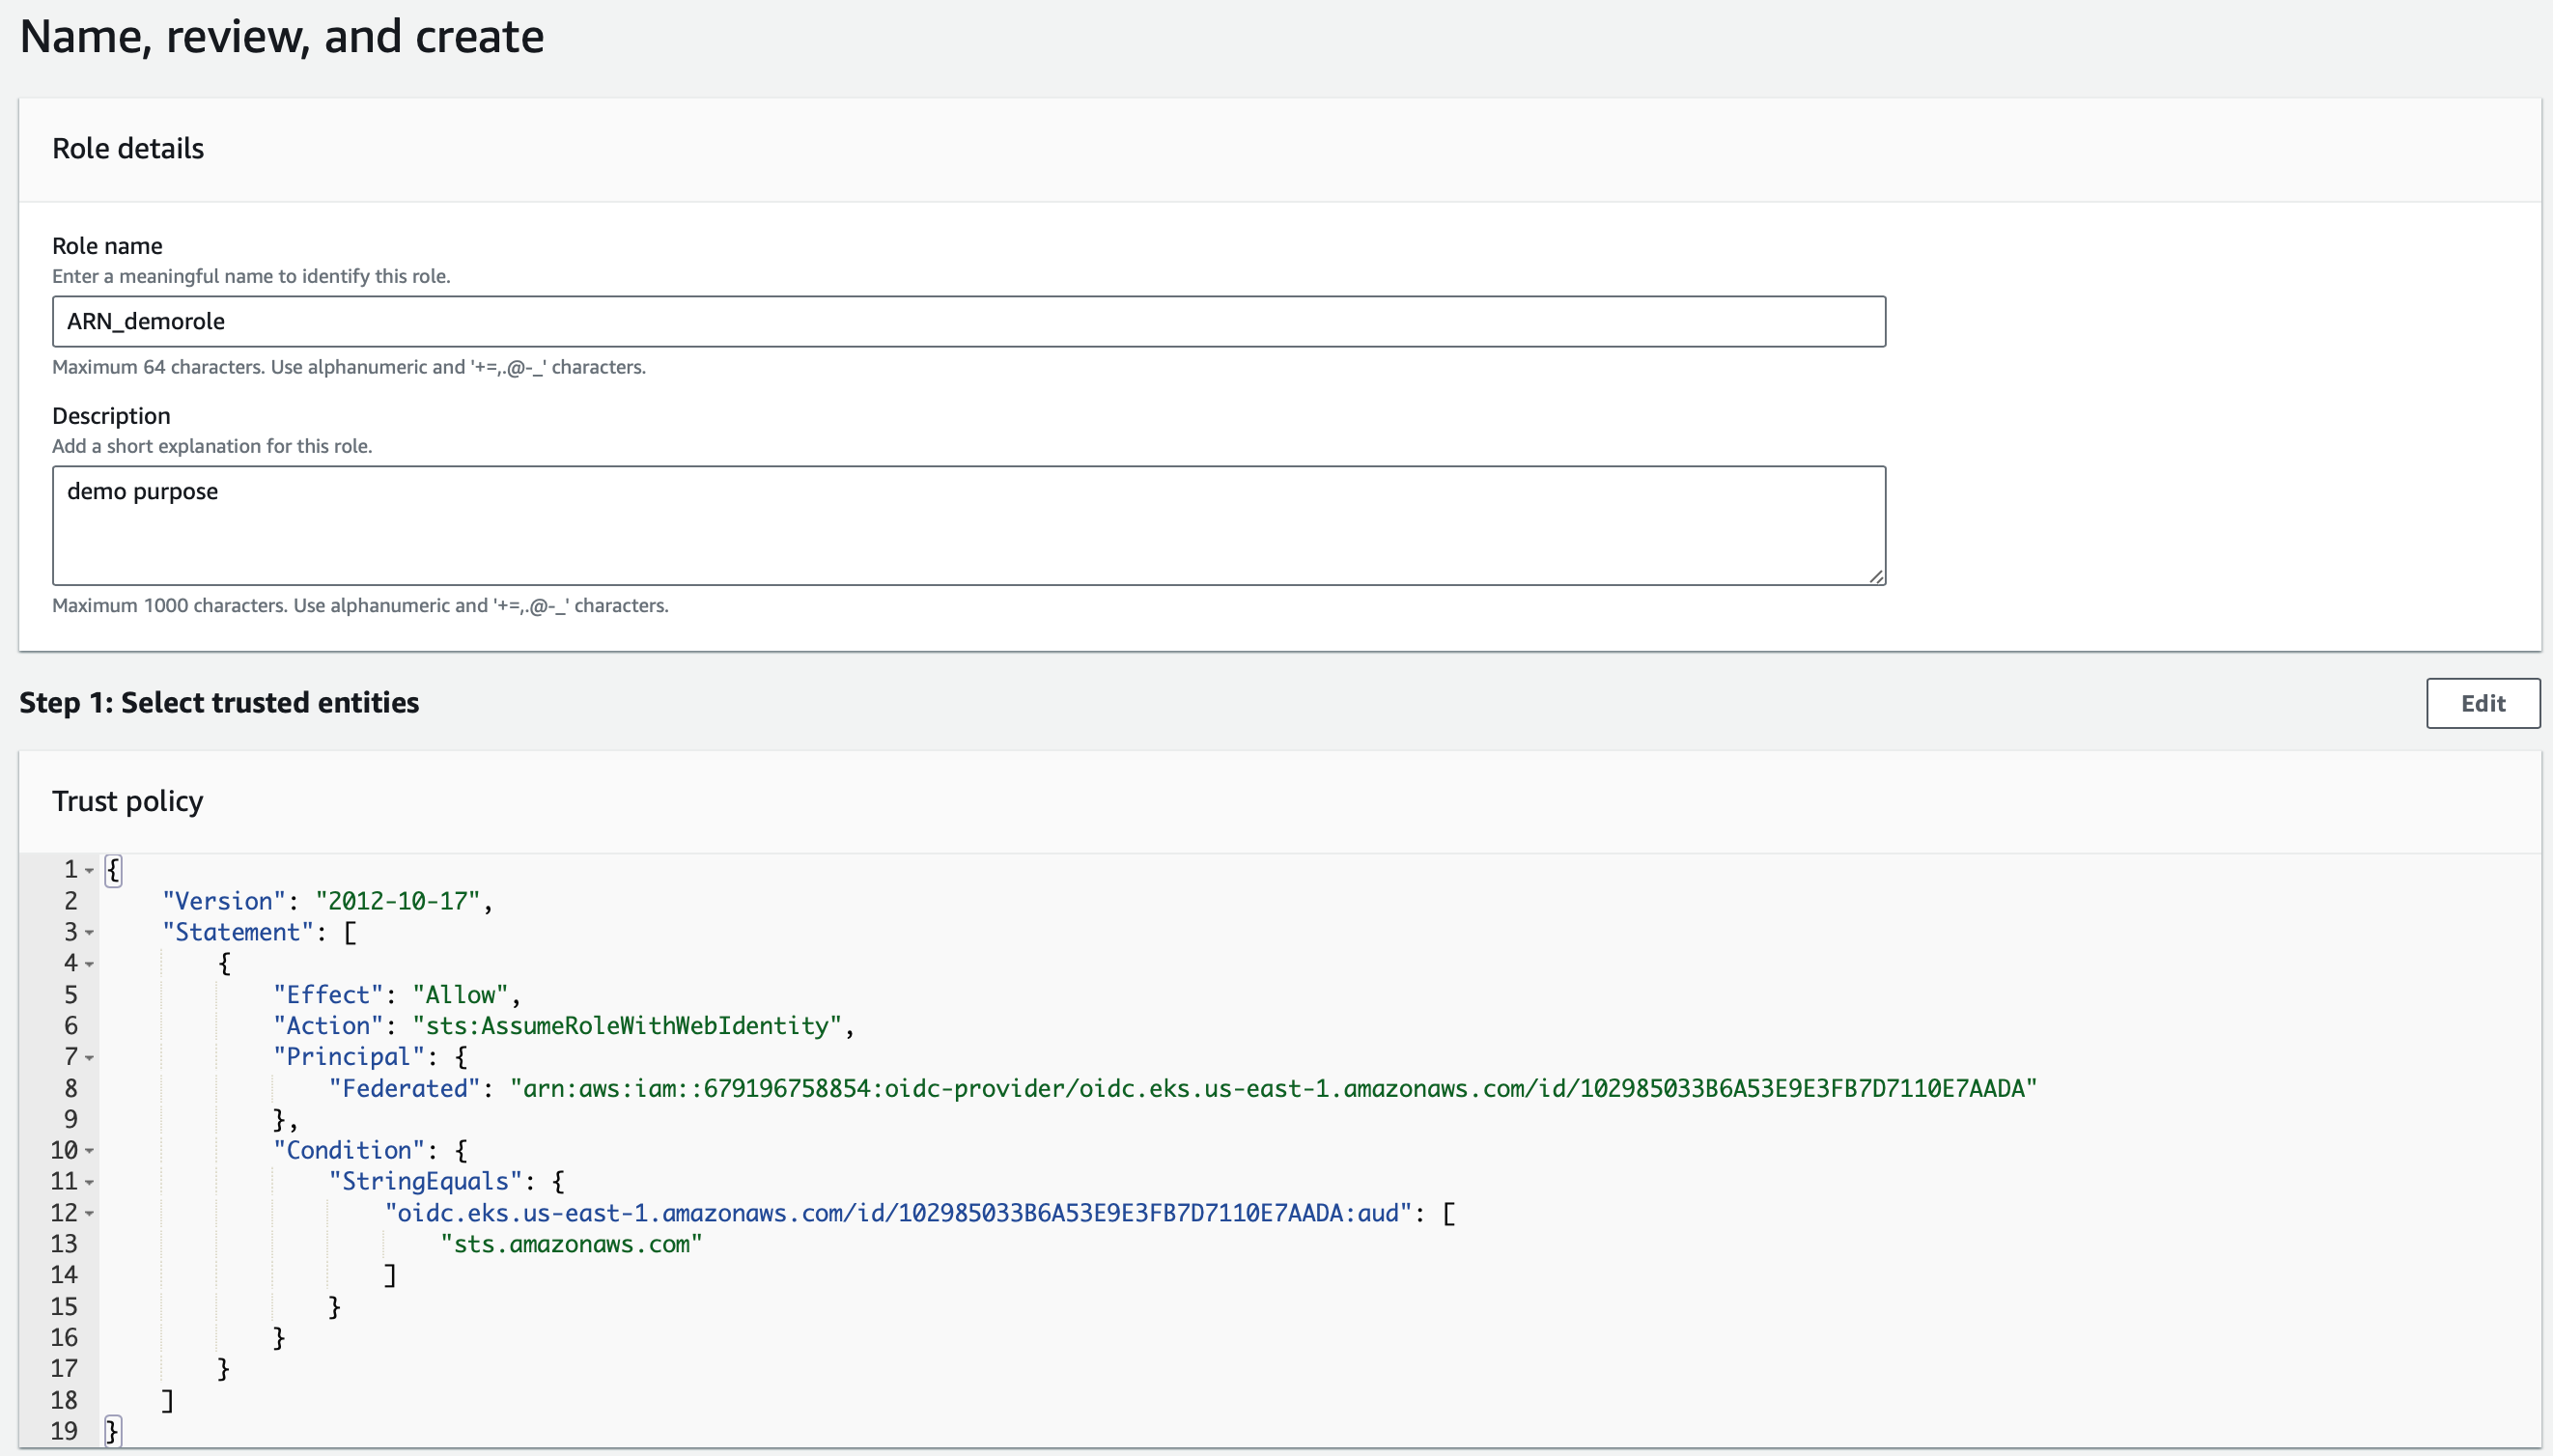
- Provide a Role name and Description (optional)
- Add/edit policies if required
- Add Tags page if required
- Click Create Role to complete the role creation process
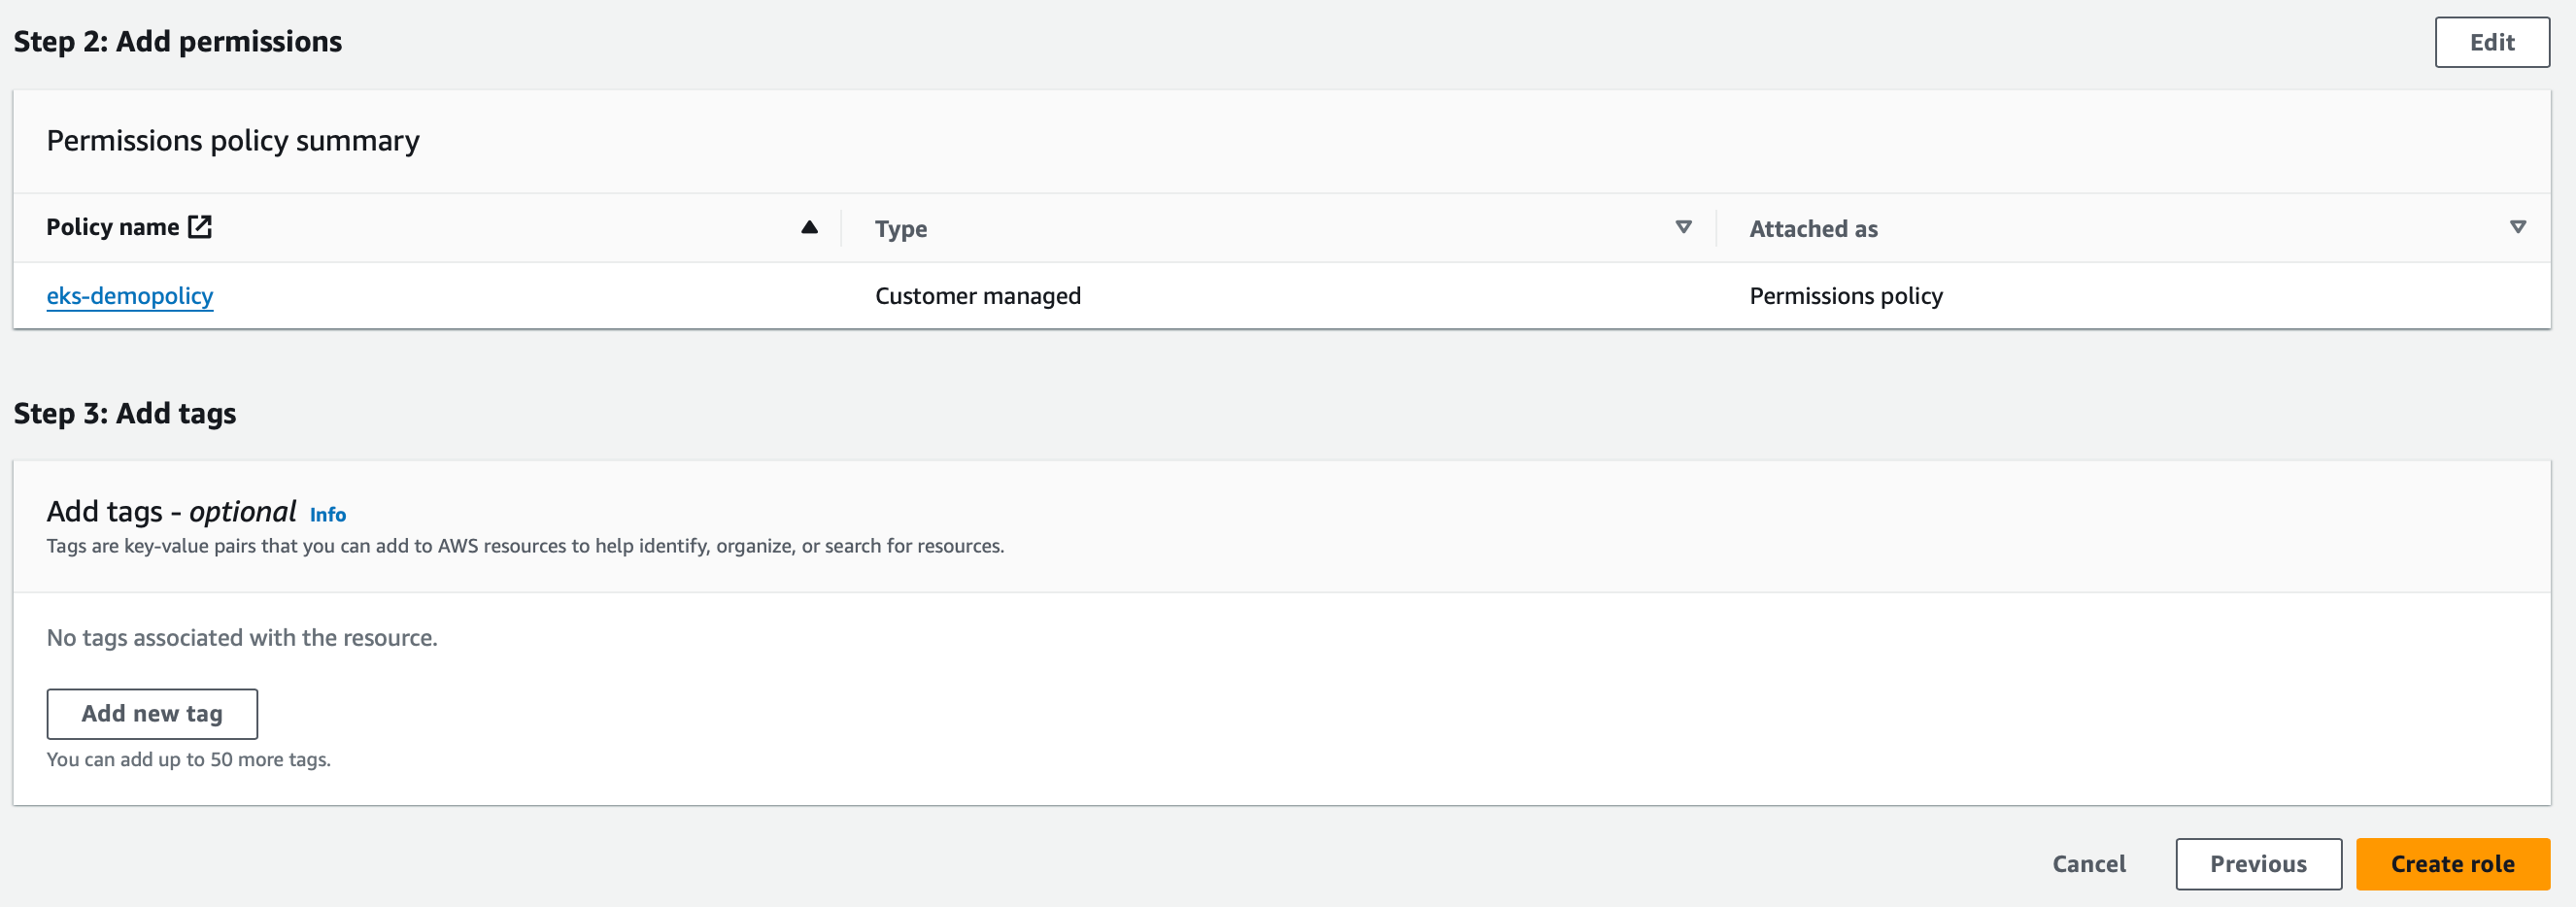
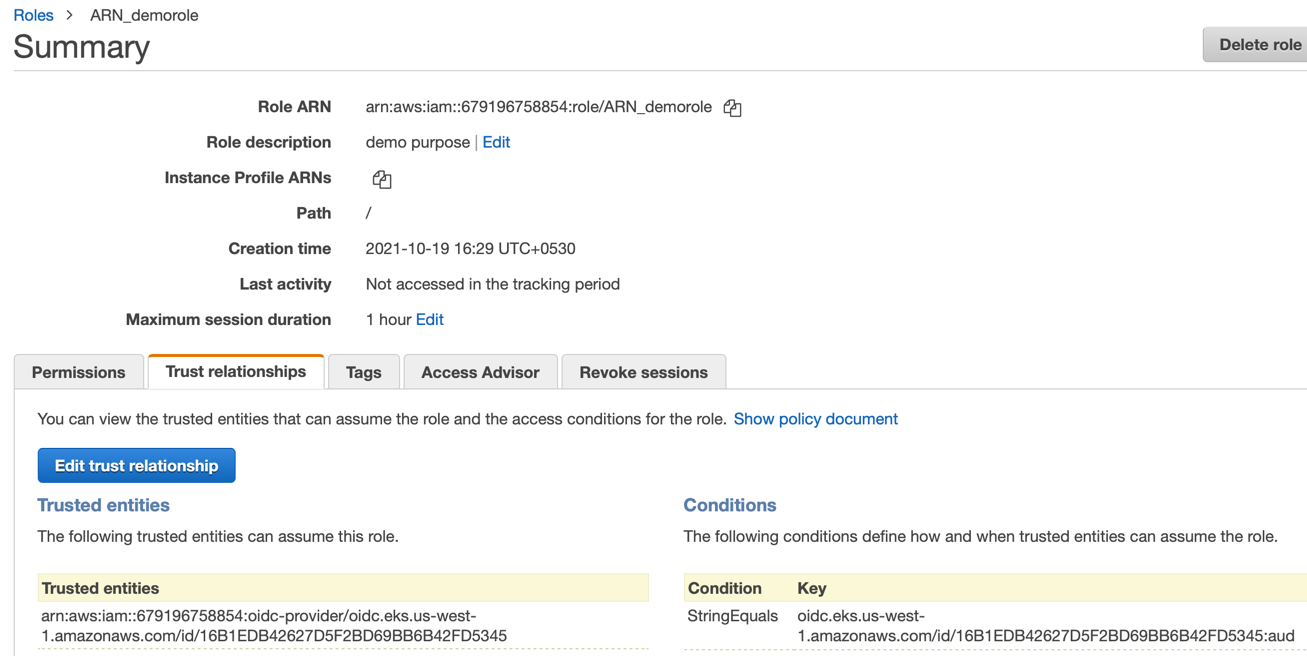
- Once the role is created, it is listed on the Roles page
Step 5: Edit Trust Relationships
- Select the created role from the list and click the Trust relationships tab
- Click Trust relationships
Scenario 1
To backup and restore the cluster data in the same cluster, perform the following steps
Below is the default access control policy document
{
  "Version": "2012-10-17",
  "Statement": [
    {
      "Effect": "Allow",
      "Principal": {
        "Federated": "arn:aws:iam::679196758854:oidc-provider/oidc.eks.us-west-1.amazonaws.com/id/16B1EDB42627D5F2BD69BB6B42FD5345"
      },
      "Action": "sts:AssumeRoleWithWebIdentity",
      "Condition": {
        "StringEquals": {
          "oidc.eks.us-west-1.amazonaws.com/id/16B1EDB42627D5F2BD69BB6B42FD5345:aud": "sts.amazonaws.com"
        }
      }
    }
  ]
}
To add the appropriate namespace and service account, make the changes in the condition key
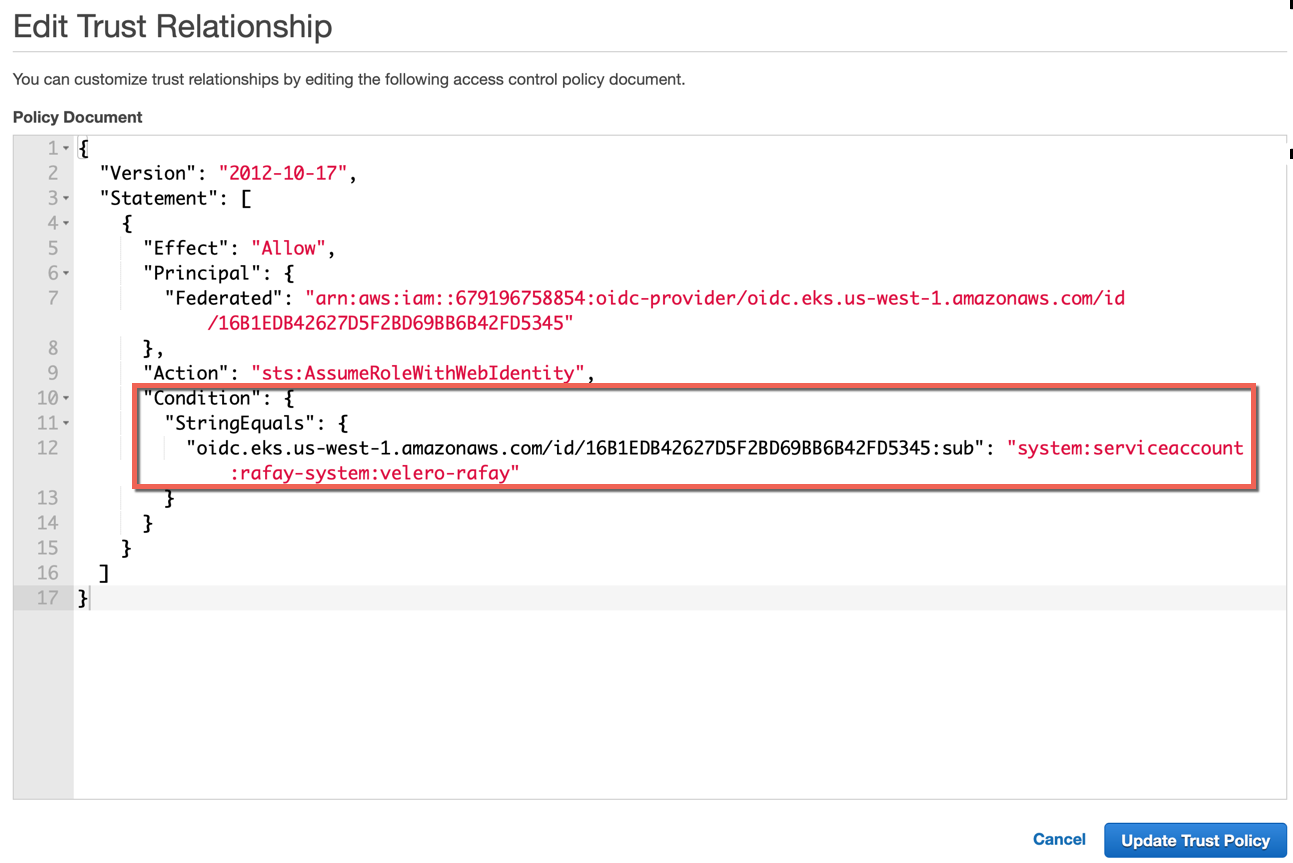
Below is an example with the right namespace and service account
{
  "Version": "2012-10-17",
  "Statement": [
    {
      "Effect": "Allow",
      "Principal": {
        "Federated": "arn:aws:iam::679196758854:oidc-provider/oidc.eks.us-west-1.amazonaws.com/id/16B1EDB42627D5F2BD69BB6B42FD5345"
      },
      "Action": "sts:AssumeRoleWithWebIdentity",
      "Condition": {
        "StringEquals": {
          "oidc.eks.us-west-1.amazonaws.com/id/16B1EDB42627D5F2BD69BB6B42FD5345:sub": "system:serviceaccount:rafay-system:velero-rafay"
        }
      }
    }
  ]
}
Scenario 2
To backup the data from one Cluster and restore in another cluster, users must add the policy details of both the clusters in the Edit Trust Relationships policy as shown below
{
  "Version": "2012-10-17",
  "Statement": [
    {
      "Effect": "Allow",
      "Principal": {
        "Federated": "arn:aws:iam::${AWS::AccountId}:oidc-provider/oidc.eks.${AWS::Region}.amazonaws.com/id/${Cluster_1}"
      },
      "Action": "sts:AssumeRoleWithWebIdentity",
      "Condition": {
        "StringEquals": {
          "oidc.eks.${AWS::Region}.amazonaws.com/id/${Cluster_1}:sub": "system:serviceaccount:${Namespace}:default"
        }
      }
    },
    {
      "Effect": "Allow",
      "Principal": {
        "Federated": "arn:aws:iam::${AWS::AccountId}:oidc-provider/oidc.eks.${AWS::Region}.amazonaws.com/id/${Cluster_2}"
      },
      "Action": "sts:AssumeRoleWithWebIdentity",
      "Condition": {
        "StringEquals": {
          "oidc.eks.${AWS::Region}.amazonaws.com/id/${Cluster_2}:sub": "system:serviceaccount:${Namespace}:default"
        }
      }
    }
  ]
}
To add the appropriate namespace and service account for both the cluster, make the changes in the condition key
Below is an example with the right namespace and service account
{
  "Version": "2012-10-17",
  "Statement": [
    {
      "Effect": "Allow",
      "Principal": {
        "Federated": "arn:aws:iam::679196758854:oidc-provider/oidc.eks.us-west-1.amazonaws.com/id/17562E53EA93EE98AA800738265ECFE1"
      },
      "Action": "sts:AssumeRoleWithWebIdentity",
      "Condition": {
        "StringEquals": {
          "oidc.eks.us-west-1.amazonaws.com/id/17562E53EA93EE98AA800738265ECFE1:sub": "system:serviceaccount:rafay-system:velero-rafay"
        }
      }
    },
    {
      "Effect": "Allow",
      "Principal": {
        "Federated": "arn:aws:iam::679196758854:oidc-provider/oidc.eks.us-west-1.amazonaws.com/id/6895F1604286AE3EB02EFD39CAC4E288"
      },
      "Action": "sts:AssumeRoleWithWebIdentity",
      "Condition": {
        "StringEquals": {
          "oidc.eks.us-west-1.amazonaws.com/id/6895F1604286AE3EB02EFD39CAC4E288:sub": "system:serviceaccount:rafay-system:velero-rafay"
        }
      }
    }
  ]
}
- Once the changes are applied, click Update Trust Policy
Use this role while creating the Data backup credentials through Controller