Part 4: Namespaces
This is Part 4 of a multi-part, self paced exercise.
What Will You Do
In this part, you will
- Configure a Kubernetes namespace spec in your project
- Publish this namespace on a fleet of Kubernetes clusters
Estimated Time
Estimated time burden for this part is 10 minutes.
Step 1: Create Namespace
- Login into your Org and navigate to the "desktop" project
- Select Infrastructure -> Namespaces
- Click on "New Namespace"
- Enter "kubeless" for Name
- Select "Wizard" for Type and Save
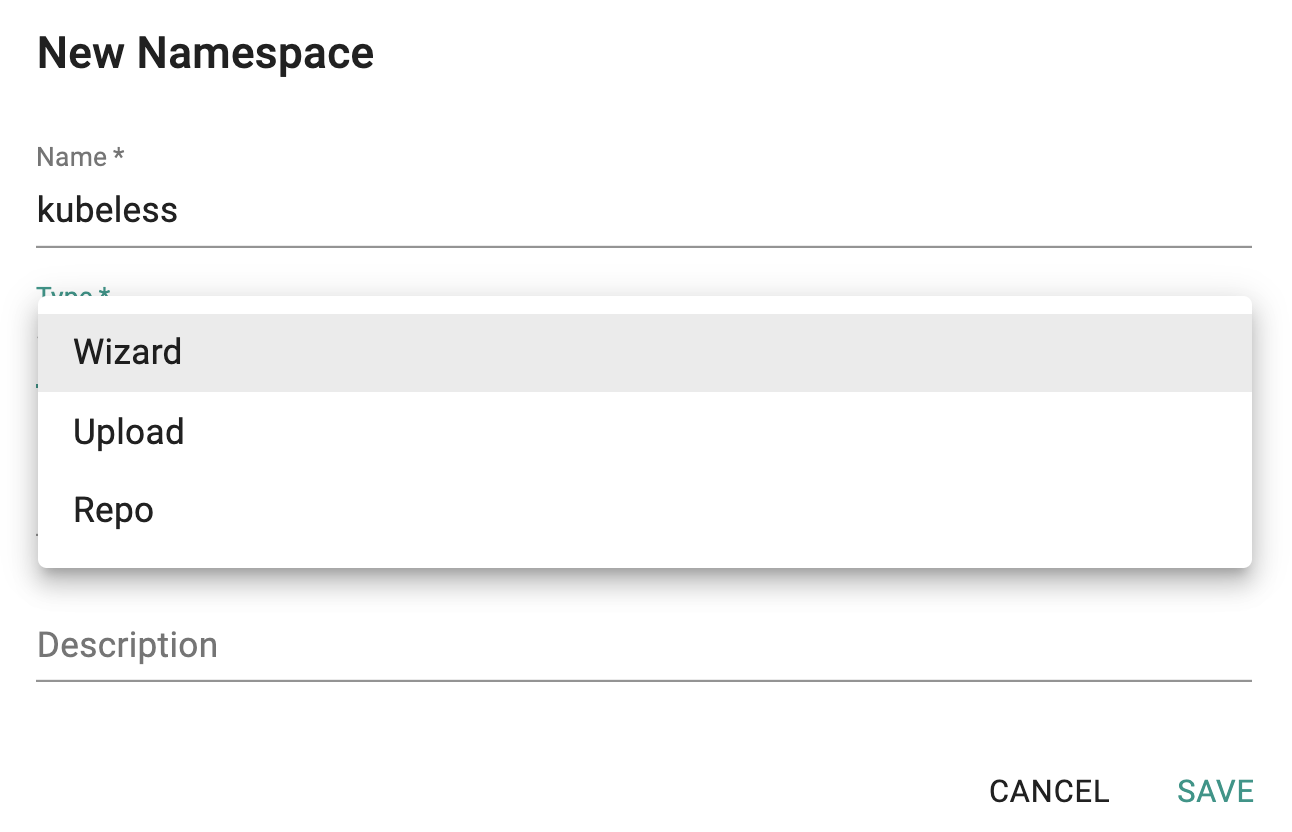
Note
In addition to the Namespace wizard, users can also provide the k8s YAML spec for the namespace either by uploading it or point the controller to a Git repo where it can retrieve it.
Step 2: Configure Namespace
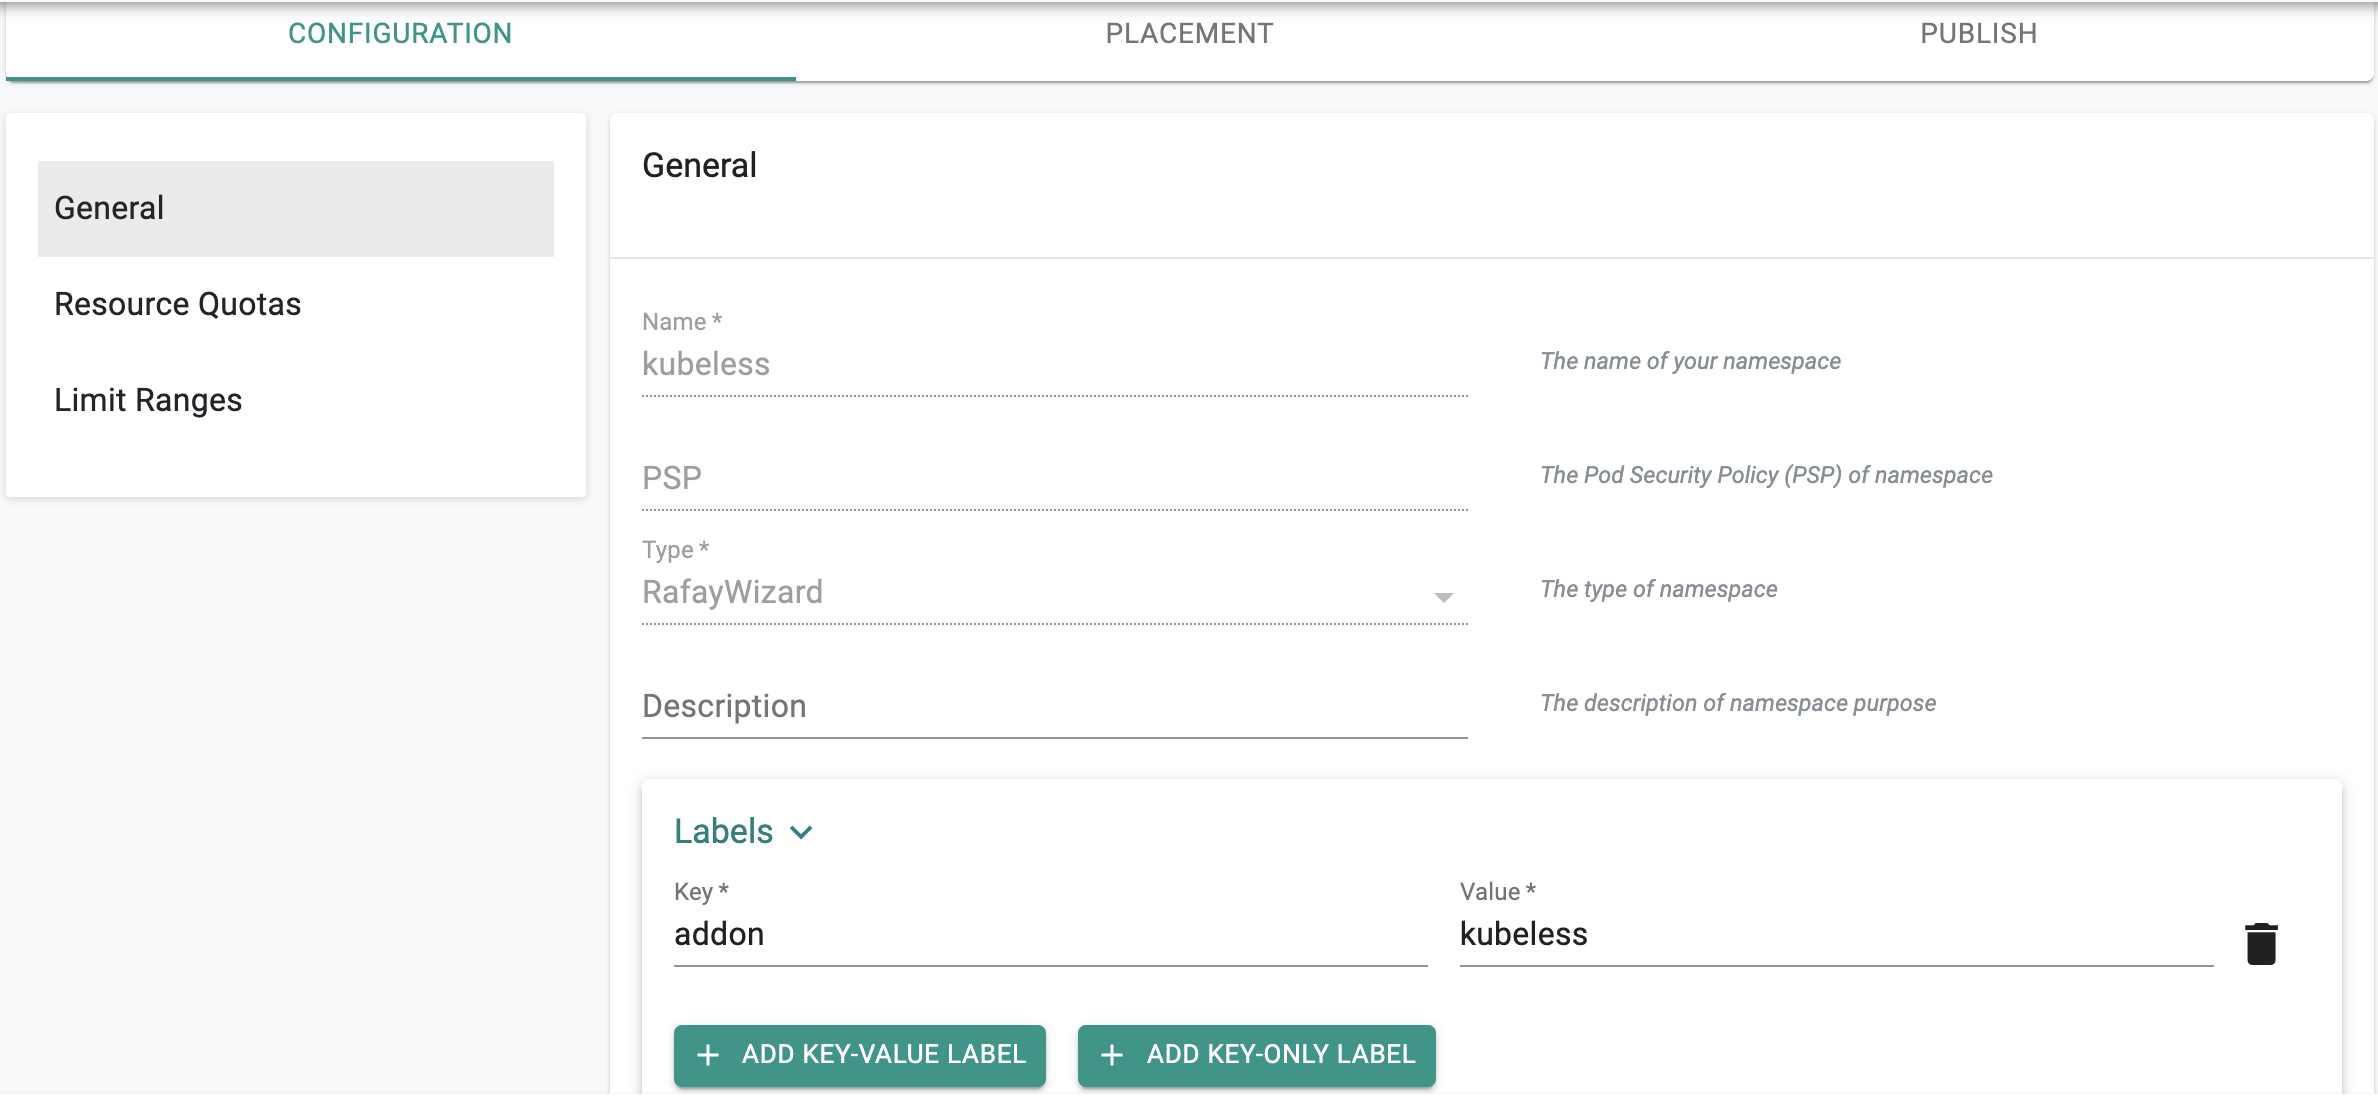
You will be presented with an intuitive wizard that you can use to configure your namespace's requirements. In our case, we want to add labels to our namespace.
- Click on Labels -> Key-Value
- Provide k8s compliant text for the key and value
- Save
In the example below, we have entered "key=addon" and "value=kubeless"
Step 3: Select Placement
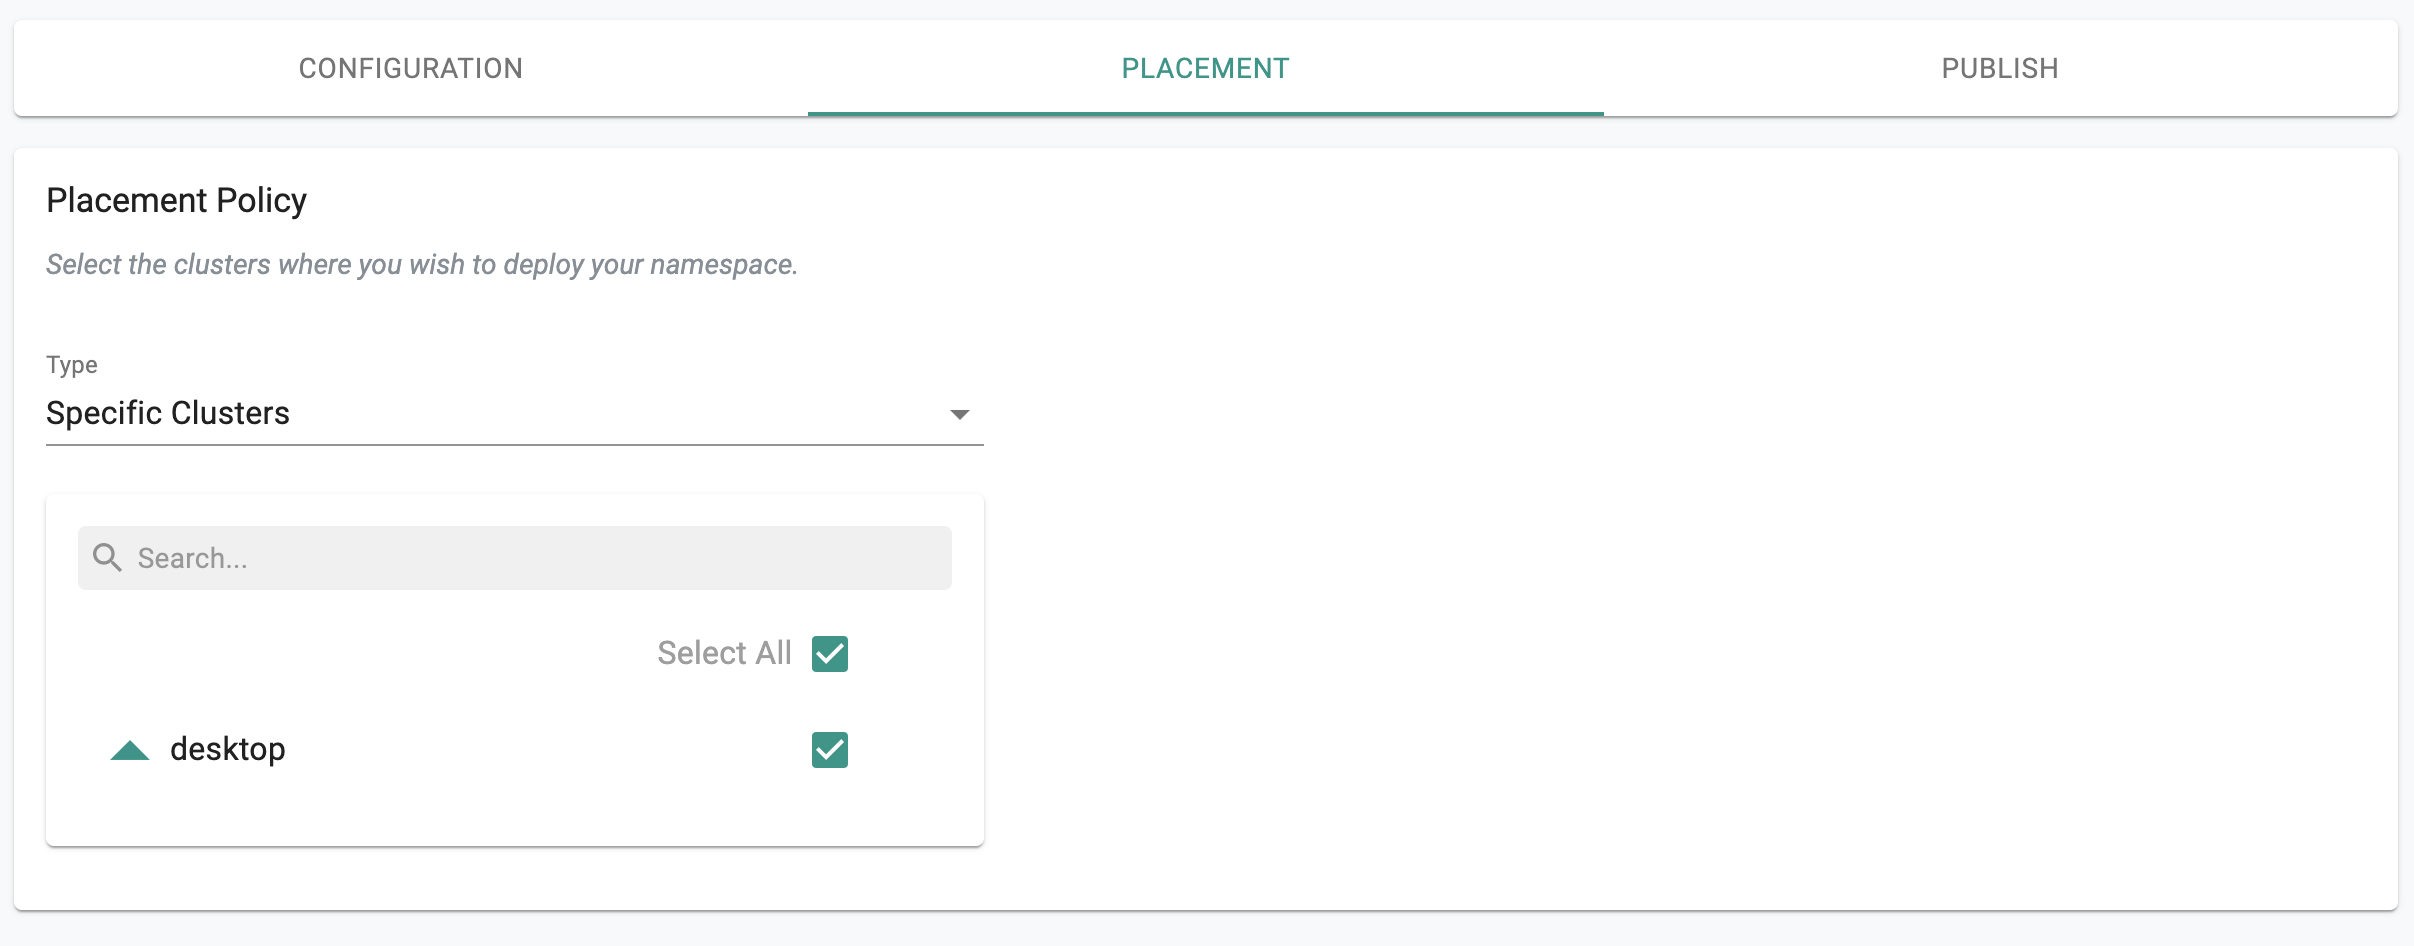
Since we only have one cluster in our project for this exercise, we cannot perform multi cluster operations.
- Select "Specific Clusters" for Placement Policy
- Select your cluster
- Click "SAVE & GO TO PUBLISH"
Step 4: Publish Namespace
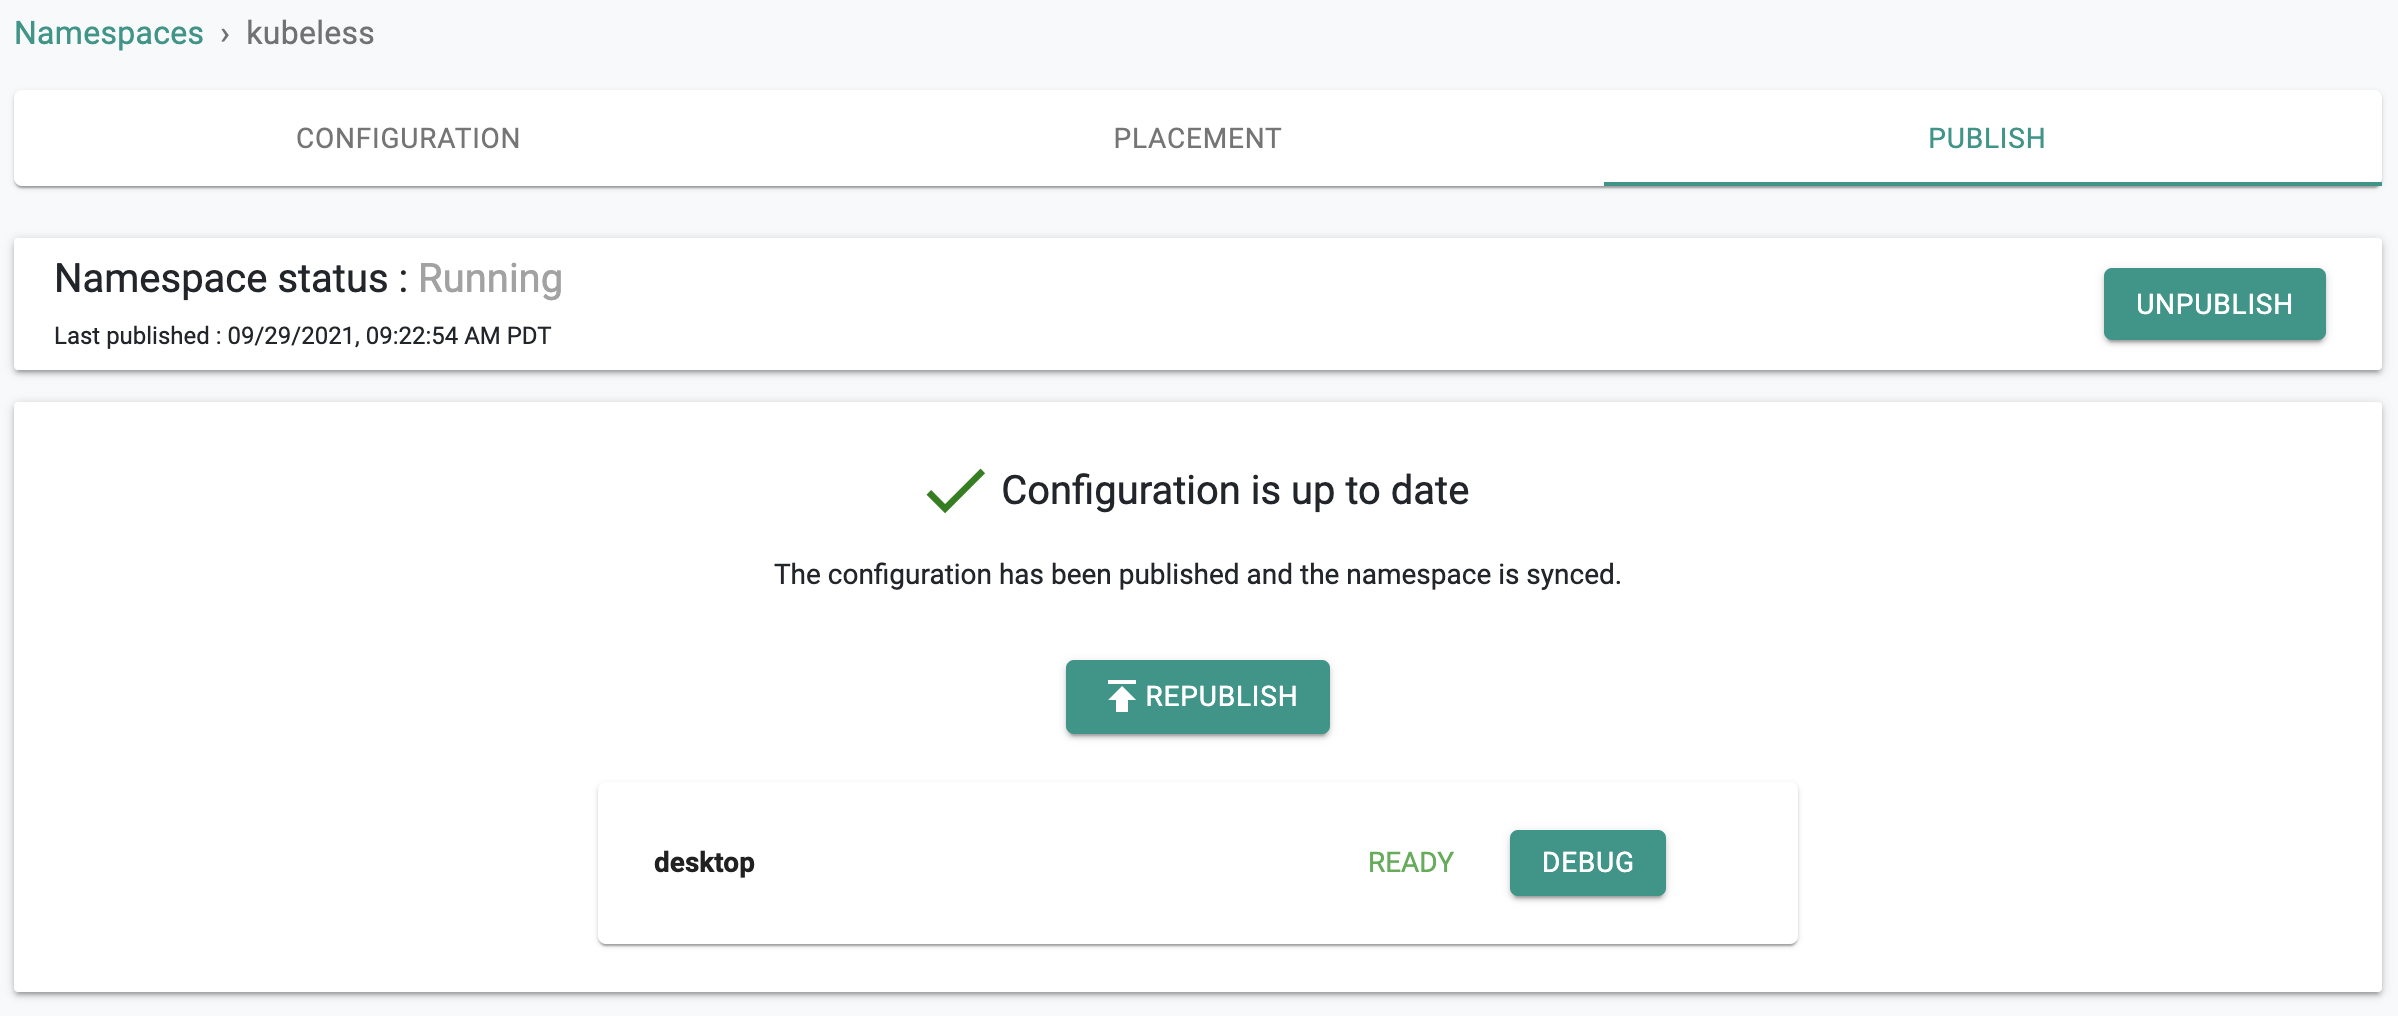
Click on Publish. In a few seconds, the configured namespace will be deployed on the target clusters. Note that the target clusters can be in completely separate security domains and the controller can still manage namespace lifecyle remotely.
Step 5: Verify Namespace
Optionally, you can verify what the published namespace looks like on your cluster.
- Navigate to Infrastructure -> Clusters
- Click on Kubectl
In the example below, you can see that the "kubeless" namespace was created on the cluster a few seconds back when we published it.
kubectl get ns

NAME              STATUS   AGE
default           Active   40h
kube-node-lease   Active   40h
kube-public       Active   40h
kube-system       Active   40h
kubeless          Active   34s
rafay-infra       Active   13h
rafay-system      Active   16h
You can also look deeper into the namespace by describing it. Notice that the the "custom label" we specified is part of the namespace.
kubectl describe ns kubeless

Name:         kubeless
Labels:       addon=kubeless
              app.kubernetes.io/managed-by=Helm
              kubernetes.io/metadata.name=kubeless
              name=kubeless
              rafay.dev/auxiliary=true
              rafay.dev/component=namespace
              rafay.dev/global=true
              rafay.dev/name=namespace
              rep-cluster=k5zpglk
              rep-cluster-name=desktop
              rep-drift-reconcillation=disabled
              rep-organization=lk5od2e
              rep-partner=rx28oml
              rep-placement=mx6ox7m
              rep-project=kgxy58m
              rep-project-name=desktop
              rep-system-managed=true
              rep-workload=namespace-kj351lm-kubeless
              rep-workloadid=qkoz7nm
Annotations:  meta.helm.sh/release-name: namespace-kj351lm-kubeless
              meta.helm.sh/release-namespace: kubeless
              rafay.dev/resource-hash: efbeb365597980119ab784ad5eba8d1baf2d8c7cb8b78605d1020974c118de5f
              rep-drift-action: deny
Status:       Active

No resource quota.

No LimitRange resource.
Recap
Congratulations! At this point, you have successfully configured and published a namespace to your Kubernetes cluster. You also verified the namespace's specification directly on the cluster using Kubectl.