Cluster Labels
Infrastructure Administrators can optionally "assign" custom labels to their managed clusters during cluster import or provisioning. Cluster labels can then be used to power "fleet" workflows including sophisticated workload placement policies or Kubernetes Upgrades.
Default Cluster Labels
Every managed cluster (imported or provisioned) comes with a number of "default" cluster labels. These can be used by customers, but cannot be deleted or updated.
Note
Any label with a "rafay.dev/*" prefix is a default cluster label.
Note: For cluster overrides, use customer-managed custom labels instead of Rafay default labels (which start with
rafay.dev/clusterName). Defining your own labels ensures consistent and reliable selection of clusters for overrides.
Add/Remove Labels For A Cluster
Custom cluster labels can be added or removed in the cluster configuration:
- Click on the cluster name
- Select the Configuration tab and click Edit button next to cluster labels
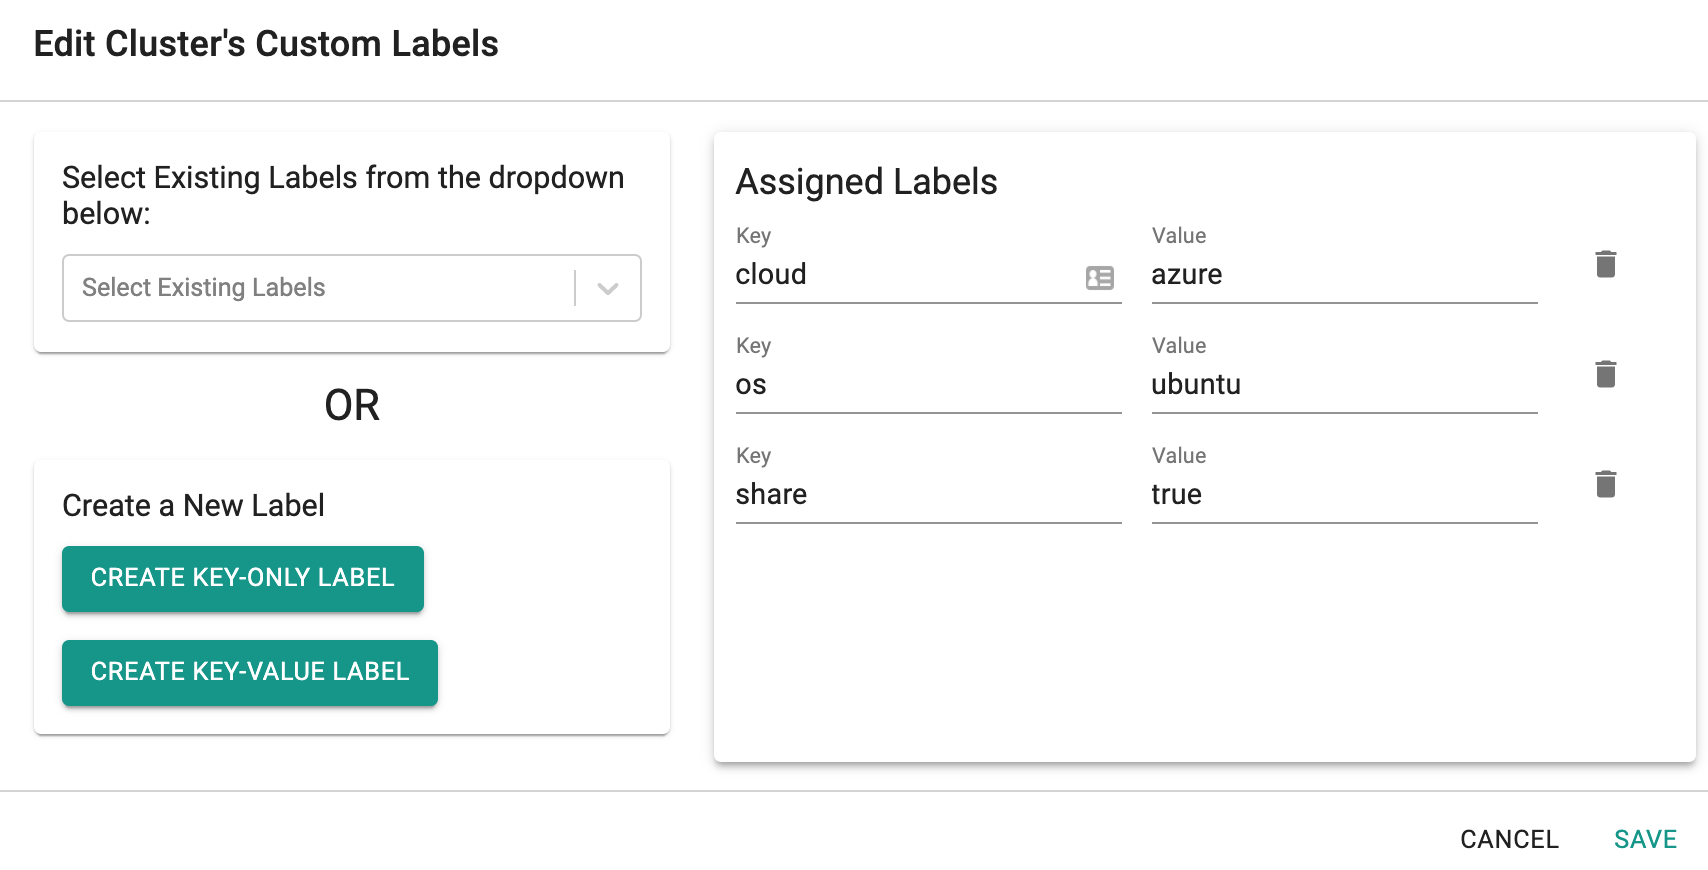
- Alternatively, click the wrench icon of the respective cluster and select Edit Labels

-
Add as many custom cluster labels as you want to.
-
To remove the custom labels, click on the delete icon next to the label that you would like to remove from the cluster.
-
Click "Save" to save the cluster label settings.
Explore our blog for deeper insights on Auto Inject Project Name in Cluster Labels, available here!
Cluster Label Management
Alternately, Infrastructure Administrators can also manage the custom labels for multiple clusters:
- Click "Manage Labels" from "Clusters" page

- List of all available cluster labels will be displayed.
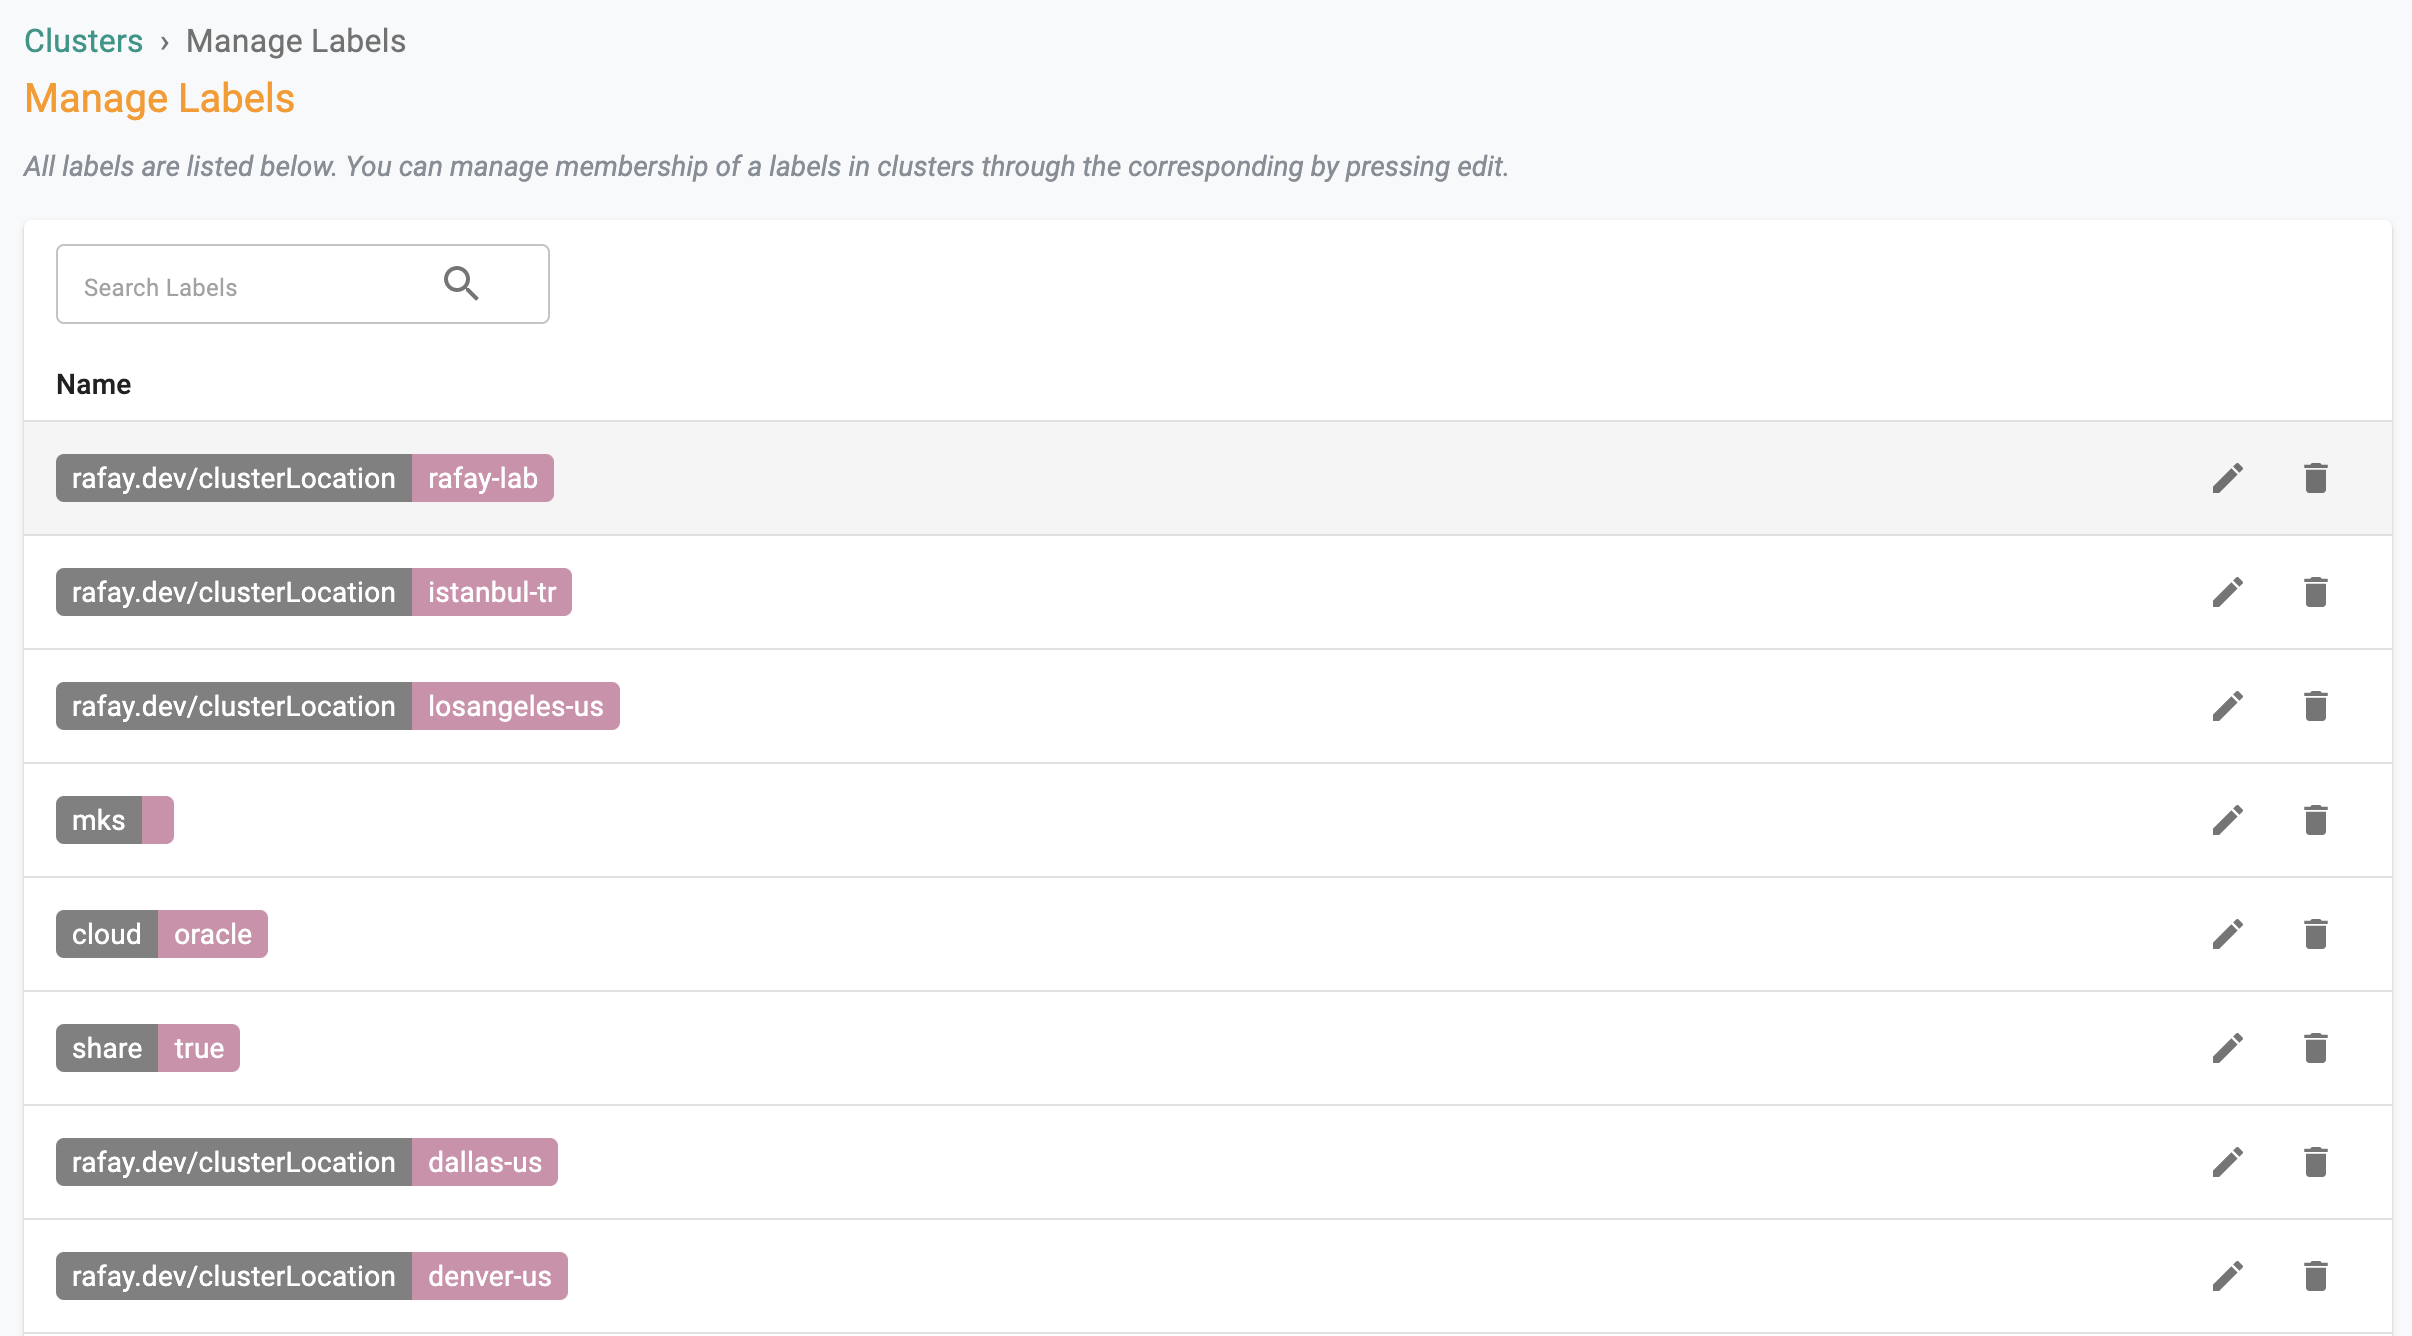
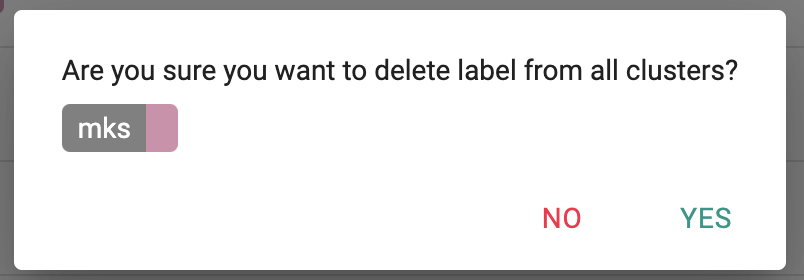
- To delete a label and remove it from all the clusters, select the Delete icon next to the label and confirm.
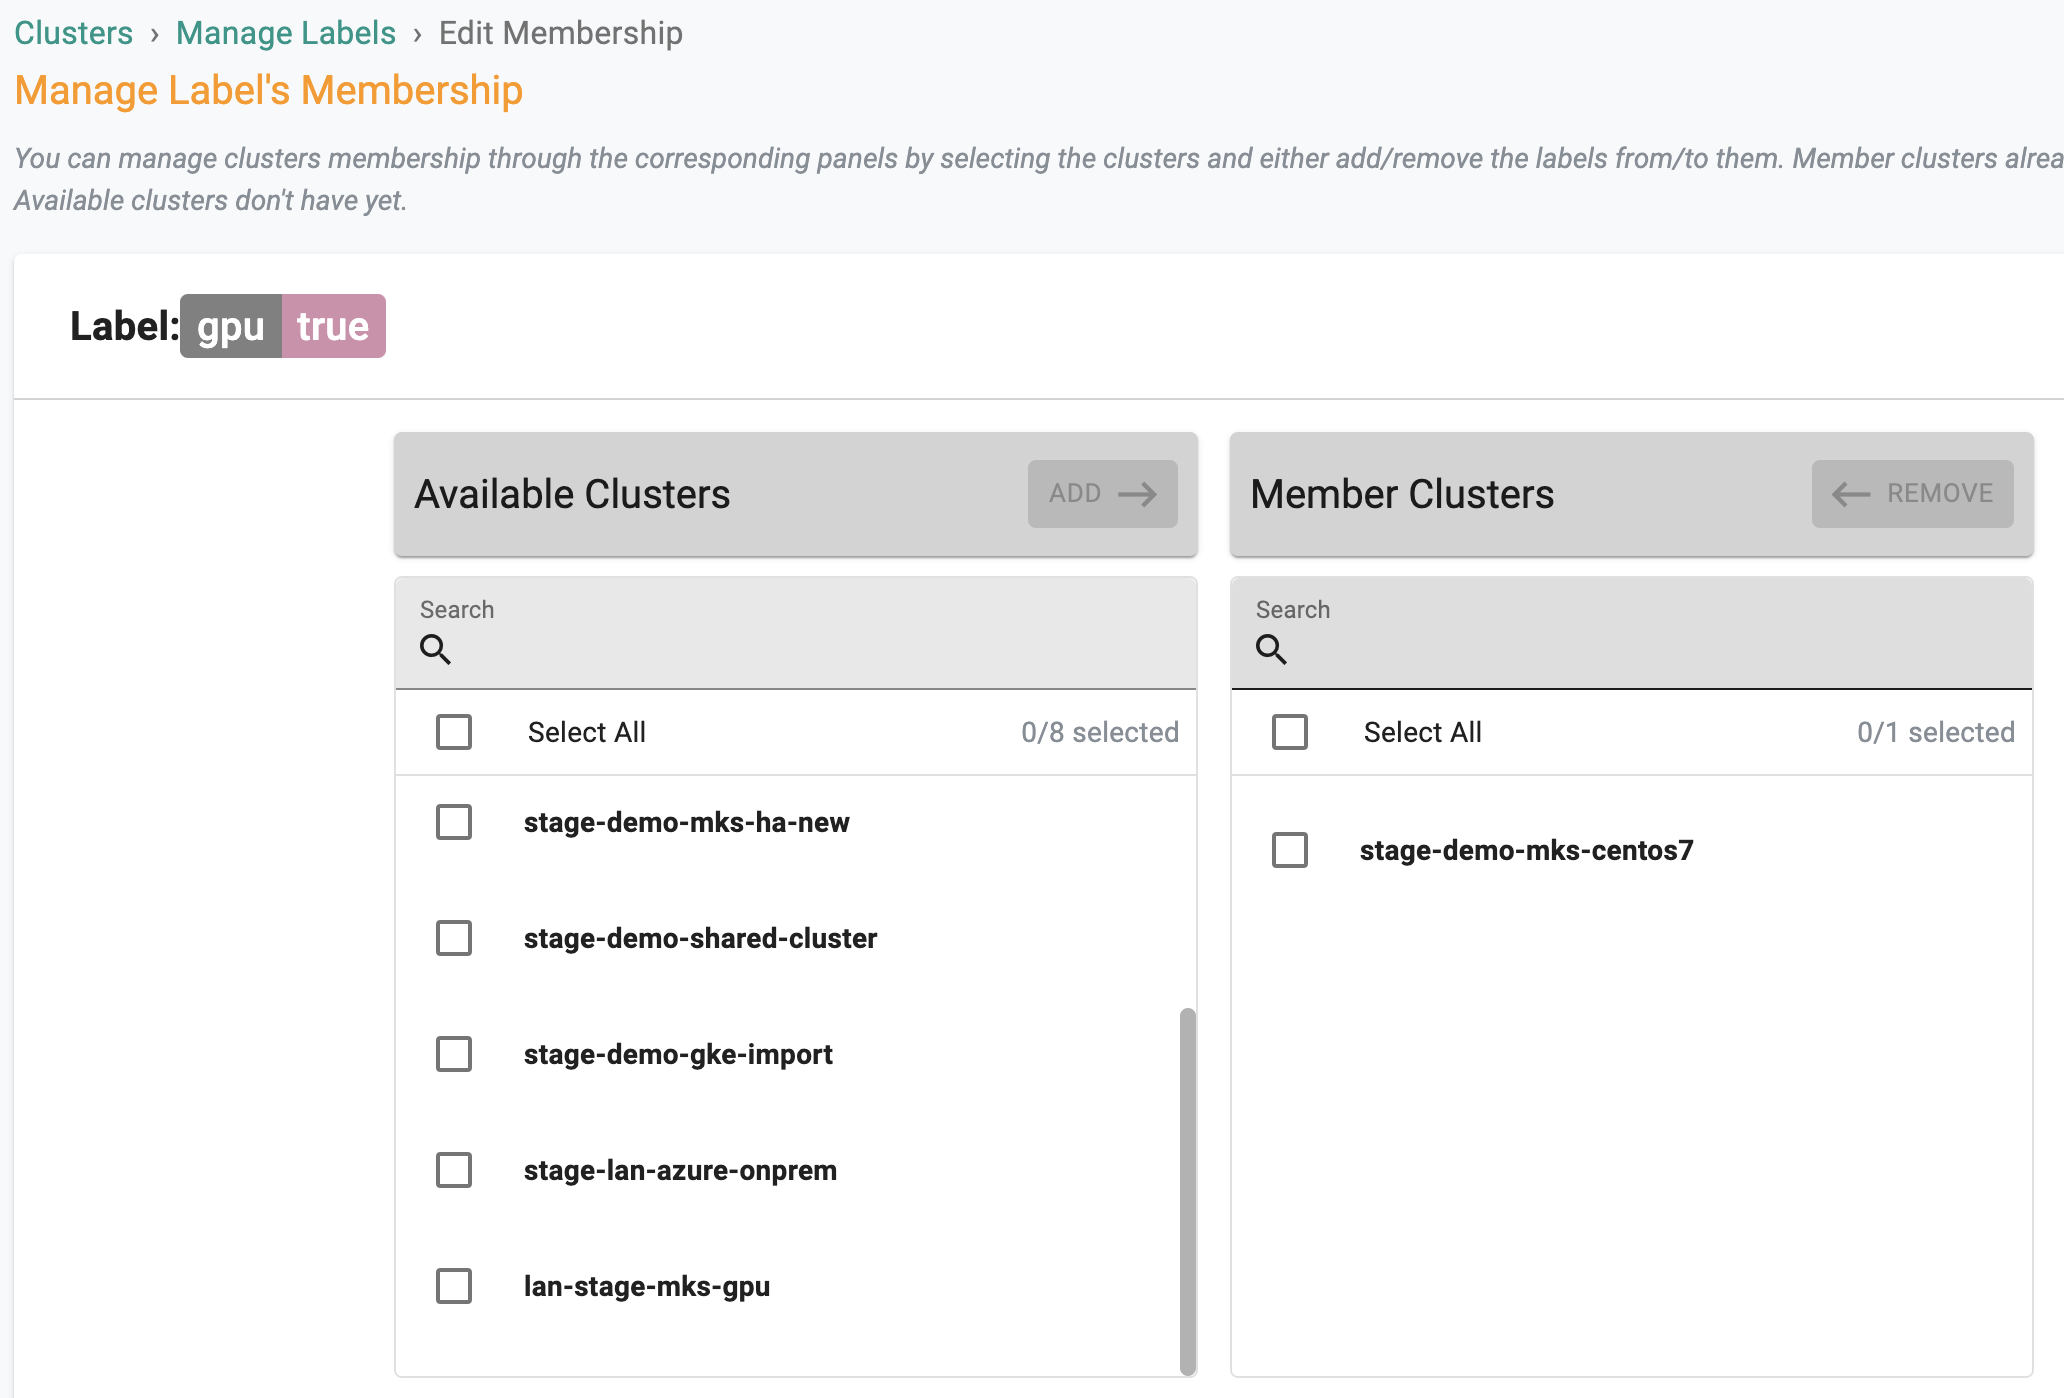
- To manage a membership of a label, select the Edit icon next to the label to list the current membership. The clusters which have this label assigned already will be listed in the "Member Clusters" column. The remaining clusters that have not had this label assigned will be displayed in the "Available Clusters" column.
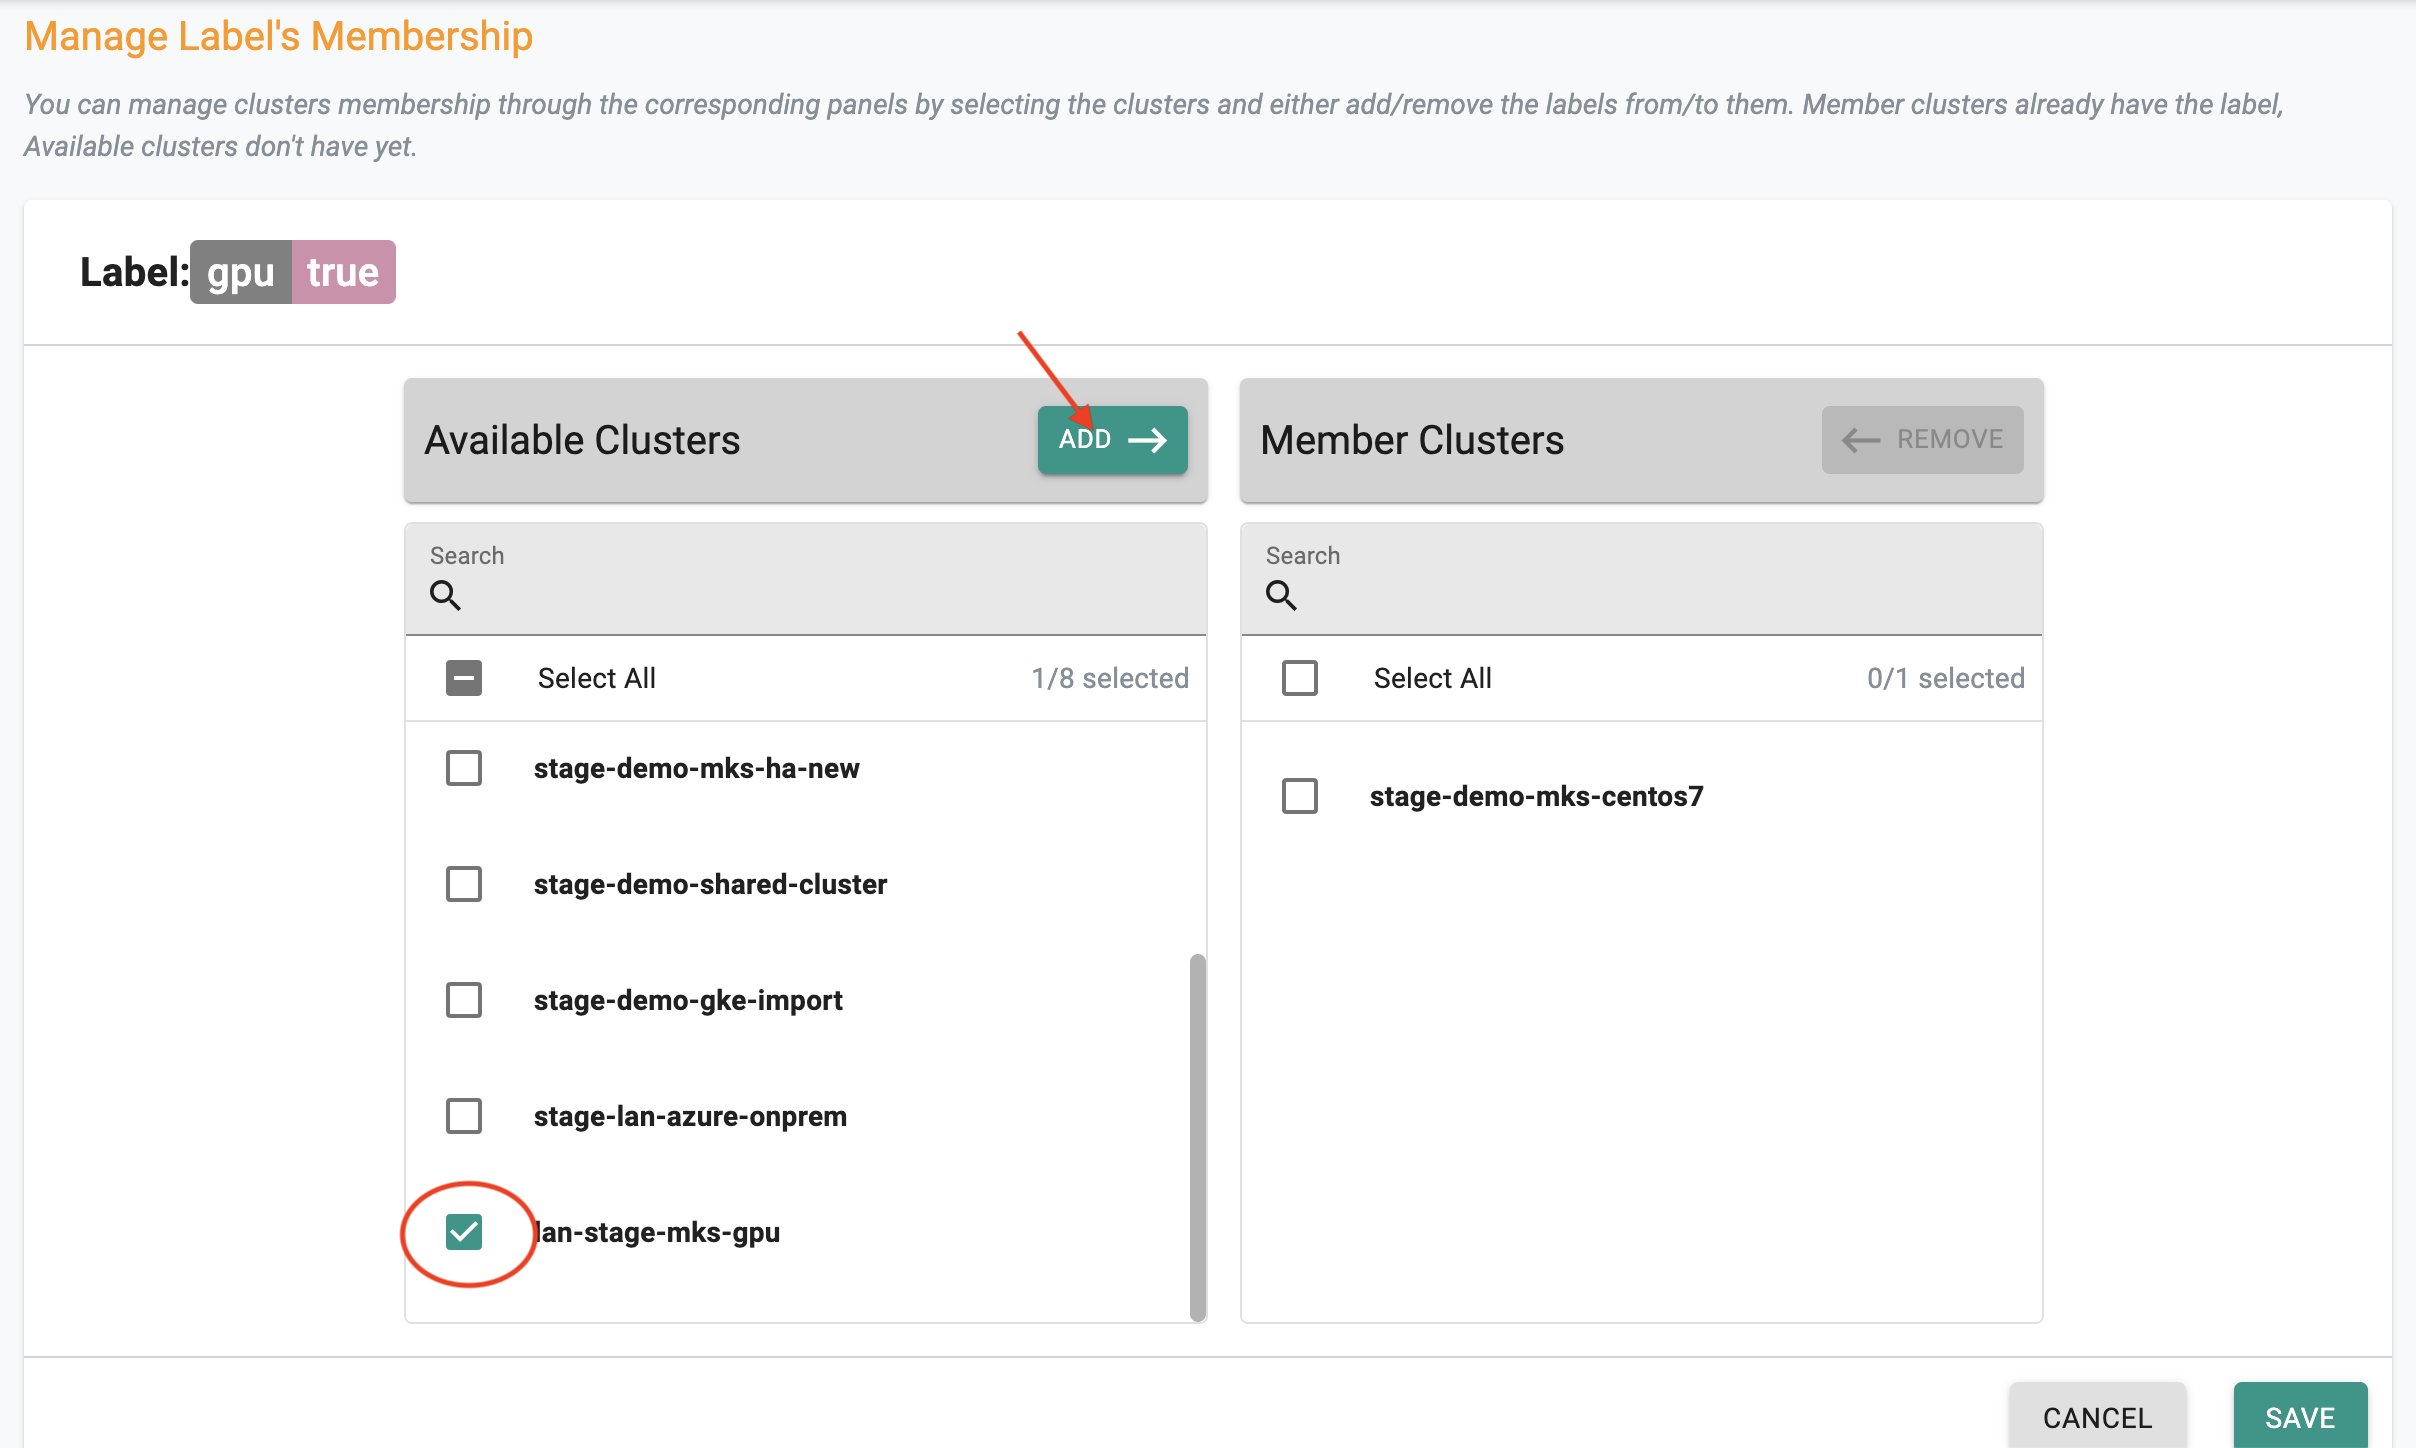
- To assign an additional cluster to this label, select the cluster names in the "Available Clusters" and click "ADD"
- To un-assign clusters from this label, select the cluster names in the "Member Clusters" and click "REMOVE"
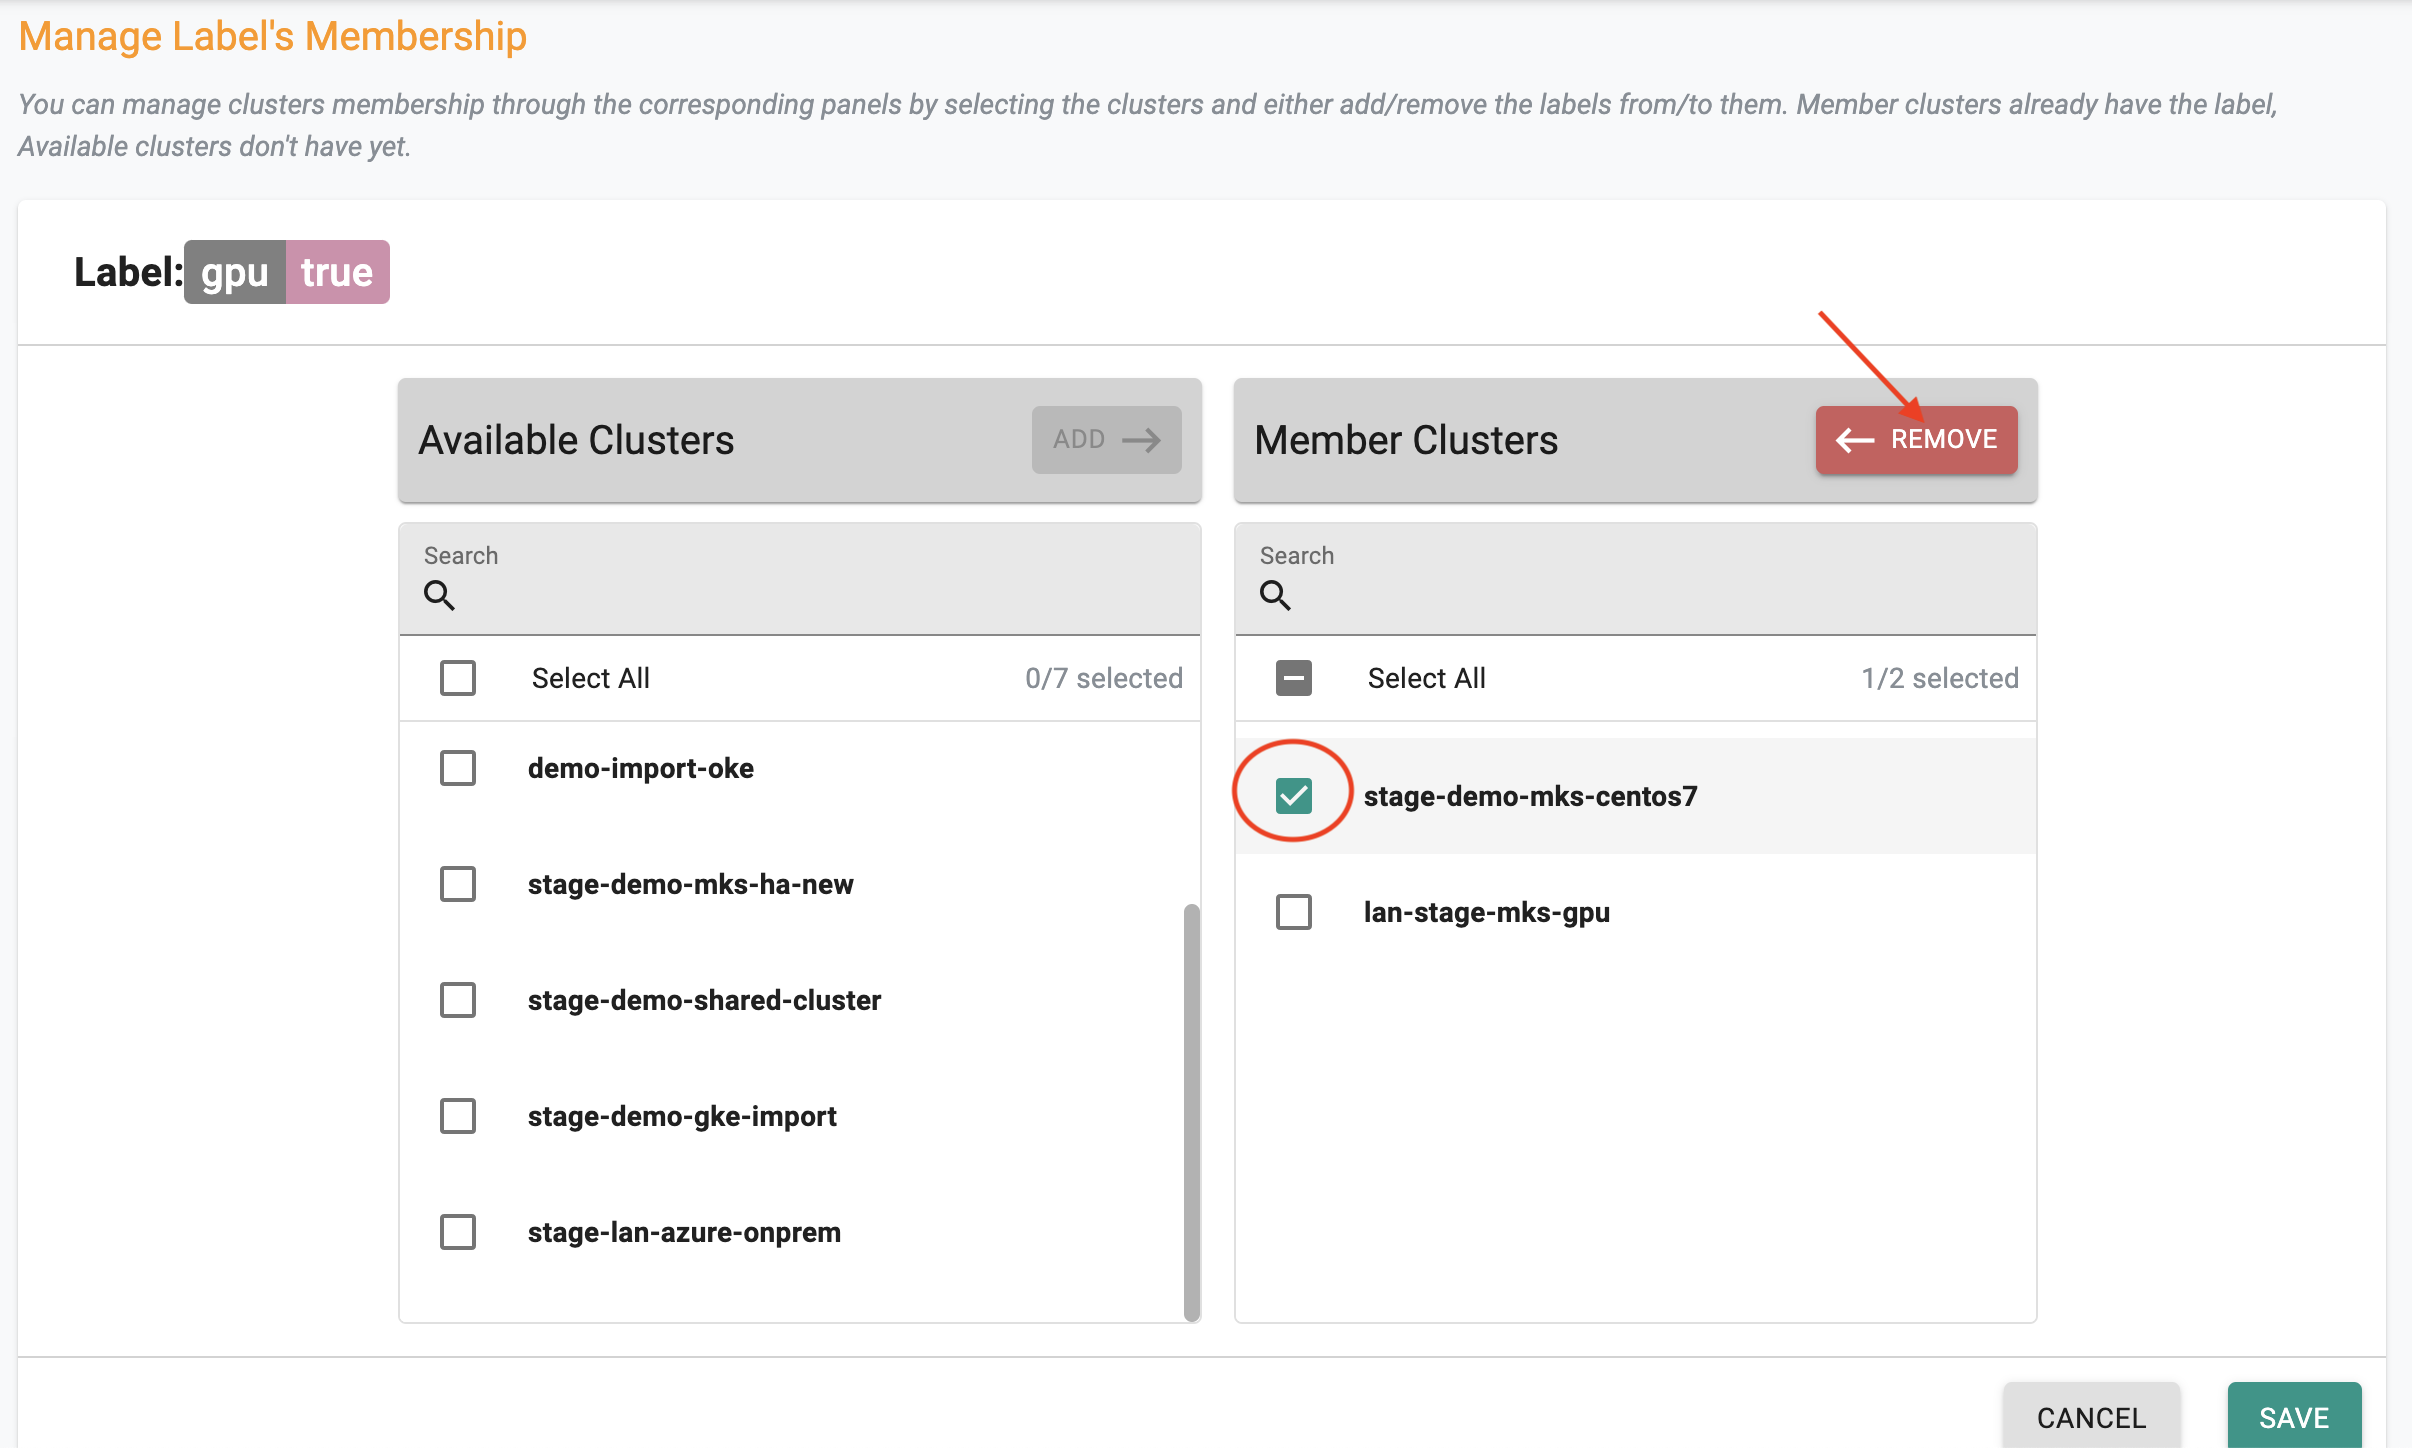
- Click "SAVE" to complete the cluster membership assignment for the cluster
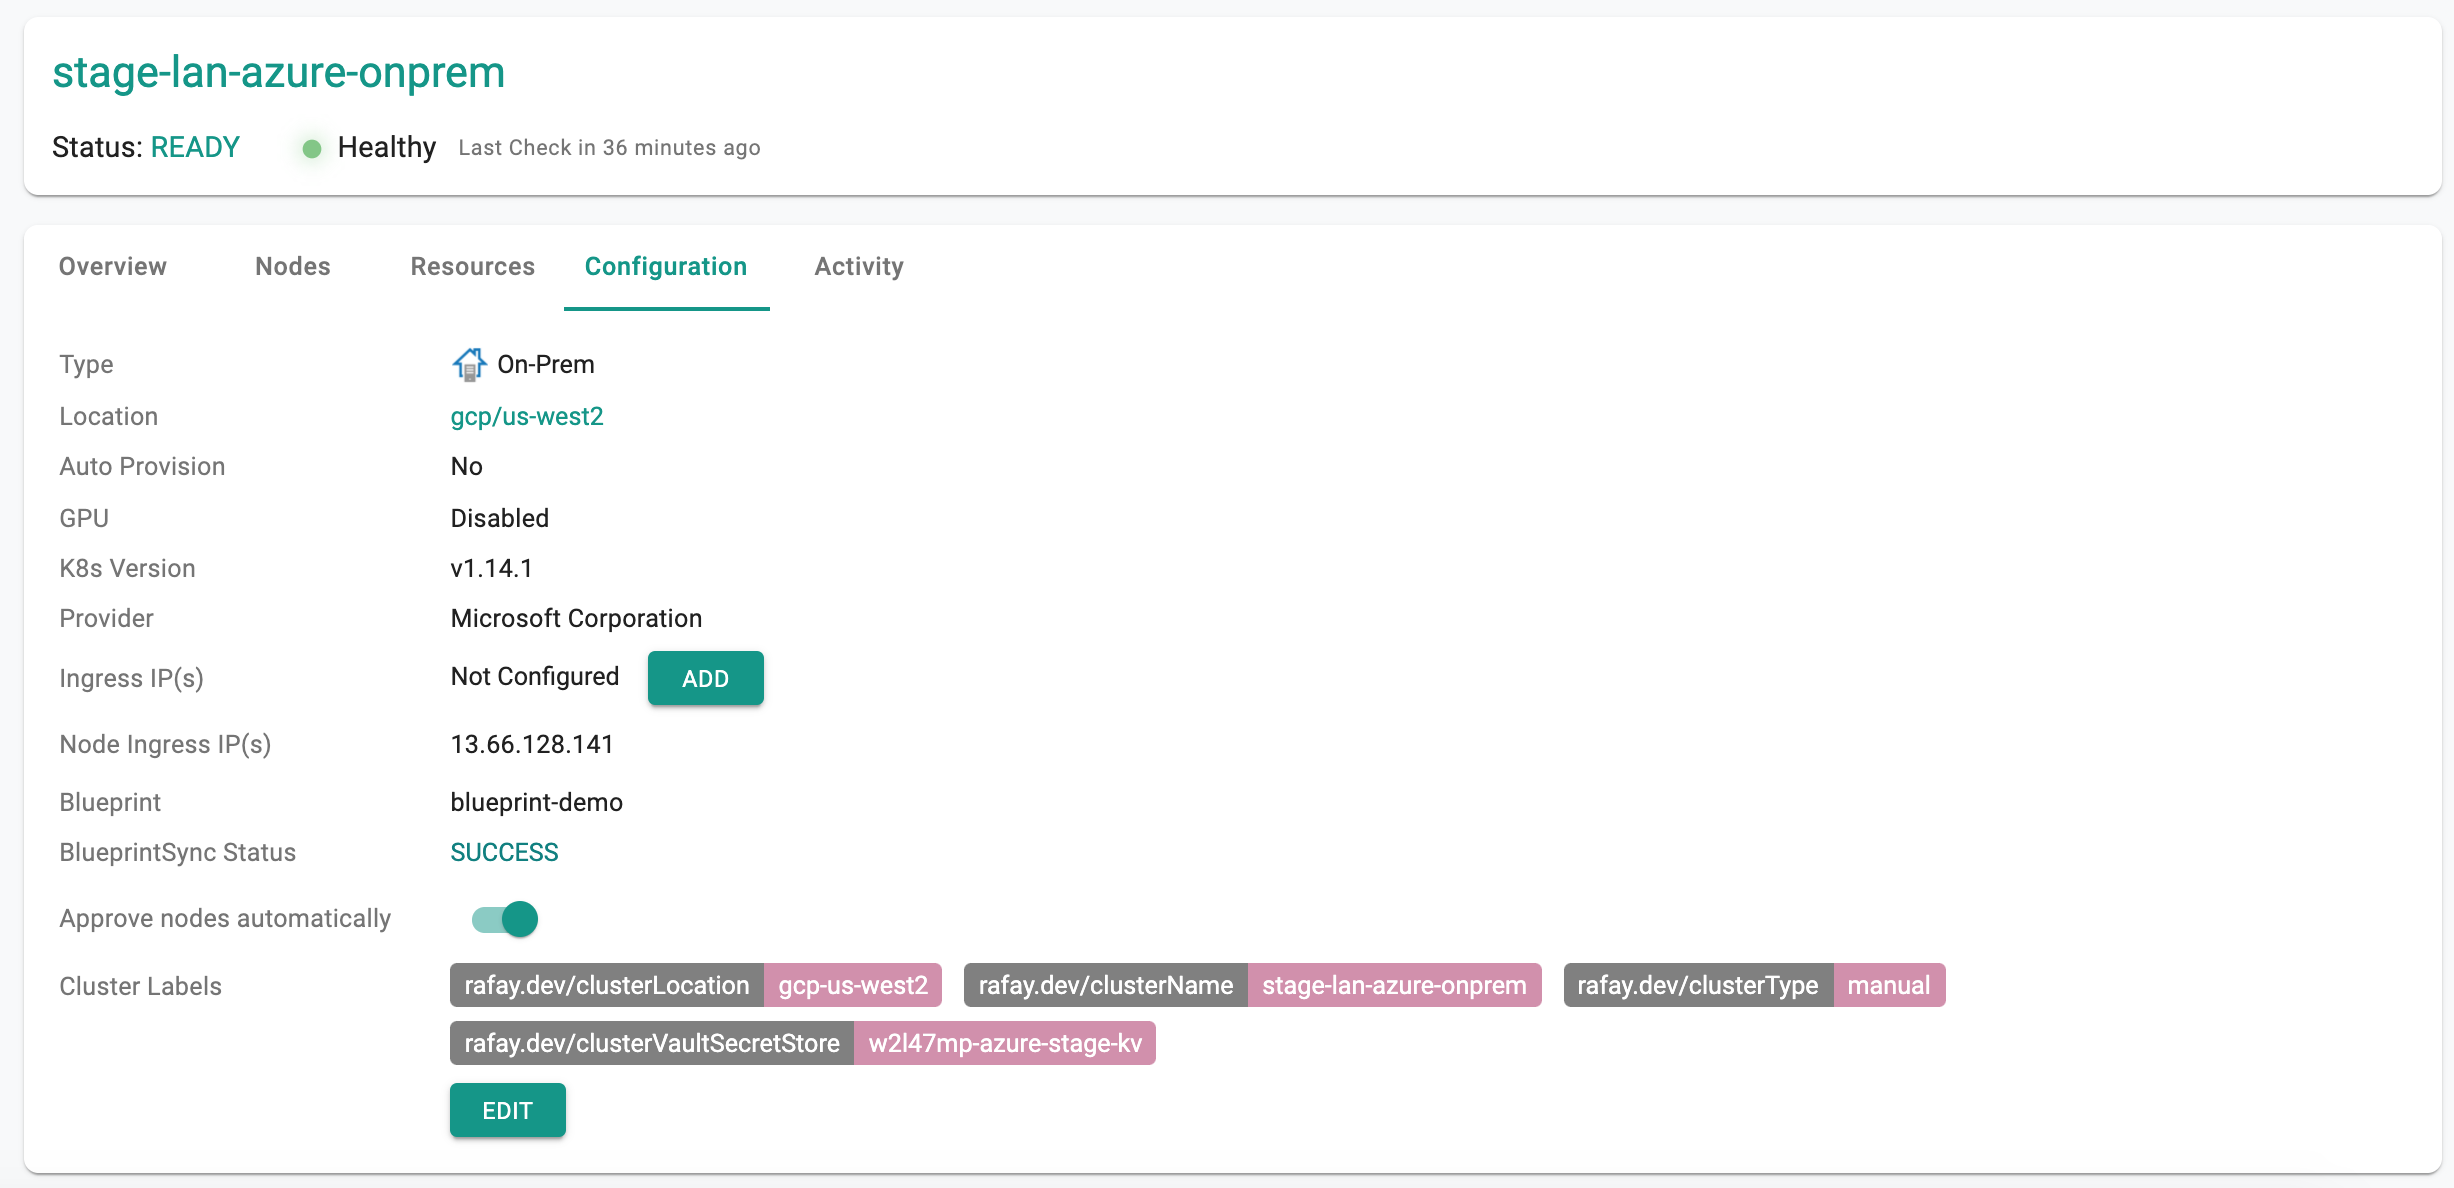
View Cluster Labels
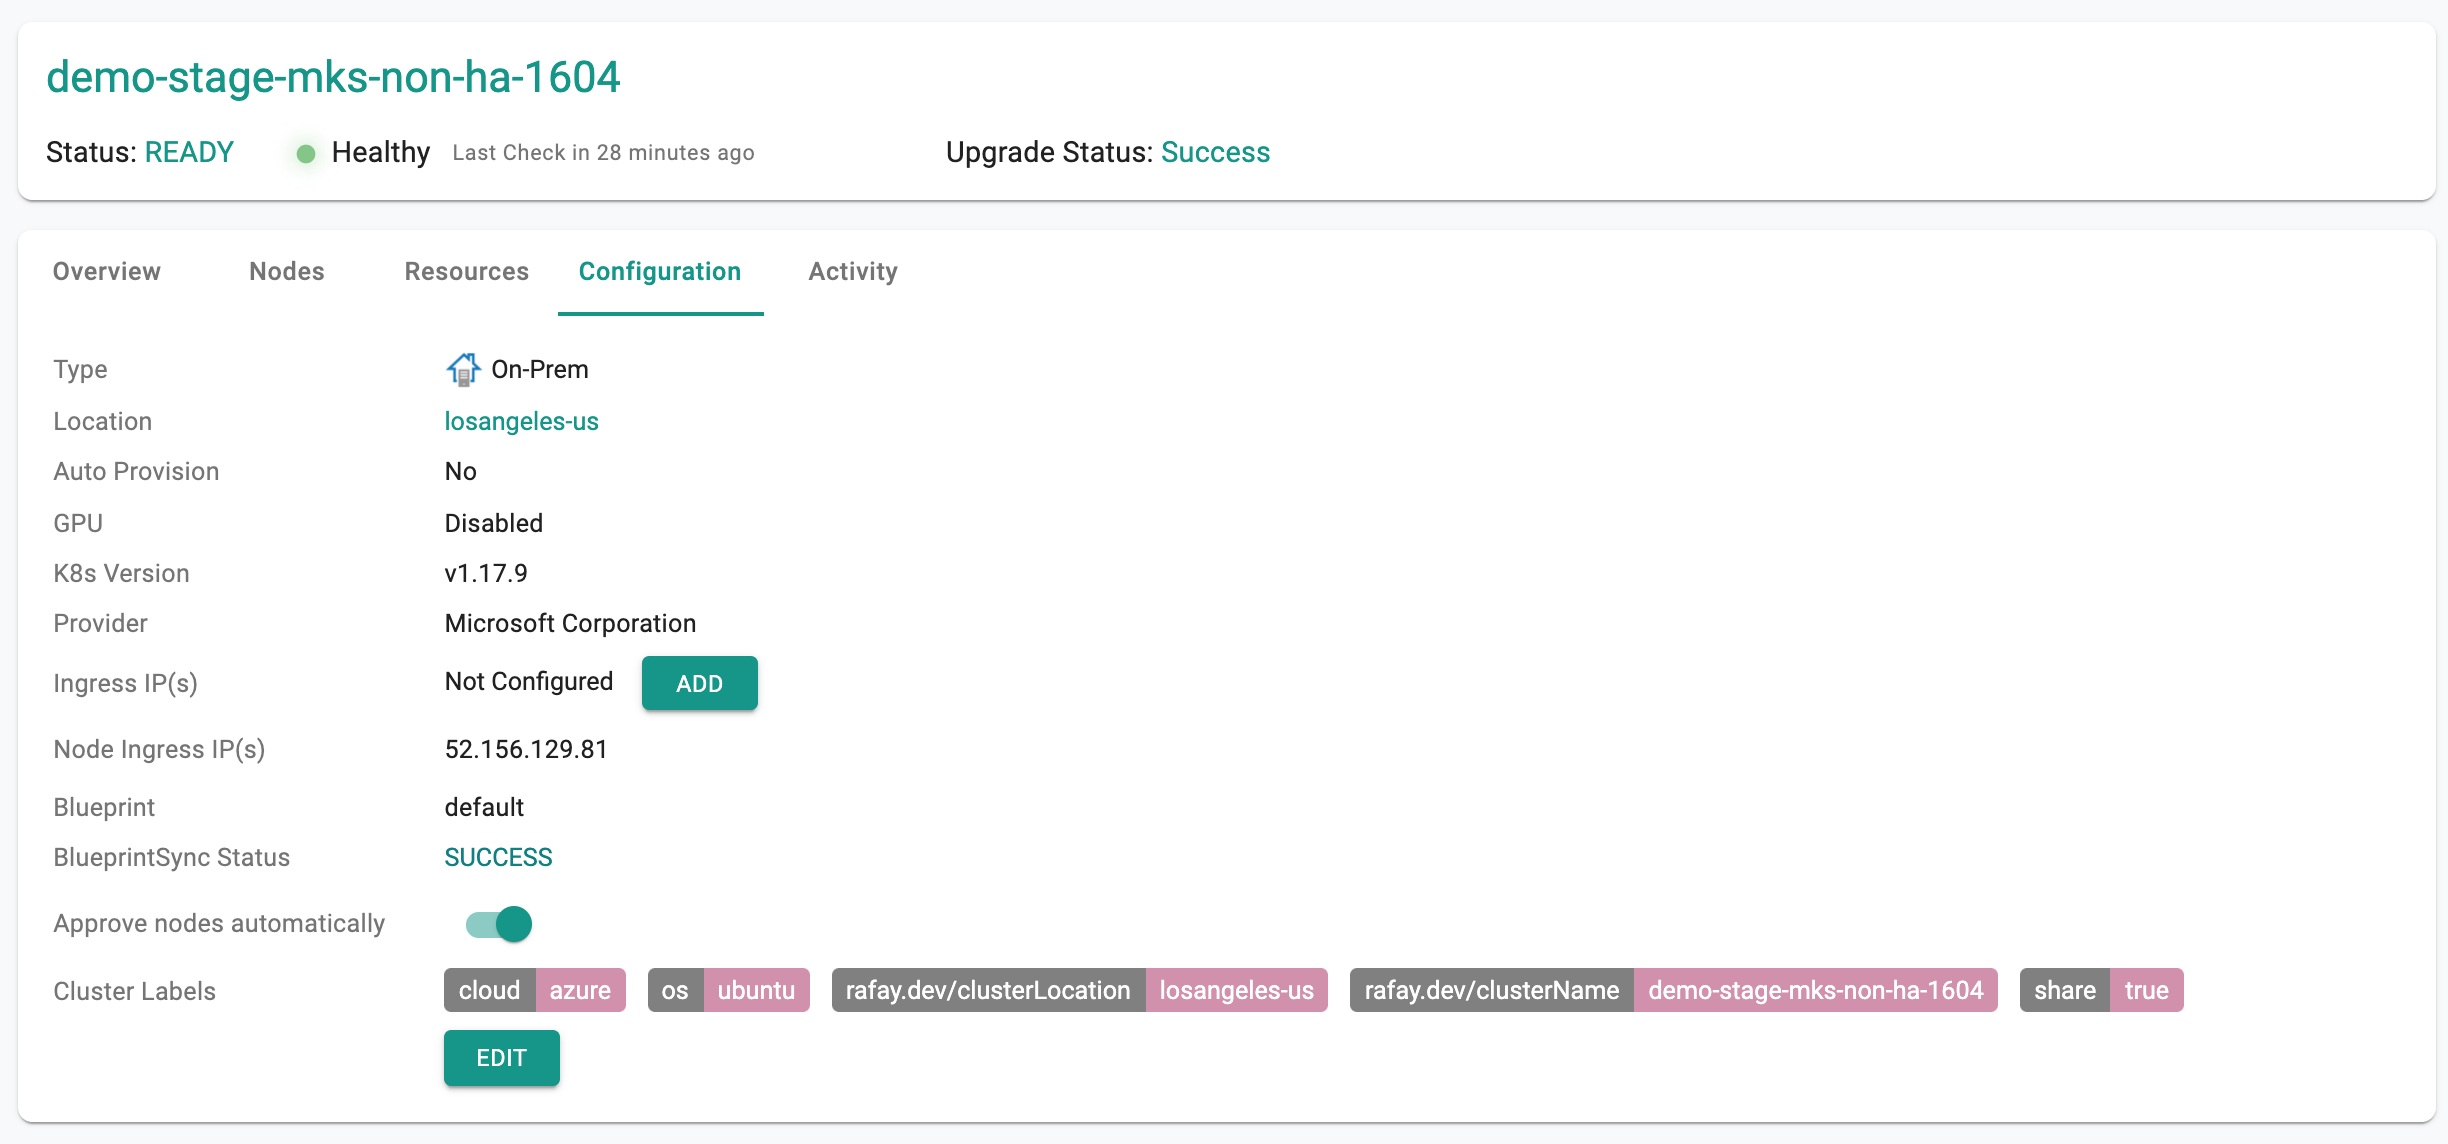
- Click on the cluster name
- Select the configuration tab to view both default and custom cluster labels associated with the cluster. An illustrative example shown below
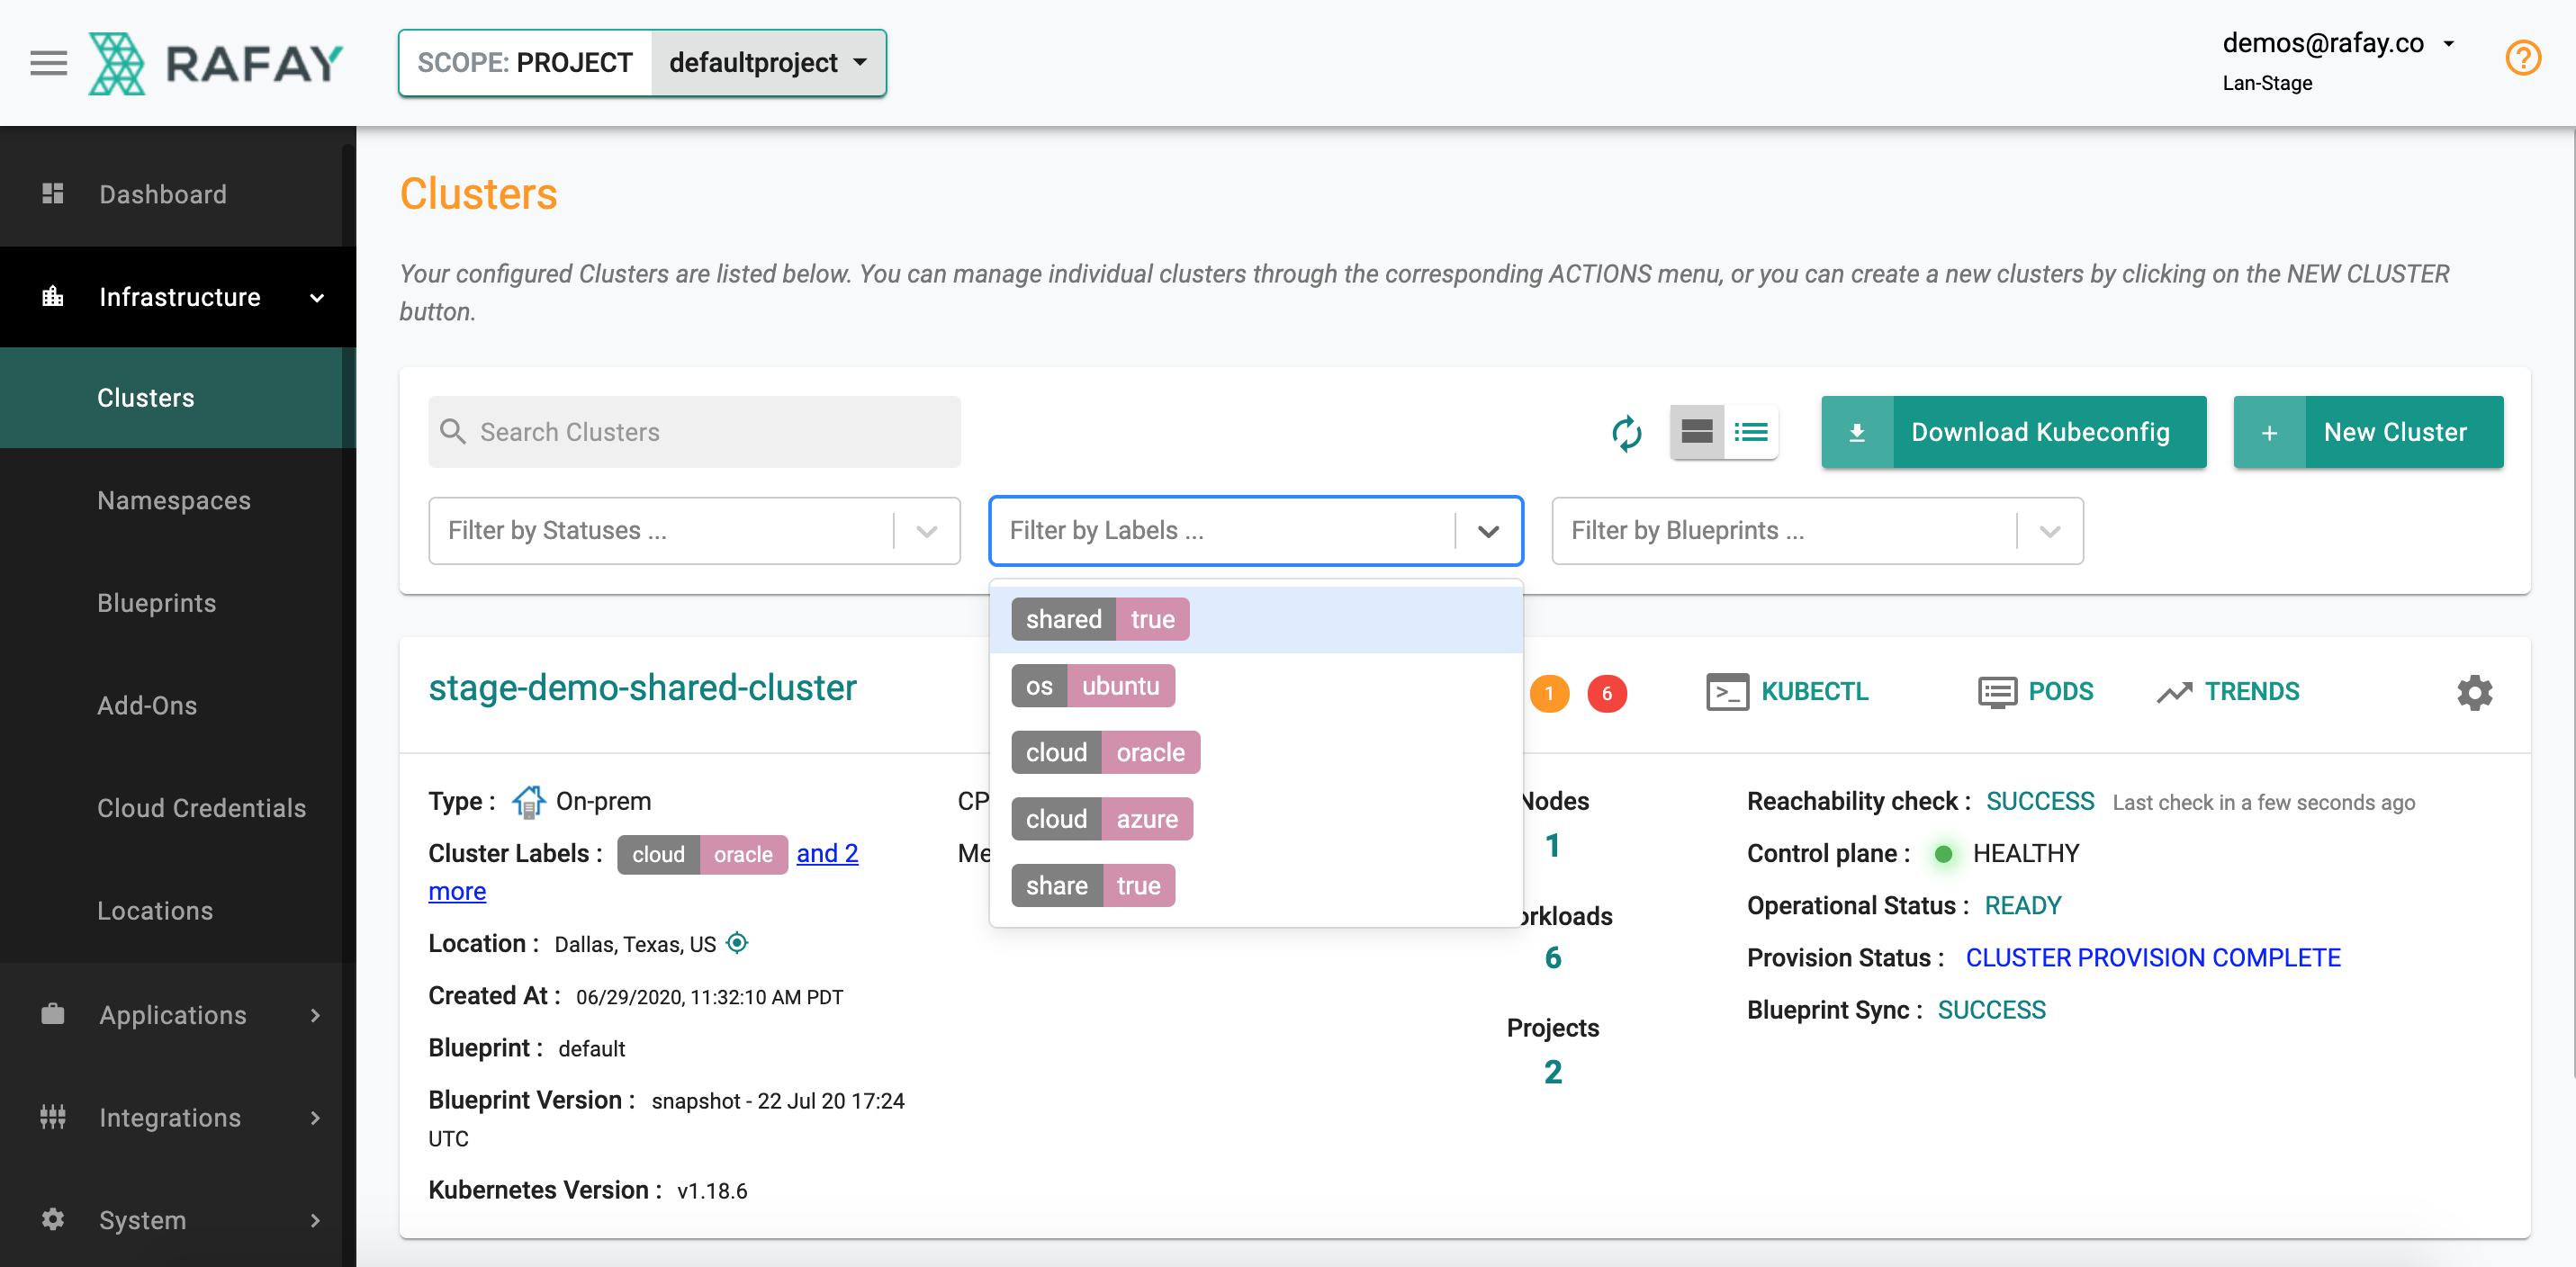
Filter by Labels
The Web Console provides administrators the ability to filter and view the list of clusters by "cluster labels".
- Navigate to your Project
- Select the "Filter by Labels" dropdown
- Select the cluster labels you would like to use for the filter (you can specify multiple labels)
An illustrative example shown below