Access
In this part, you will
- Create a K8s YAML workload that will create a Secret Provider Class resource
- Create a K8s YAML workload that will deploy sample application which will pull the secret created in Vault
- Verify the secrets are available to the pods.
Step 1: Create Secret Provider Class
To take advantage of the Secrets Store CSI driver, a SecretProviderClass custom resource will need to be created. This provides driver configurations and parameter specific details to the CSI driver.
Important
The SecretProviderClass must be in the same namespace as the pods referencing it.
Create and Publish Workload
- Create a file called ExampleSecretProviderClass.yaml from the spec below. In this example, we are telling the CSI to pull password from secret/data/db-pass in Vault and create a K8s secret with name db-password.
apiVersion: secrets-store.csi.x-k8s.io/v1
kind: SecretProviderClass
metadata:
  name: vault-database
spec:
  provider: vault
  parameters:
    vaultAddress: "http://vault.default:8200"
    roleName: "database"
    objects: |
      - objectName: "db-password"
        secretPath: "secret/data/db-pass"
        secretKey: "password"
-
Click on Application -> Workloads
-
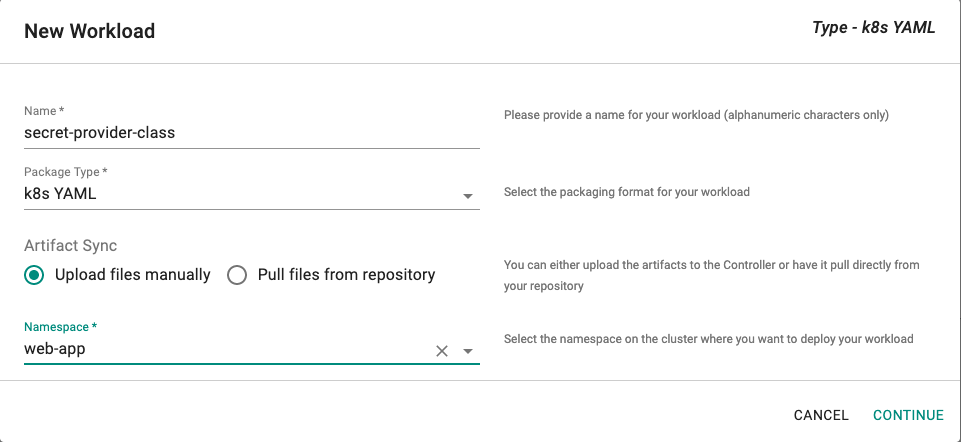
Click on Create New Workload with the name "secret-provider-class"
-
Select "K8s YAML" for package type
-
Select "Upload files manually" for Artifact Sync.
-
Select the "web-app" namespace from the dropdown.
-
Click Continue
-
Select the file "ExampleSecretProviderClass.yaml" created above.

-
Select a cluster for the placement policy
-
Publish the workload
Step 2: Deploy Application
In this step, we will configure and deploy a test pod to the cluster. We will use a K8s YAML manifest which will reference the service account, SecretProviderClass and Volume Mount path.
Create and Publish Workload
Below is an example of a sample application. Note the following:
- Service Account name: It should match the service account name created as part of Step 1
- CSI Volume: secretProviderClass is the name of the Secret Provider Class created here
- Volume Mount: Path inside the pod where the secret should be mounted for the application to read
kind: Pod
apiVersion: v1
metadata:
  name: webapp
spec:
  serviceAccountName: webapp-sa
  containers:
  - image: jweissig/app:0.0.1
    name: webapp
    volumeMounts:
    - name: secrets-store-inline
      mountPath: "/mnt/secrets-store"
      readOnly: true
  volumes:
    - name: secrets-store-inline
      csi:
        driver: secrets-store.csi.k8s.io
        readOnly: true
        volumeAttributes:
          secretProviderClass: "vault-database"
-
Click on Application -> Workloads.
-
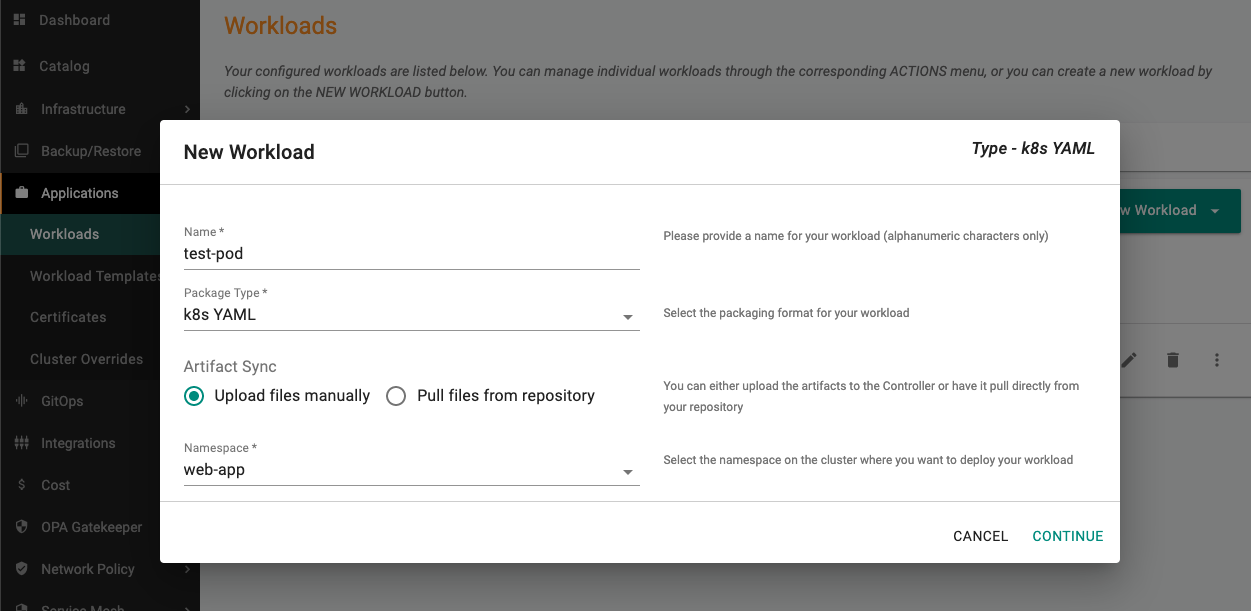
Click on Create New Workload with the name "test-pod"
-
Select "K8s YAML" for package type
-
Select "Upload files manually" for Artifact Sync
-
Select the "web-app" namespace from the dropdown
-
Click Continue
-
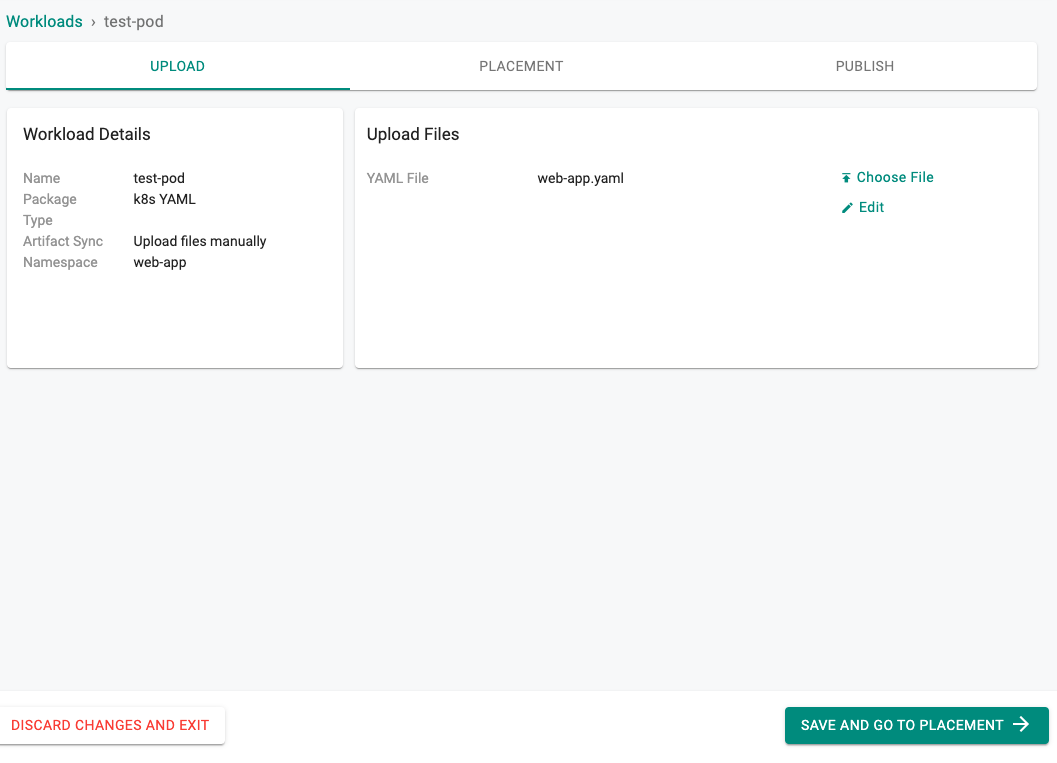
Select the file downloaded in the previous step
-
Select a cluster for the placement policy
-
Publish the workload
Step 3: Access the secrets
-
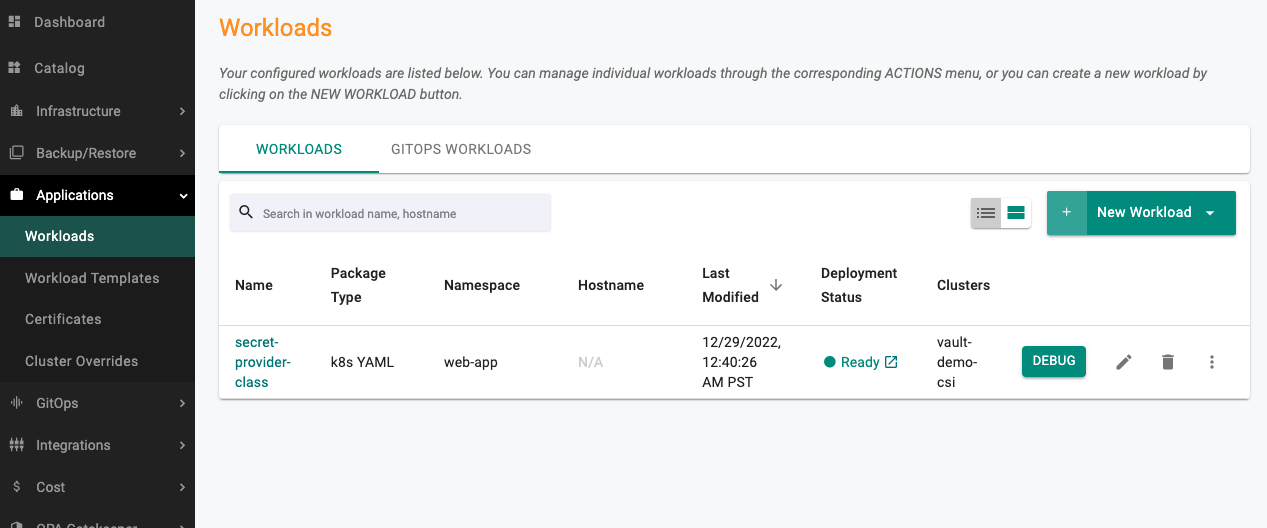
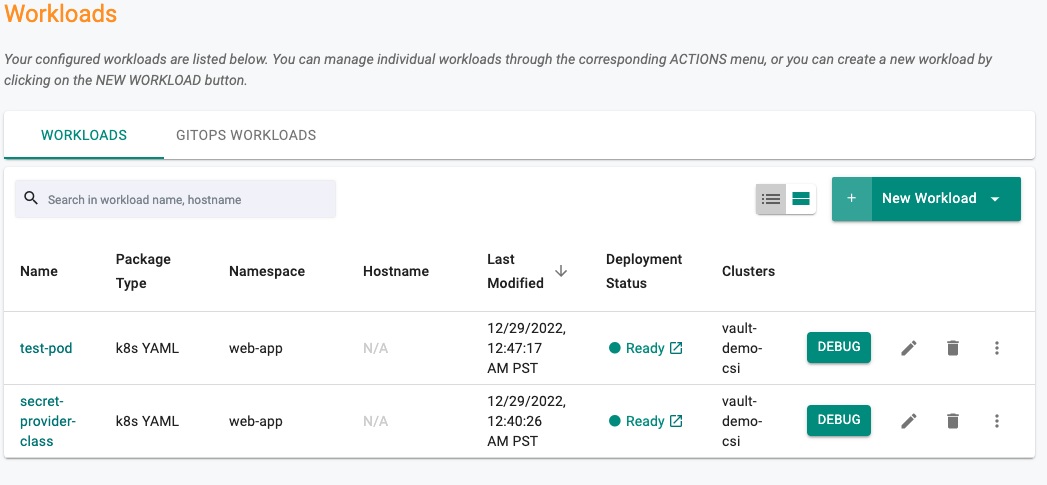
Navigate to the Workloads Page
-
Click on the Debug Option available for the "test-pod" workload
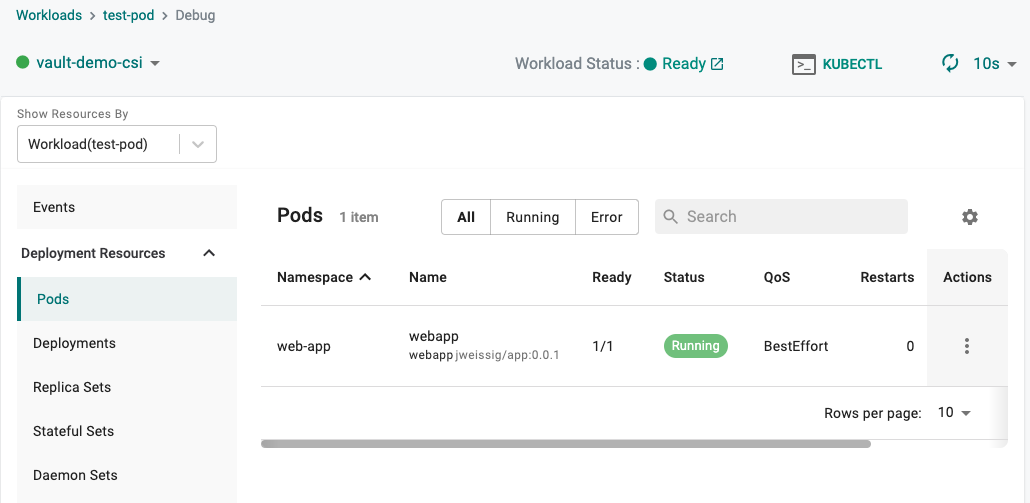
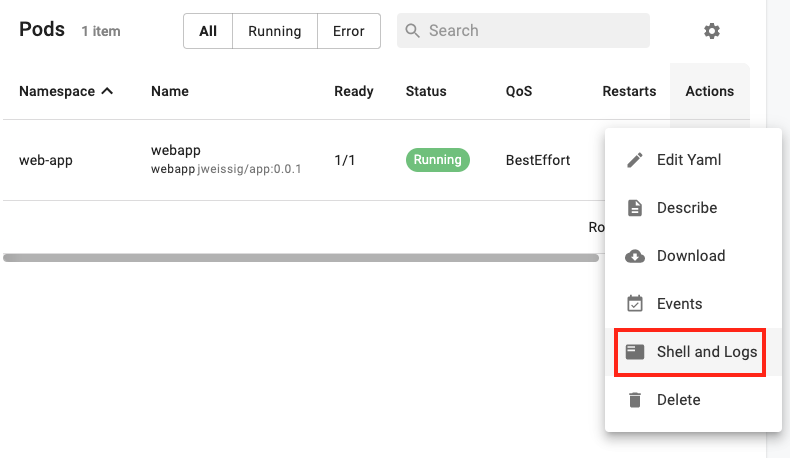
- Click on the "Shell & Logs" icon under the Actions tab.
-
Click on the "Exec" button
-
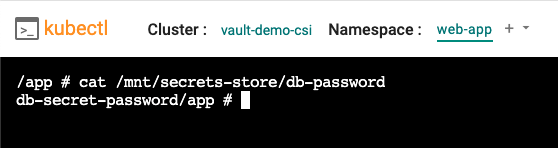
Run the following command in the shell
# cat /mnt/secrets-store/db-password
You can see that the value displayed matches the password value for the secret secret/db-pass.
Congratulations! You can now pull and inject secrets from Vault into your applications.
More information about Secret Store CSI driver and examples can be found here.