Create
In this part, you will
- Configure and provision an Amazon EKS Cluster
- Create External Secrets Operator addon
- Create a custom cluster blueprint with the newly created addon
- Apply the custom cluster blueprint to your EKS cluster
Step 1: Configure RCTL
This step is a one-time task. In this step, you will download the RCTL CLI so that you can interact with your Org programmatically and embed all operations in your existing automation platform.
- Login into your Org and click on My Tools
- Download the RCTL CLI binary for your operating system and install it on a node from which you can perform Kubectl operations to your EKS cluster
- Download the CLI config and initialize the RCTL CLI with the config file
./rctl config init <full path to config file>
Optionally, check if RCTL is properly configured and can interact with your Org. You should see an output similar to the example below.
./rctl get projects

NAME
defaultproject
Step 2: Provision EKS cluster
This step assumes the following:
- You have already created "cloud credentials" in the "default project".
- You have configured the RCTL CLI to interact with "default project".
In the example below, you will provision an Amazon EKS cluster in the "default project" with "one managed nodegroup" using the cluster specification provided below.
| Type | Description |
|---|---|
| Cluster Name | eso-demo |
| Project | default |
| Blueprint | minimal |
| k8s Version | 1.26 |
| AWS Region | us-west-2 |
| Worker Nodes | 1 |
| Node Group Type | Managed |
apiVersion: infra.k8smgmt.io/v3
kind: Cluster
metadata:
  name: eso-demo
  project: defaultproject
spec:
  blueprintConfig:
    name: minimal
    version: latest
  cloudCredentials: demo-aws-full-role
  config:
    addons:
    - name: aws-ebs-csi-driver
      version: latest
    managedNodeGroups:
    - amiFamily: AmazonLinux2
      desiredCapacity: 1
      iam:
        withAddonPolicies:
          autoScaler: true
      instanceTypes:
      - t3.large
      maxSize: 5
      minSize: 1
      name: dreta-managed-ng
      privateNetworking: true
      version: "1.26"
      volumeSize: 80
      volumeType: gp3
    metadata:
      name: eso-demo
      region: us-west-2
      tags:
        email: [email protected]
        env: dev
      version: "1.26"
    network:
      cni:
        name: aws-cni
    vpc:
      cidr: 192.168.0.0/16
      clusterEndpoints:
        privateAccess: true
        publicAccess: false
      nat:
        gateway: Single
  proxyConfig: {}
  type: aws-eks
- Copy the cluster specification and save it to a YAML file (e.g "eso-demo.yaml")
- Use the RCTL CLI to provision the EKS cluster in your project
./rctl apply -f "eso-demo.yaml"
This will start the provisioning of an EKS cluster in the project. This step can take ~20-30 minutes to complete. Once provisioning is successful, you should be able to interact with your EKS cluster in your Project.
Step 3: Cluster Blueprint
In this step, you will:
- Create an External Secrets Operator addon allowing you to synchronize secrets stored in AWS Secrets Manager to K8s Secrets.
- Create a custom cluster blueprint with the External Secrets Operator addon.
Create Namespace
- Click on Infrastructure -> Namespaces
- Click New Namespace
- Enter "external-secrets" in the "Name" section
- For "Type" Select "Wizard" from the dropdown
- Click "SAVE"
- Click "SAVE & GO TO PLACEMENT"
- For the placement select the cluster we just created
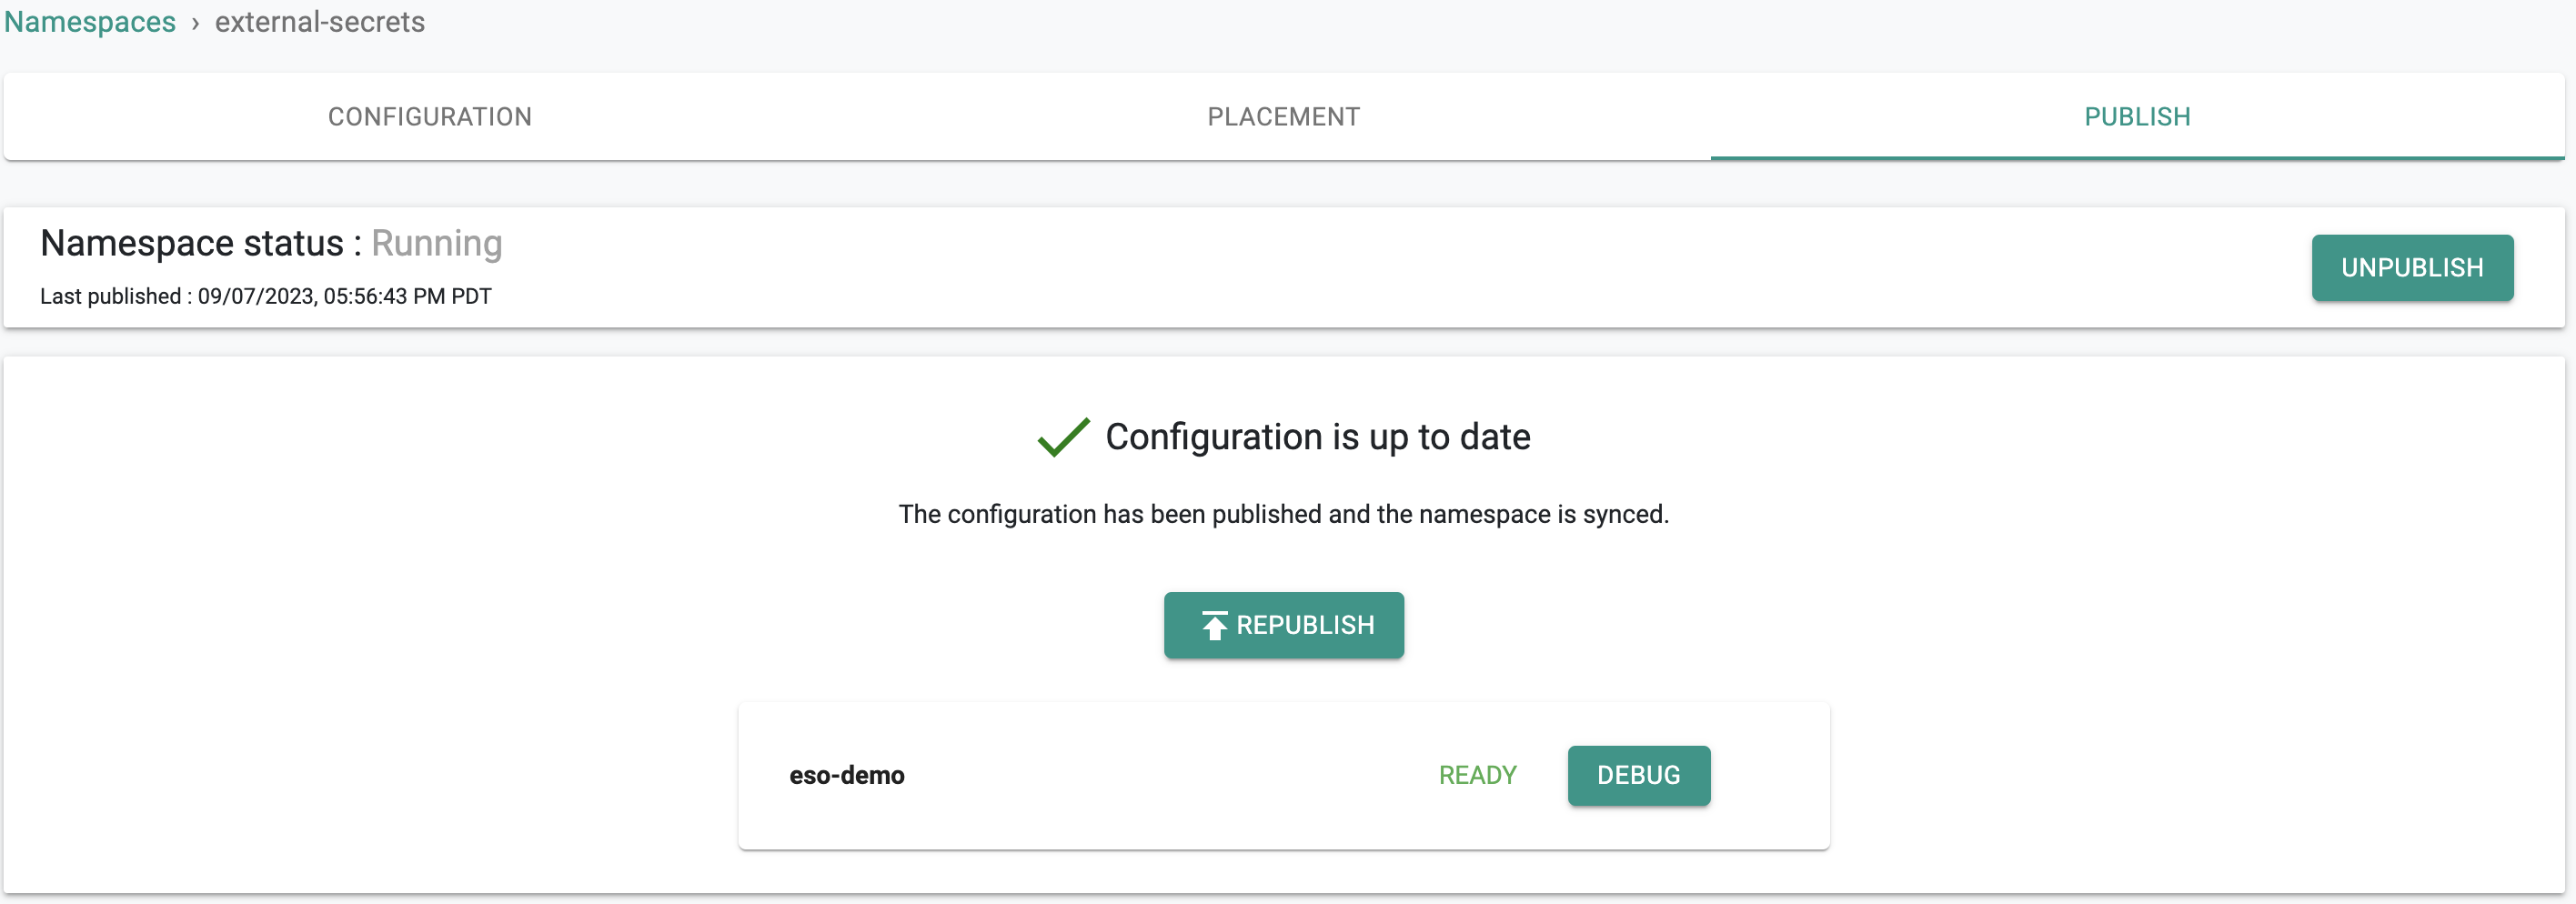
- Click "SAVE & GO TO PUBLISH"
- Click on "Publish"
Create External Secrets Operator Addon
- Click on Infrastructure -> Addons
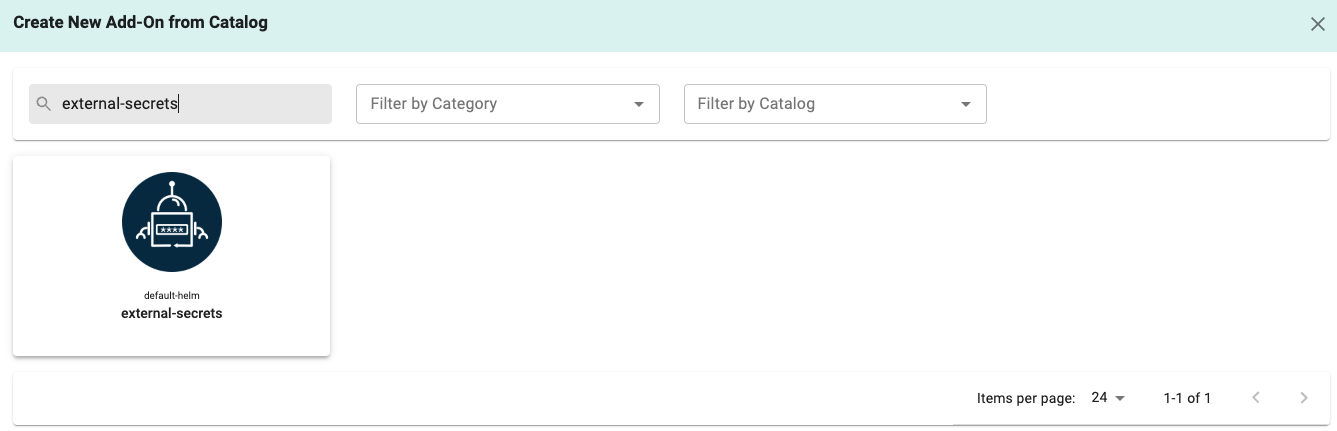
- Click on "Create New Addon from Catalog"
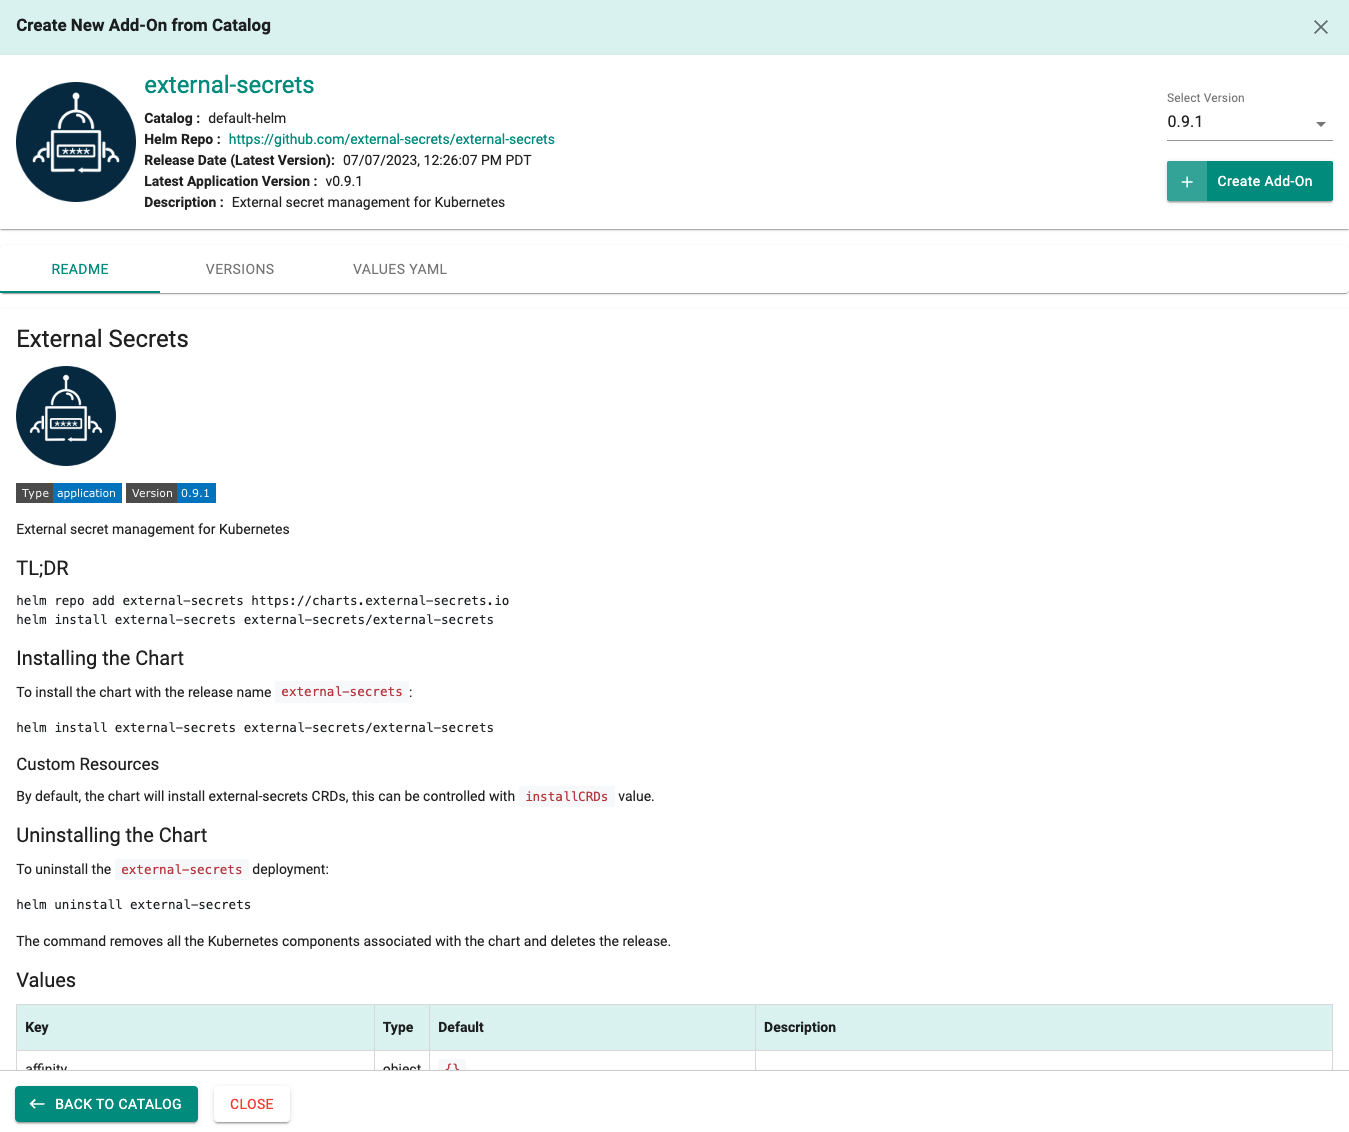
- Select the "external-secrets" chart from the "default-helm" catalog
- Select a Version, we are using "0.9.1".
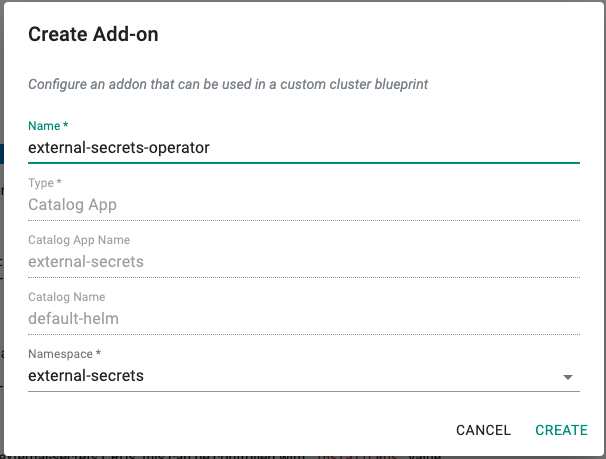
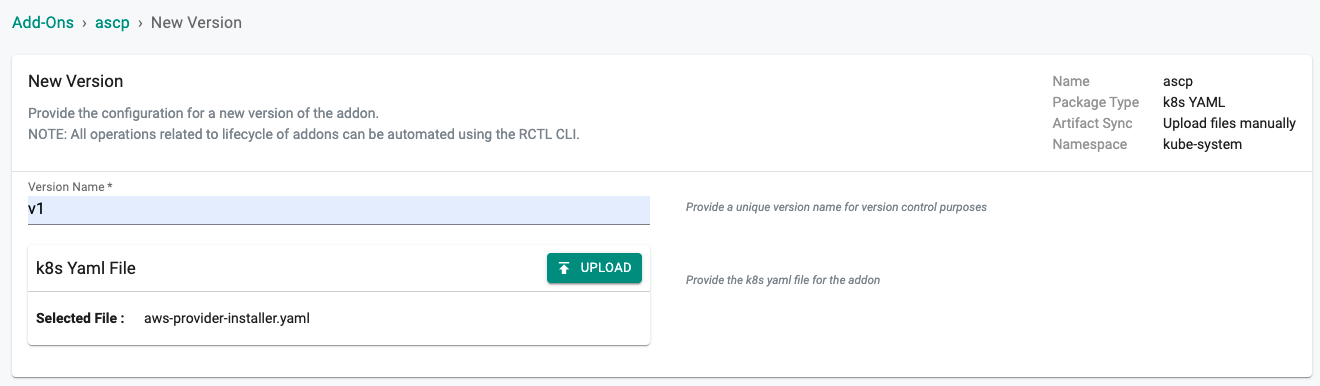
- Click on "Create Add-On"
- Enter "external-secrets-operator" for the Name
- Enter "external-secrets" for the namespace
- Click on "CREATE"
- Enter a version name, for this exercise we are using "v0.9.1-1"
- Click on "SAVE CHANGES"
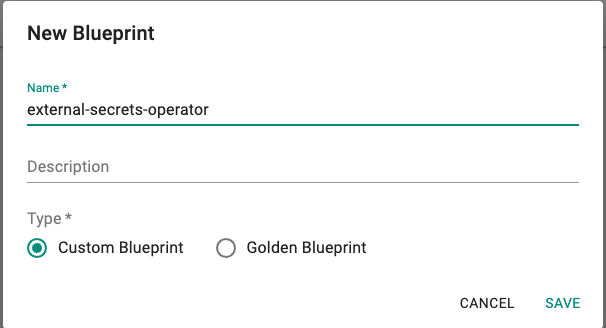
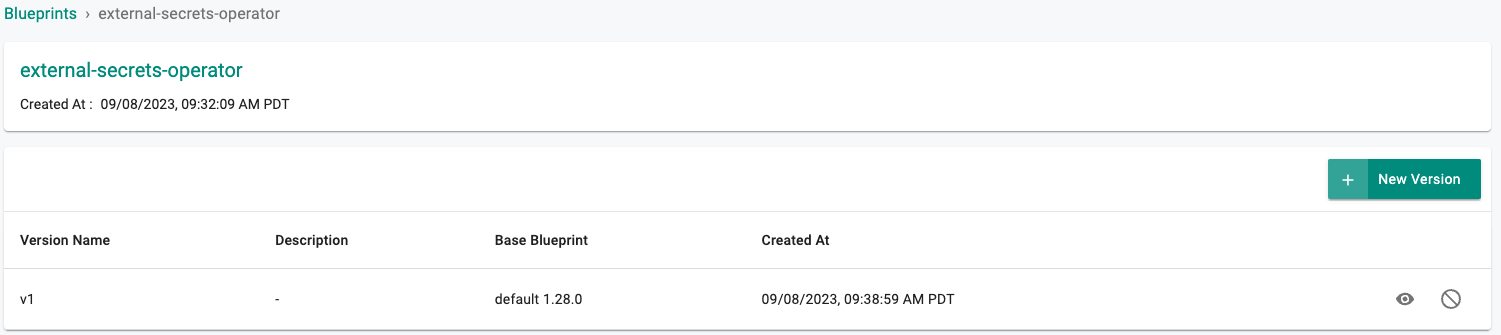
New Blueprint
- Select blueprints and create a new blueprint (e.g. external-secrets-operator)
- Click on "SAVE"
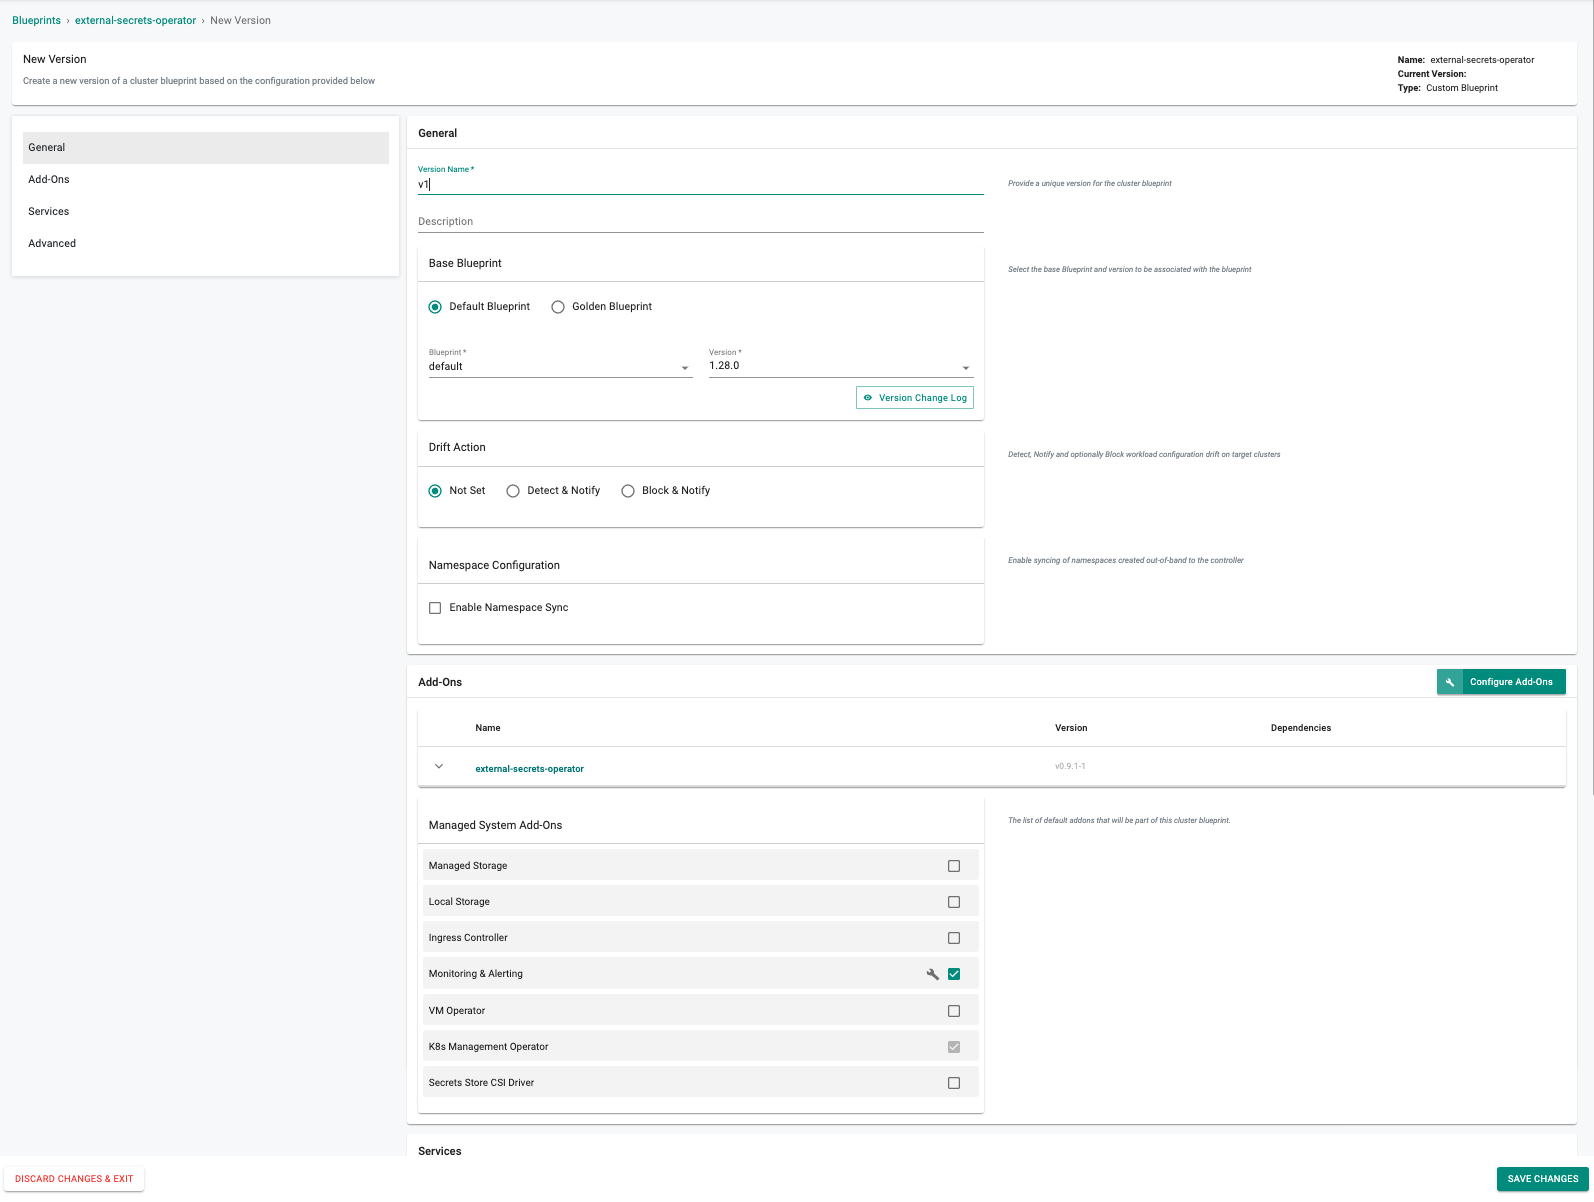
- Enter "v1" for the "Version Name" (e.g. v1)
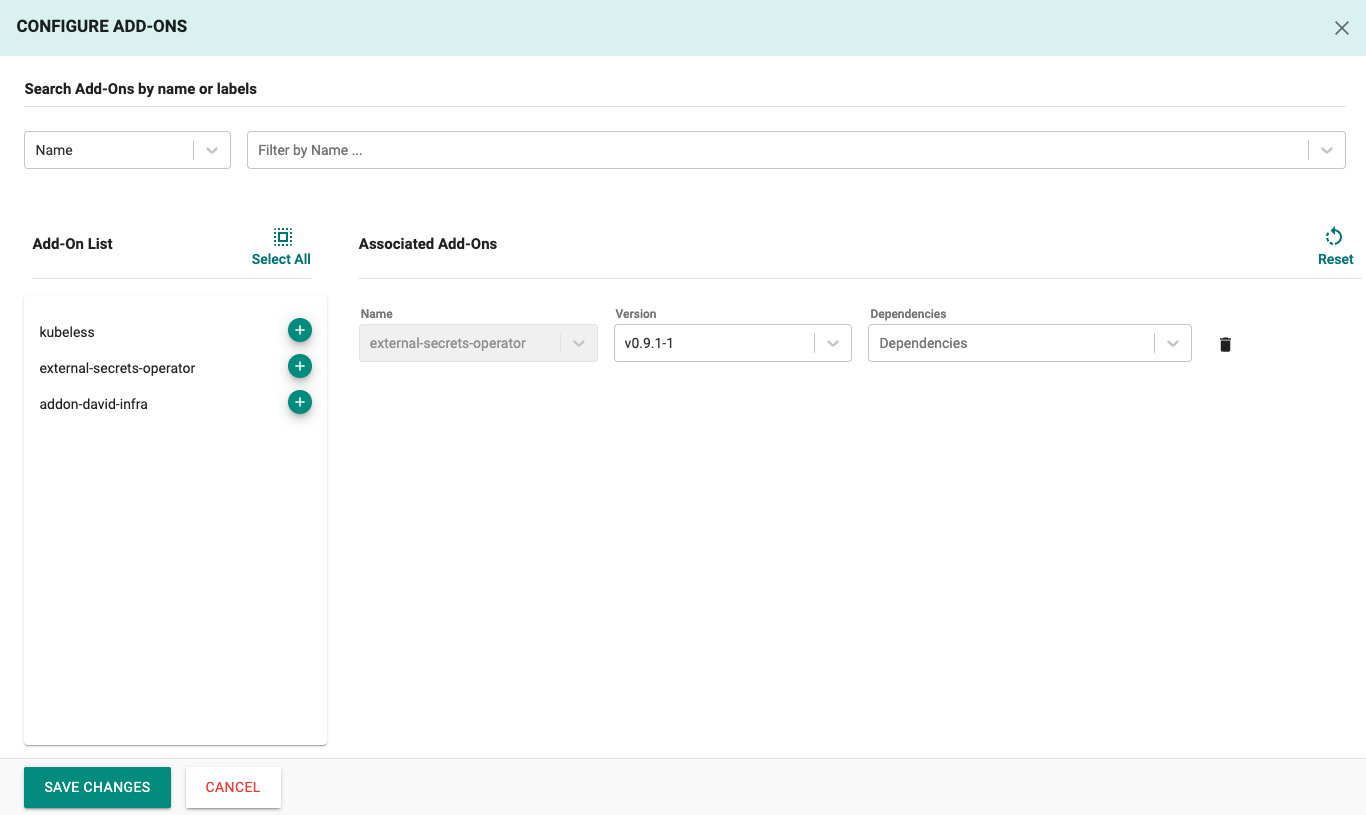
- Click on "Configure Add-Ons"
- Add the "external-secrets-operator" Add-On
- Click on "SAVE CHANGES"
- DeSelect the "Local Storage", and "Ingress Controller" managed system add-on
- Click on "SAVE CHANGES"
Step 4: Apply Blueprint
Now, we are ready to apply the newly created, custom blueprint to our EKS cluster.
- Select Infrastructure -> Clusters
- Click on the gear icon on the far right of the EKS cluster
- Update blueprint and select the new blueprint and version
- Click on "SAVE AND PUBLISH"

In a few minutes, all the k8s resources matching the custom cluster blueprint will become operational on the cluster.
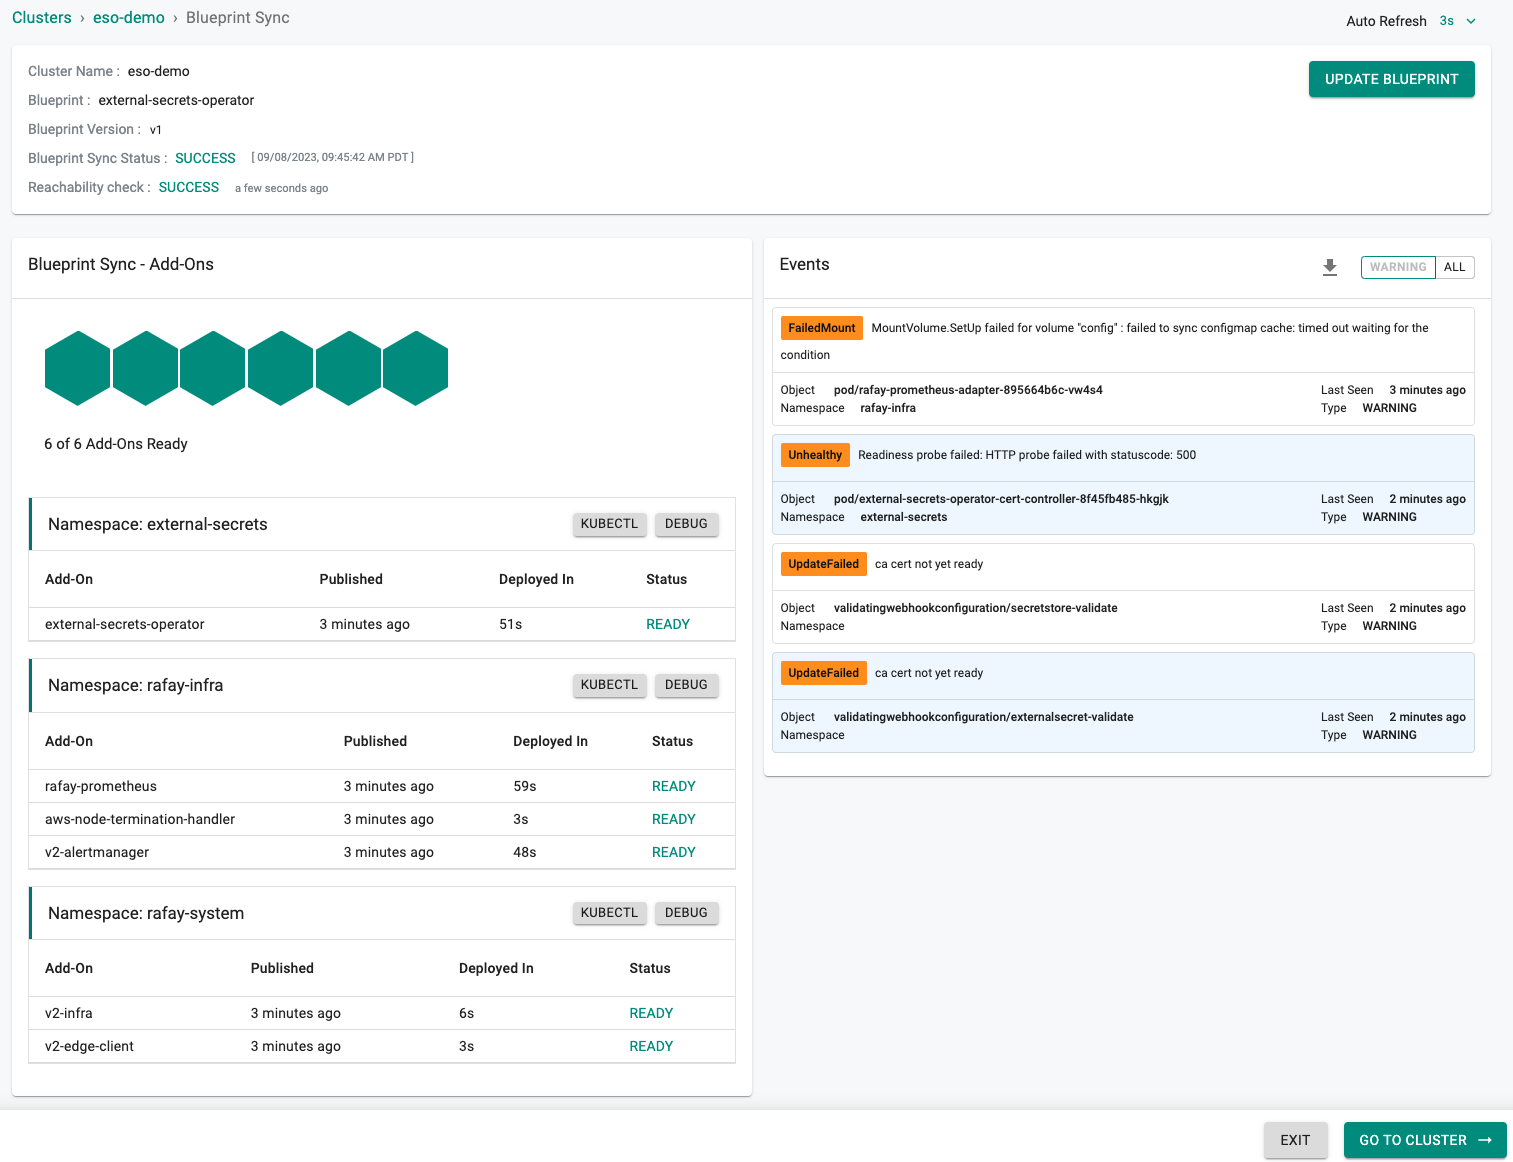
Notice that the cluster's blueprint name and version match what you created in the prior step.
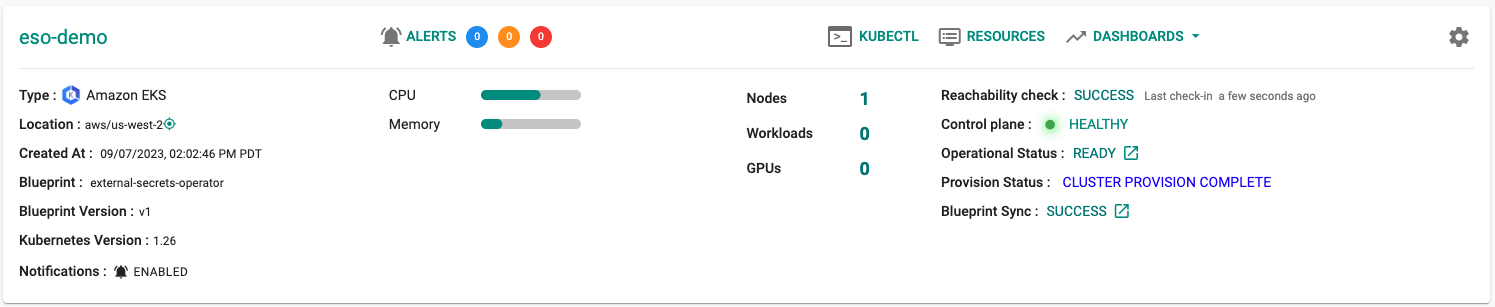
Step 5: Verify Setup
Optionally, to verify if the External Sercrets Operator has been properly deployed you can do the following:
- Click on the EKS cluster
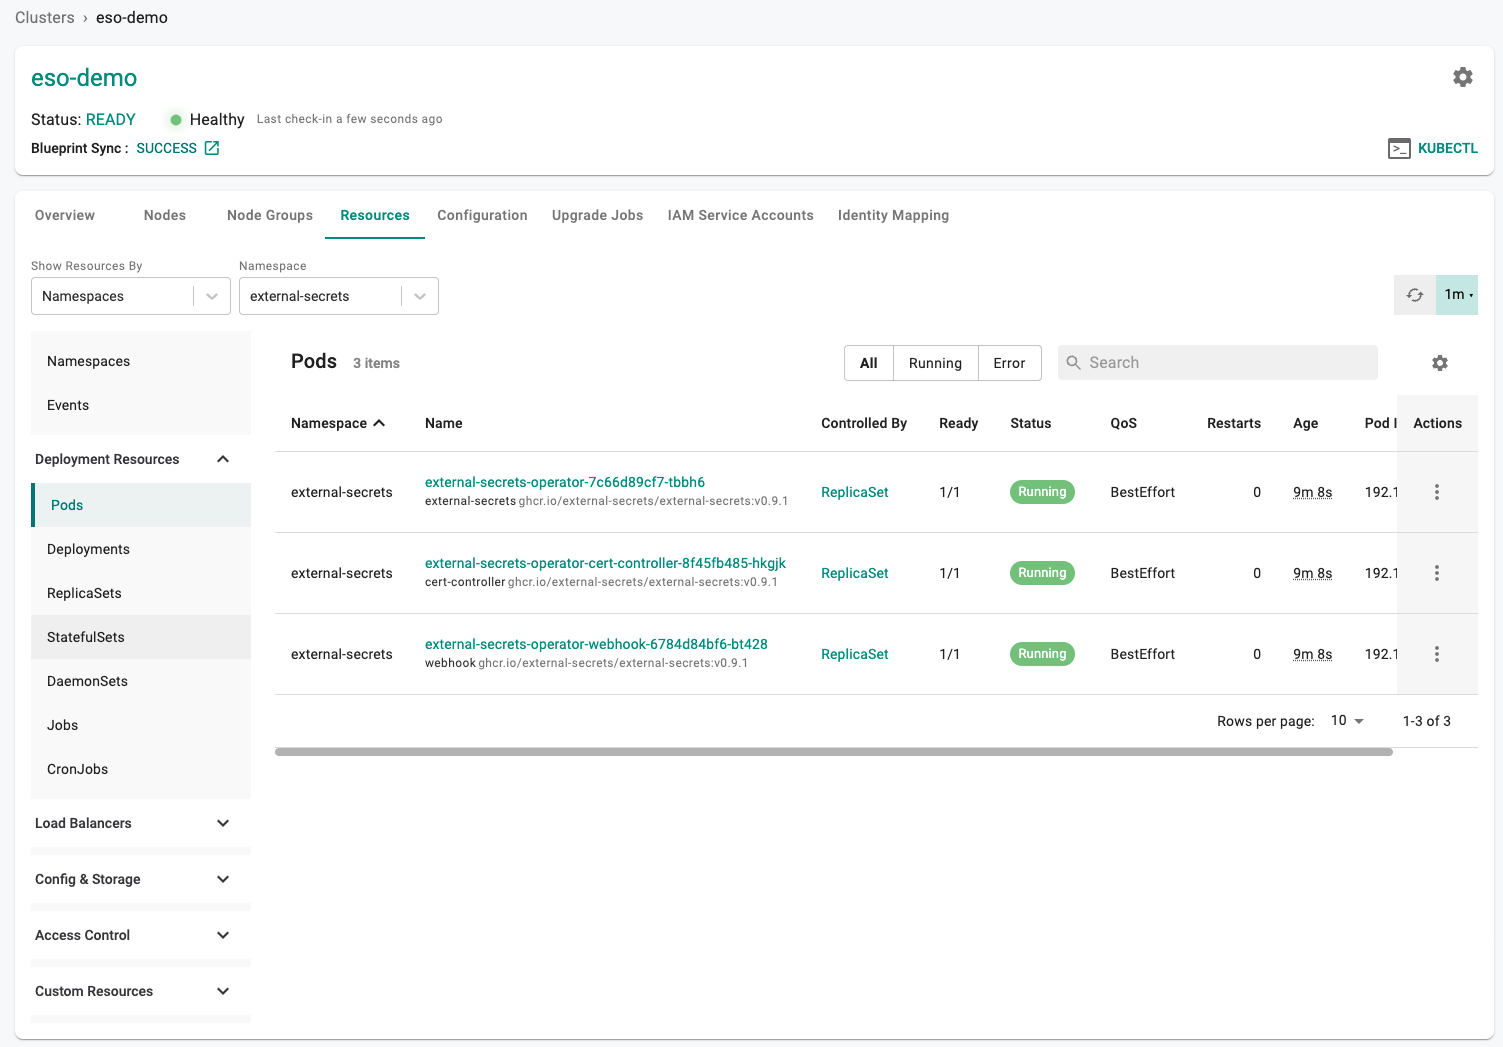
- Select Resources to view the integrated k8s dashboard
- Select "pods" from the resource selector and filter by the "external-secrets" namespace
- Verify all pods are in a running state
Next Steps
You are now ready to move on to the second part of the recipe.