Part 2: Block
This is Part 2 of the exercise that will focus on using the "Block & Notify" drift detection setting within a custom blueprint to protect resources in the blueprint from being modified outside of the controlled blueprint version.
What Will You Do
In part 2, you will:
- Update the cluster blueprint with "Block & Notify" drift detection
- Apply the blueprint to a cluster
- Modify the blueprint resources
- Track the changes in the system audit logs
Step 1: Create Blueprint
In this step, we will create a new version for our previously created blueprint.
- Navigate to the project in your Org where your cluster is located
- Select Infrastructure -> Blueprints
- Click on the existing blueprint
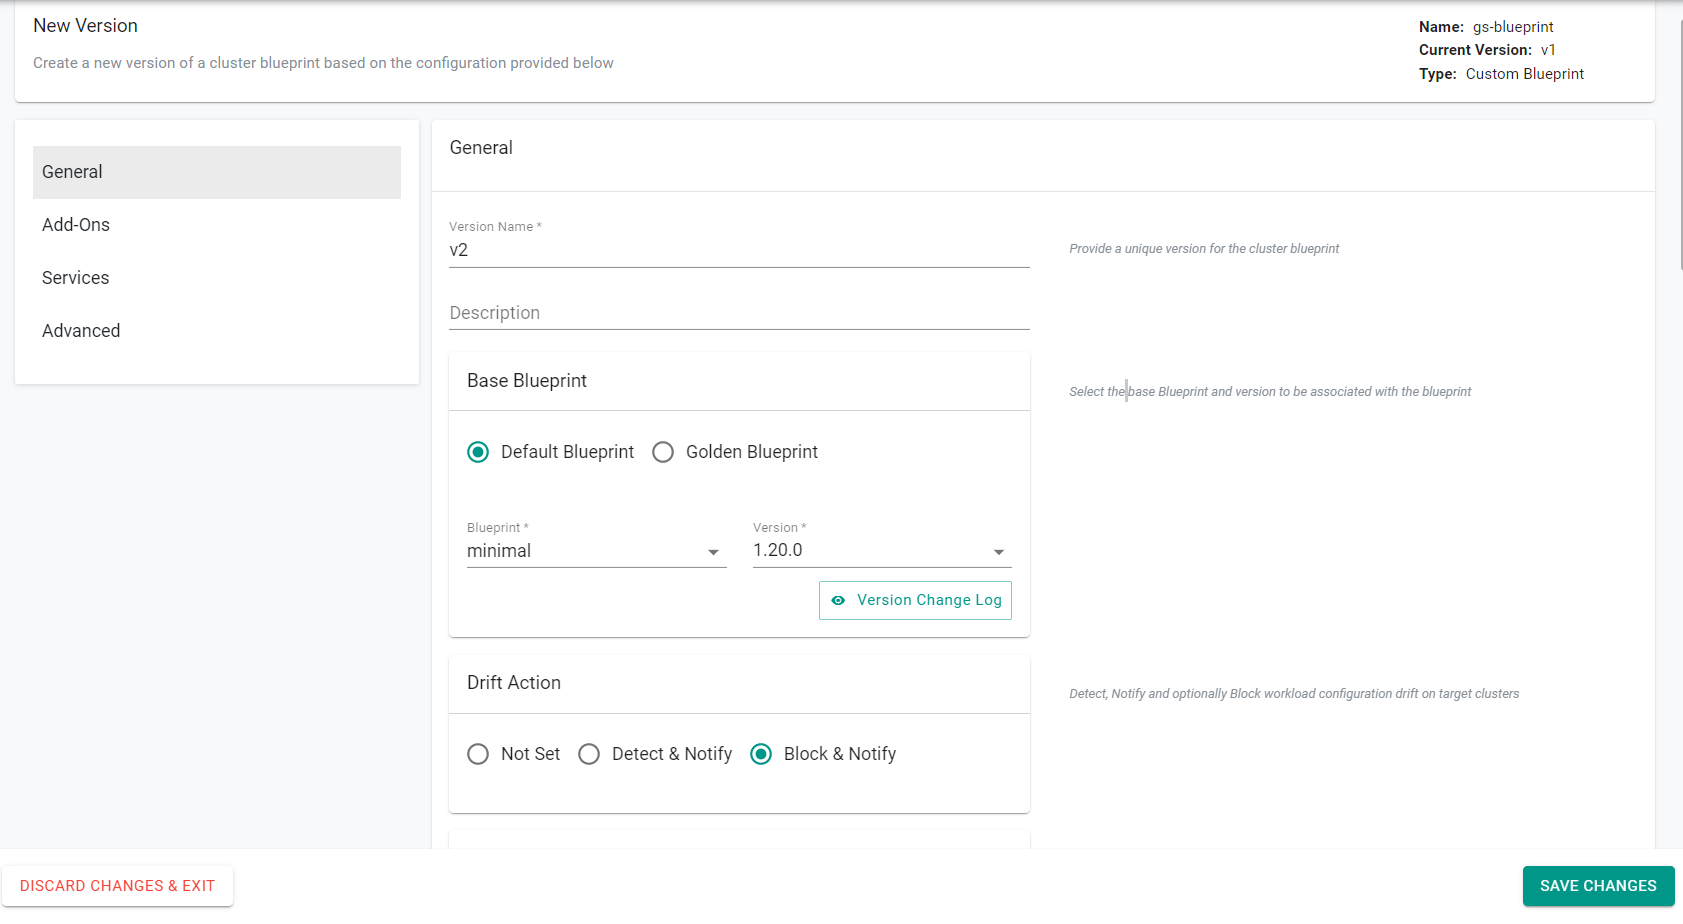
- Click "New Version"
- Enter the "Version Name"
- Select "Block & Notify" for the Drift Action
- Click "Save Changes"
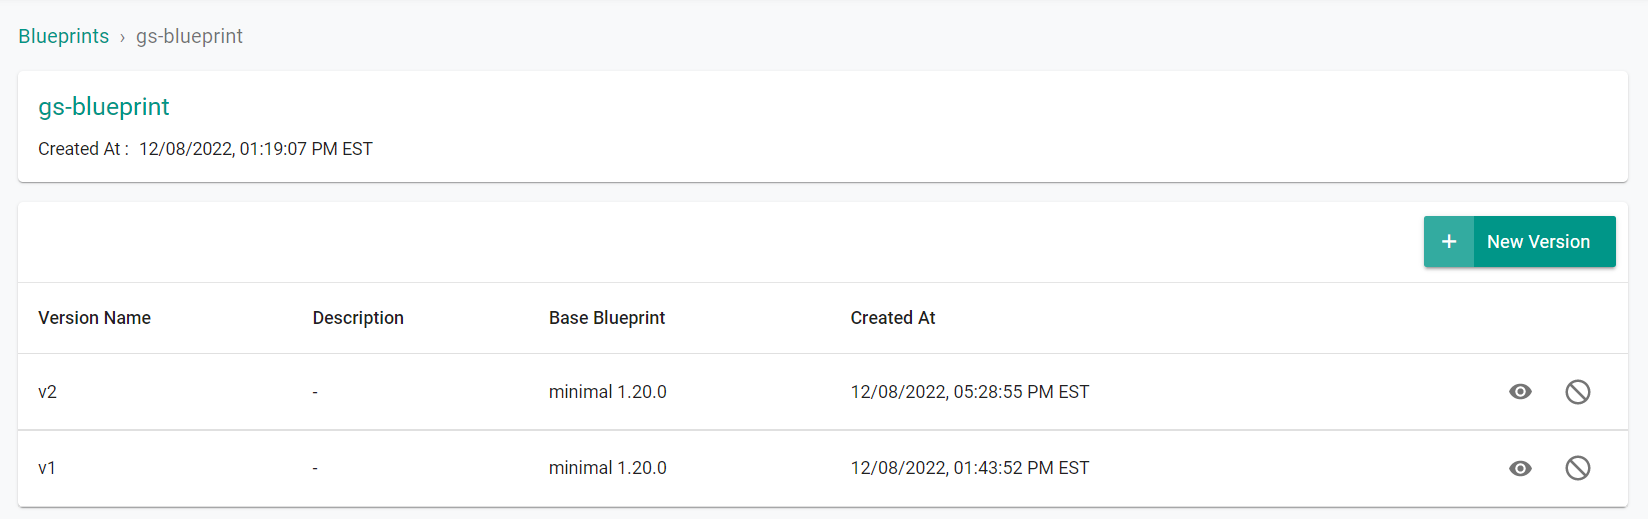
You will now see the new version.
Step 2: Apply Blueprint
In this step, we will apply the new blueprint version to the cluster.
- Navigate to the project in your Org where the cluster is located.
- Select Infrastructure -> Clusters
- Click the gear icon on the cluster card
- Select "Update Blueprint"
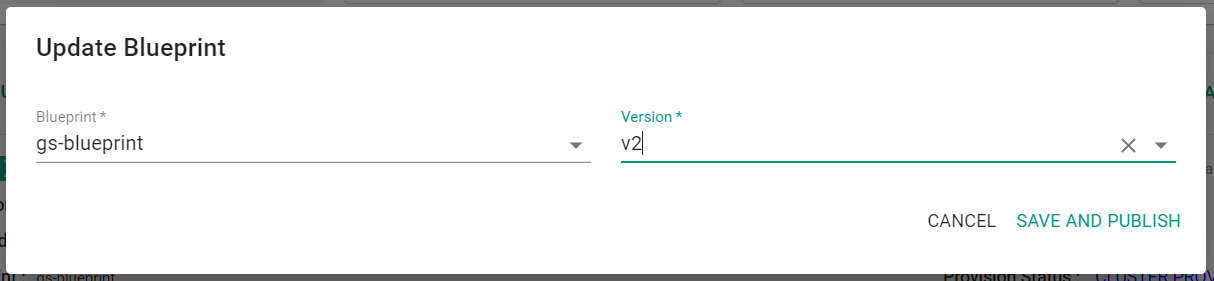
- Select the previosuly created blueprint
- Select the latest blueprint version
- Click "Save and Publish"
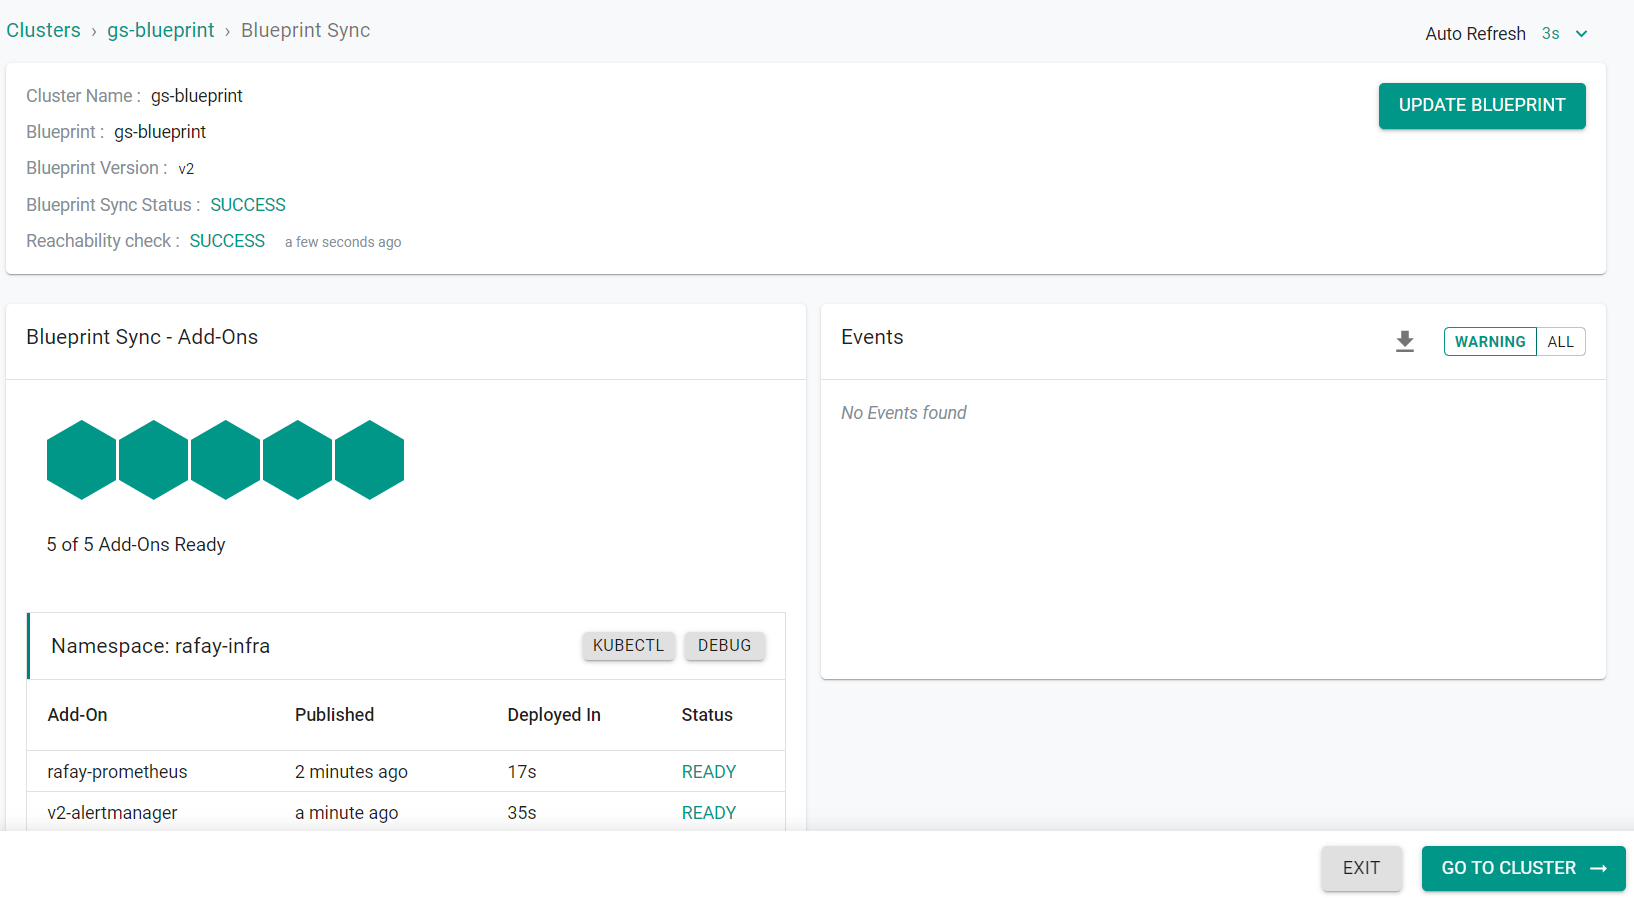
The blueprint version will begin to be applied to the cluster.
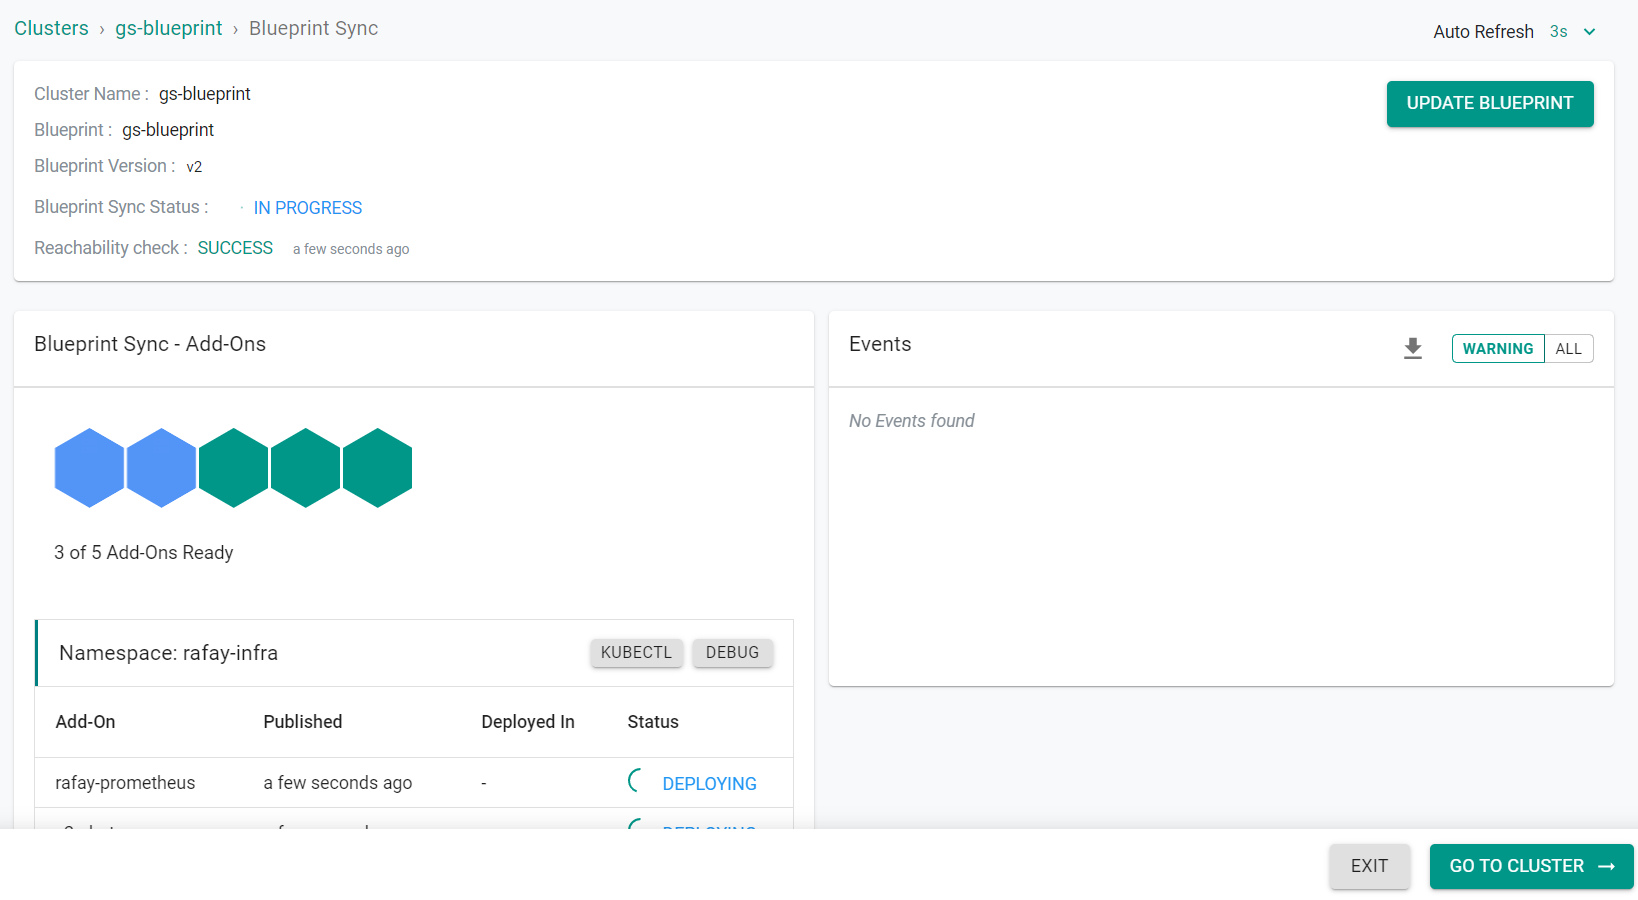
The blueprint is now applied to the cluster.
Step 3: Modify Blueprint Resources
In this step, we will attempt to remove the monitoring resources on the cluster that were deployed by the blueprint. Since our blueprint drift detection is set to "Block & Notify", we will NOT be able to remove the monitoring resources.
- Navigate to the project in your Org where the cluster is located.
- Select Infrastructure -> Clusters
- Click "Kubectl" on the cluster card
- Enter the following command
kubectl get deployments -n rafay-infra

We will now attempt to delete one of these deployments.
- Enter the following command
kubectl delete deployments -n rafay-infra rafay-prometheus-adapter
We can see that we are not able to delete the deployment resource this time as it is blocked by the drift detection settings.

Step 4: View Audit Logs
In this step, we will review the system audit logs to view the drift on the system.
- Click "Home" at the top of the screen
- Select System -> Audit Logs
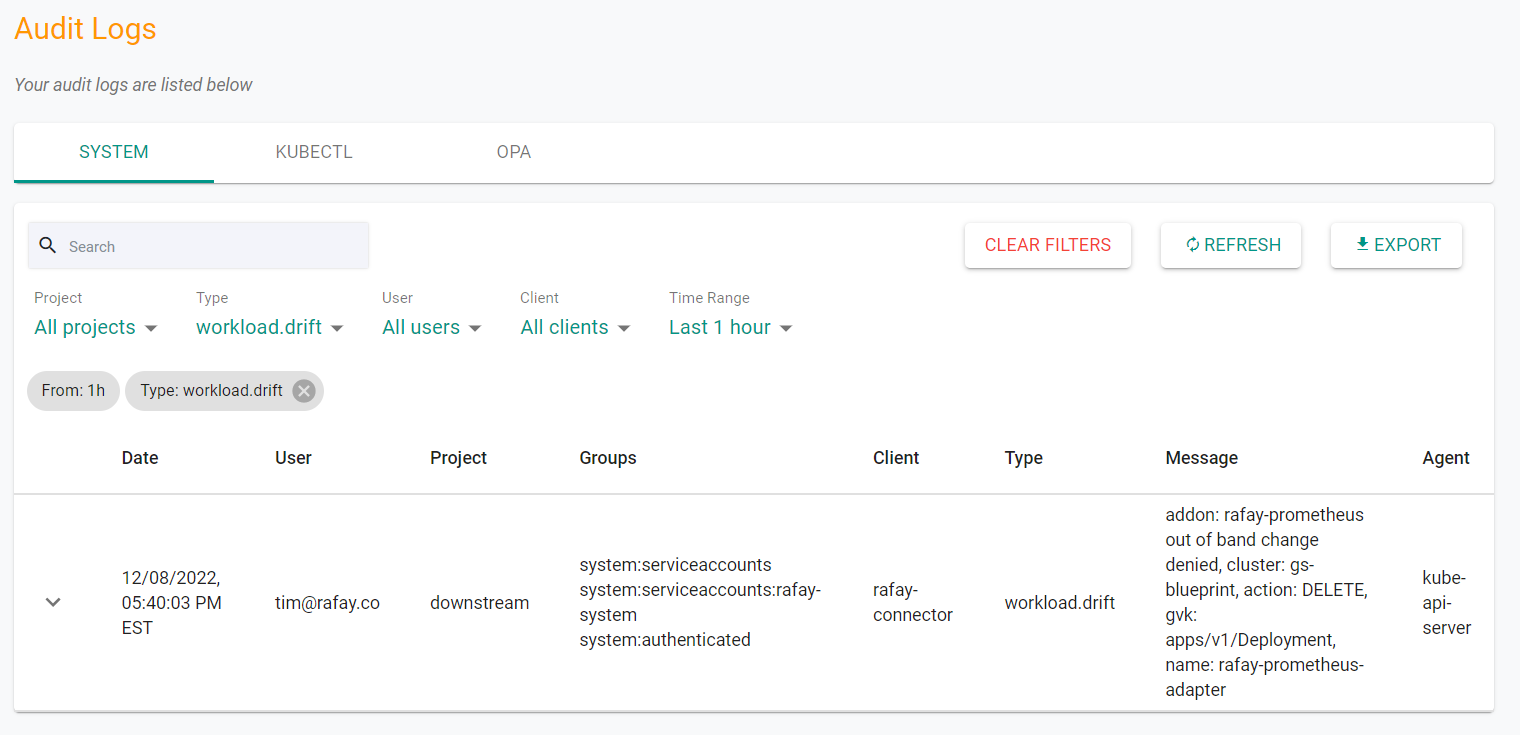
- Select "workload.drift" for the filter type
You will see the delete event that was previosuly attempted is logged and shows that the action was denied.
Recap
Congratulations! At this point, you have successfully setup a cluster blueprint with drift detection and blocked out of band changes to the blueprint resources.