Part 2: Blueprint
What Will You Do
In this part of the self-paced exercise, you will create two custom addons that contain the KubeVirt resources. The addons will then be added to a custom cluster blueprint and the blueprint will be applied to the cluster. The specific KubeVirt addons that will be deployed are:
- The KubeVirt operator (this manages the KubeVirt resources)
- The KubeVirt custom resource definitions (CRDs)
- The KubeVirt components (pods, services and configurations)
Step 1: Create Addon Namespace
In this step, you will create a namespace for the KubeVirt resources. The "namespace.yaml" file in the "/getstarted/kubevirt/addon" directory of the forked repository contains the declarative specification for the namespace resource.
The following items may need to be updated/customized if you used alternate names.
- value: kubevirt-cluster
kind: ManagedNamespace
apiVersion: config.rafay.dev/v2
metadata:
  name: kubevirt
  description: namespace for kubevirt
  labels:
  annotations:
spec:
  type: RafayWizard
  resourceQuota:
  placement:
    placementType: ClusterSpecific
    clusterLabels:
    - key: rafay.dev/clusterName
      value: kubevirt-cluster
- Open a Terminal (macOS/Linux) or Command Prompt (Windows) and navigate to the folder where you forked the Git repository
- Navigate to the folder "
/getstarted/kubevirt/addon" - Type the command below
rctl create namespace -f namespace.yaml
If you did not encounter any errors, you can optionally verify if everything was created correctly on the controller.
- In your project, select Infrastructure -> Namespaces
- You should see a namespace called kubevirt

Next, you will publish the namespace to the cluster.
- Type the command below
rctl publish namespace kubevirt

Step 2: Create Addons
In this step, you will create two custom addons for Kubevirt. The "kubevirt-operator-addon.yaml" and "kubevirt-cr-addon.yaml" files contain the declarative specifications for the addons.
First, you will create the KubeVirt Operator addon using the "kubevirt-operator-addon.yaml" file.
The following items may need to be updated/customized if you used alternate names.
- project: defaultproject
apiVersion: infra.k8smgmt.io/v3
kind: AddonVersion
metadata:
  name: v1
  project: defaultproject
spec:
  addon: kubevirt-operator-addon
  namespace: kubevirt
  template:
    type: yaml
    yamlFile: ./kubevirt-operator.yaml
Type the command below
rctl create addon version -f kubevirt-operator-addon.yaml
Next, you will create an addon for the KubeVirt CRDs using the "kubevirt-cr-addon.yaml" file.
The following items may need to be updated/customized if you used alternate names.
- project: defaultproject
apiVersion: infra.k8smgmt.io/v3
kind: AddonVersion
metadata:
  name: v1
  project: defaultproject
spec:
  addon: kubevirt-cr-addon
  namespace: kubevirt
  template:
    type: yaml
    yamlFile: ./kubevirt-cr.yaml
Type the command below
rctl create addon version -f kubevirt-cr-addon.yaml
If you did not encounter any errors, you can optionally verify if everything was created correctly on the controller.
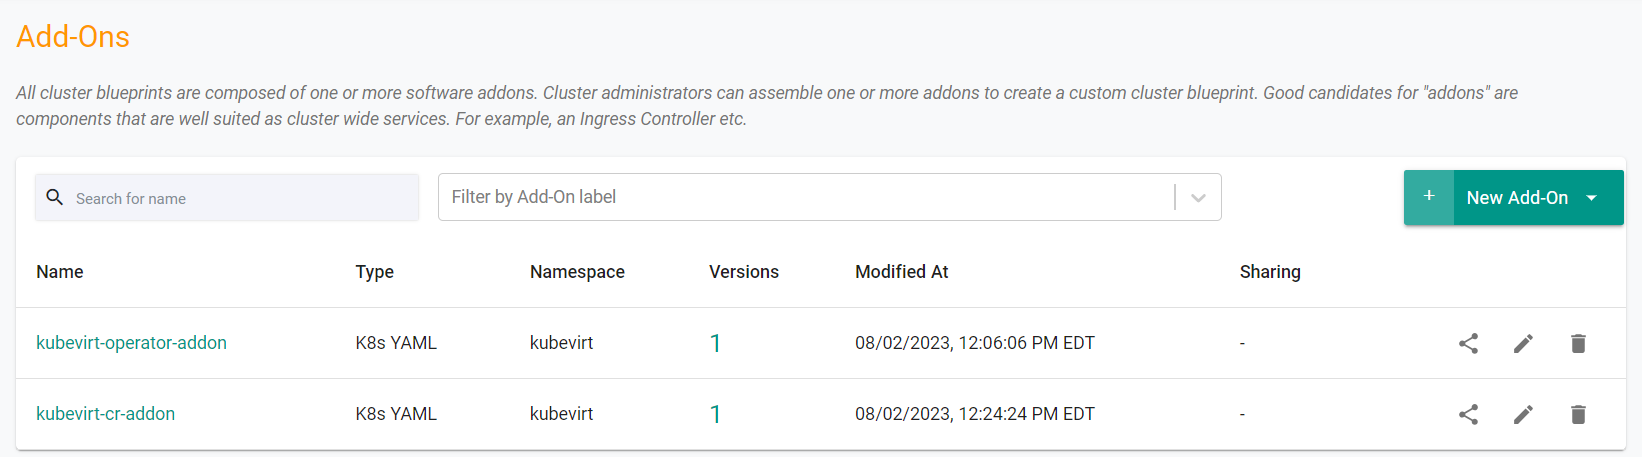
- In your project, select Infrastructure -> Add-Ons
- You should see an addon called kubevirt-operator-addon
- You should see an addon called kubevirt-cr-addon
Step 3: Create Blueprint
In this step, you will create a custom cluster blueprint with the KubeVirt addons. The "blueprint.yaml" file contains the declarative specification for the blueprint.
- Open a Terminal (macOS/Linux) or Command Prompt (Windows) and navigate to the folder where you forked the Git repository
- Navigate to the folder "
/getstarted/kubevirt/blueprint"
The following items may need to be updated/customized if you used alternate names.
- project: defaultproject
apiVersion: infra.k8smgmt.io/v3
kind: Blueprint
metadata:
  name: kubevirt-blueprint
  project: defaultproject
spec:
  base:
    name: minimal
  customAddons:
  - name: kubevirt-operator
    version: v1
  - dependsOn:
    - kubevirt-operator
    name: kubevirt-cr
    version: v1
  defaultAddons:
    enableIngress: false
    enableLogging: true
    enableMonitoring: true
    enableVM: false
    monitoring:
      helmExporter:
        discovery: {}
        enabled: true
      kubeStateMetrics:
        discovery: {}
        enabled: true
      metricsServer:
        enabled: false
      nodeExporter:
        discovery: {}
        enabled: true
      prometheusAdapter:
        enabled: false
      resources: {}
  drift:
    enabled: true
  sharing:
    enabled: false
  version: v1
- Type the command below
rctl apply -f blueprint.yaml
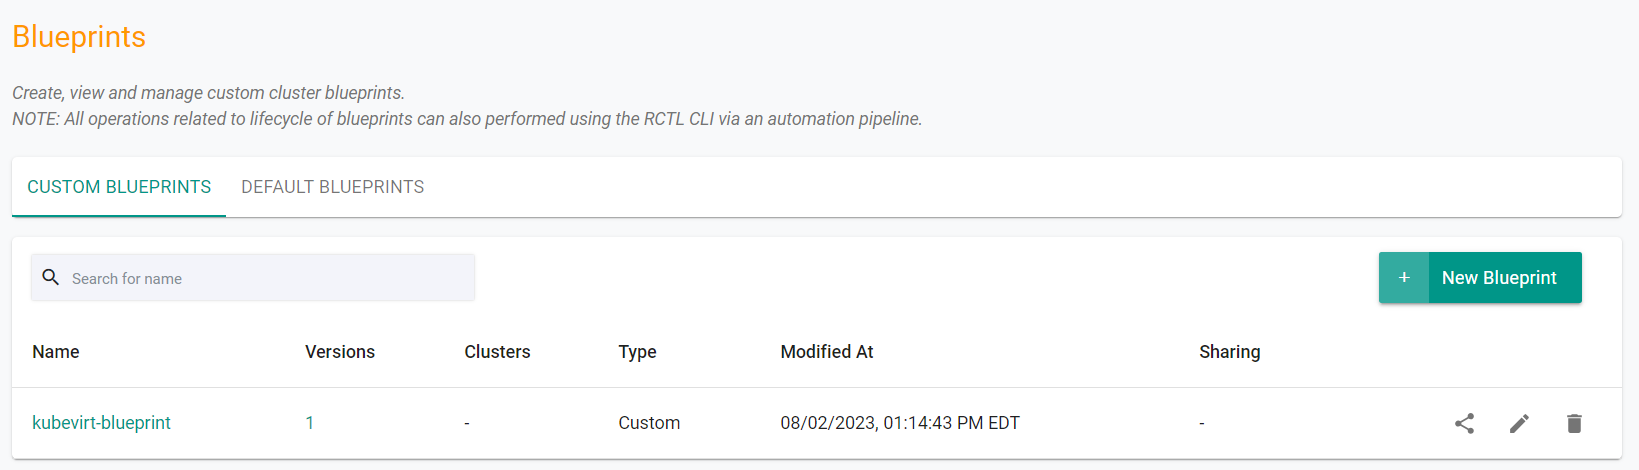
If you did not encounter any errors, you can optionally verify if everything was created correctly on the controller.
- In your project, select Infrastructure -> Blueprint
- You should see an blueprint called kubevirt-blueprint
Next, we will update the cluster to use the newly created blueprint.
- Type the command below. Be sure to update the cluster name, kubevirt-cluster, in the command below with the name of your cluster
rctl update cluster kubevirt-cluster --blueprint kubevirt-blueprint --blueprint-version v1
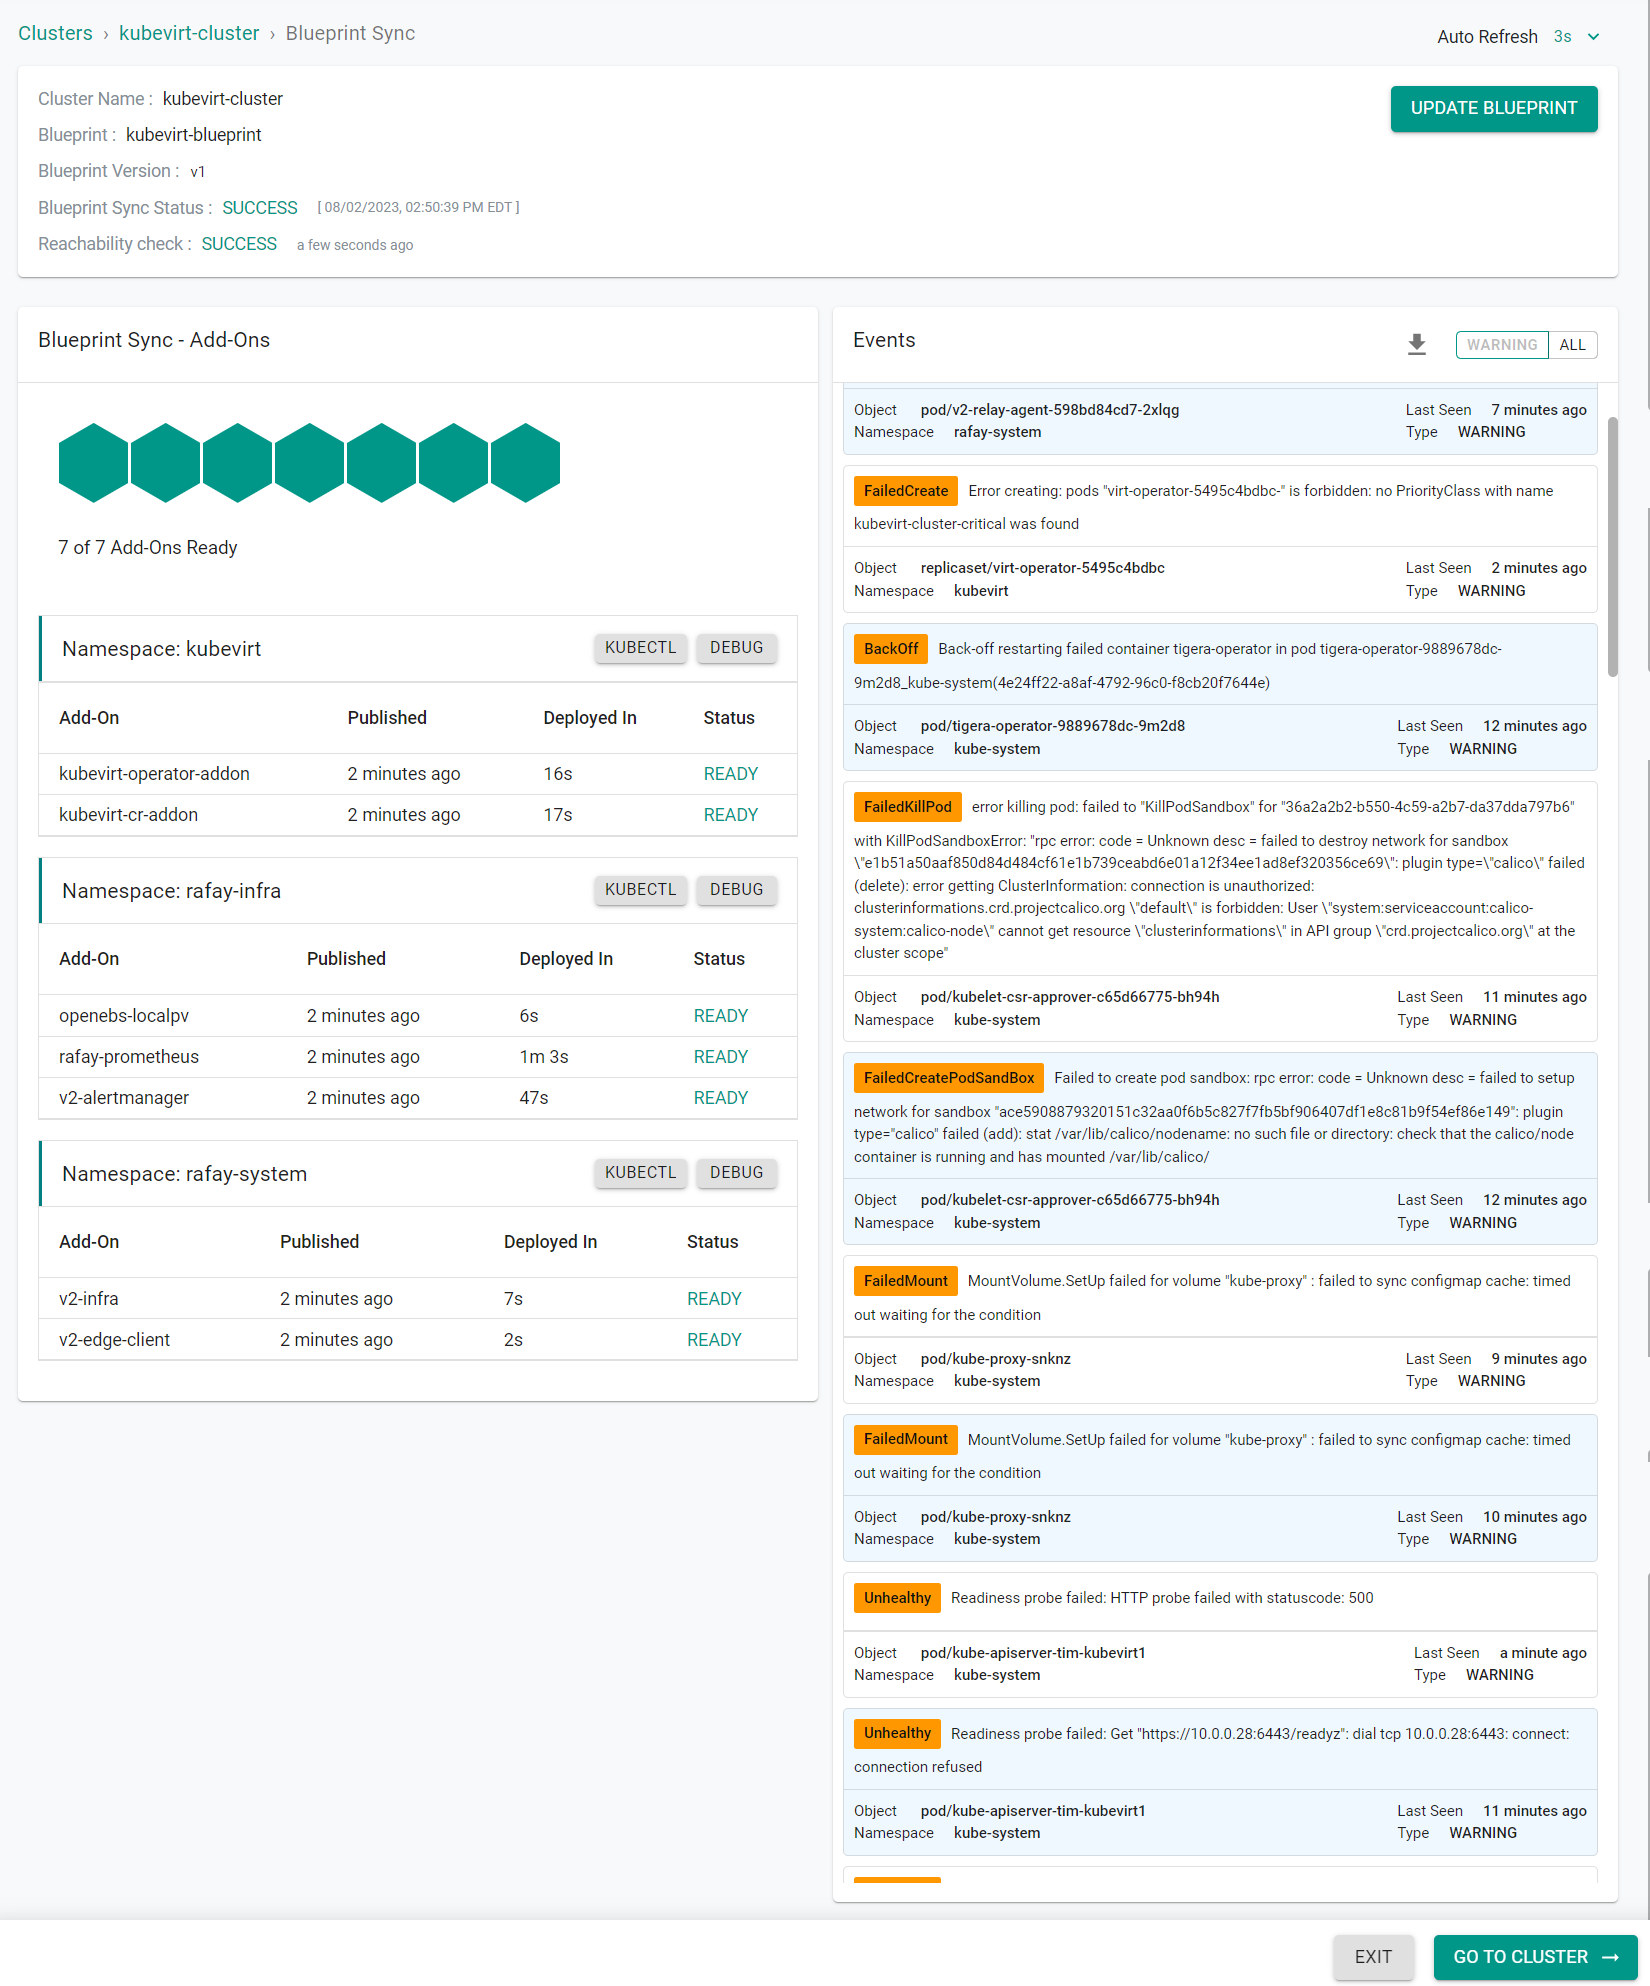
In the web console, you can see the blueprint being applied to the cluster.
Step 4: Verify KubeVirt
Now, let us verify the KubeVirt resources are operational on the cluster.
- Click on the kubectl link on the cluster card and type the following command
kubectl get pods -n kubevirt
You should see something like the following showing the pods in a running state.
NAME                               READY   STATUS    RESTARTS   AGE
virt-api-6c4dc58fdb-6rs6b          1/1     Running   0          3m29s
virt-controller-57884647f9-2rsqv   1/1     Running   0          3m4s
virt-controller-57884647f9-lpwr2   1/1     Running   0          3m4s
virt-handler-6mq2c                 1/1     Running   0          3m4s
virt-operator-5495c4bdbc-8j92p     1/1     Running   0          4m12s
virt-operator-5495c4bdbc-vbvhk     1/1     Running   0          4m12s
Recap
As of this step, you have created and applied a custom cluster blueprint with KubeVirt as an addon.
You are now ready to move on to the next step where you will deploy a virtual machine workload to the cluster.
Note that you can also reuse this cluster blueprint for as many clusters as you require in this project and also share the blueprint with other projects.