Part 2: Scale
What Will You Do
In this part, you will:
- Scale the number of nodes in a node pool
- Add a "User" node pool to the cluster
- Remove a "User" node pool from the cluster
Step 1: Scale Nodes
In this step, we will scale the number of nodes within the cluster. You can scale the number of nodes up or down, depending on your needs. In this example, we will scale the number of nodes down to 1.
- Navigate to the previously created project in your Org
- Select Infrastructure -> Clusters
- Click on the cluster name of the previosuly created cluster
- Click the "Node Pools" tab
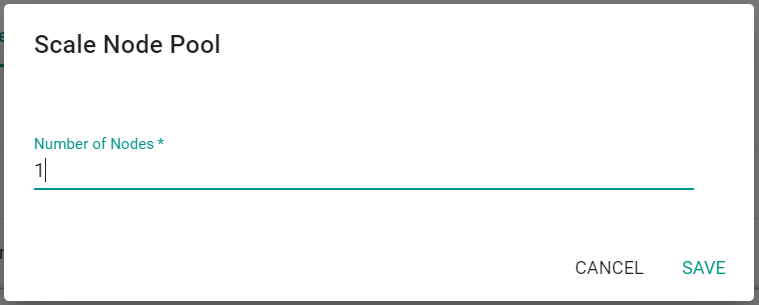
- Click the scale button on the existing node pool
- Decrease the number of nodes to "1"
- Click "Save"
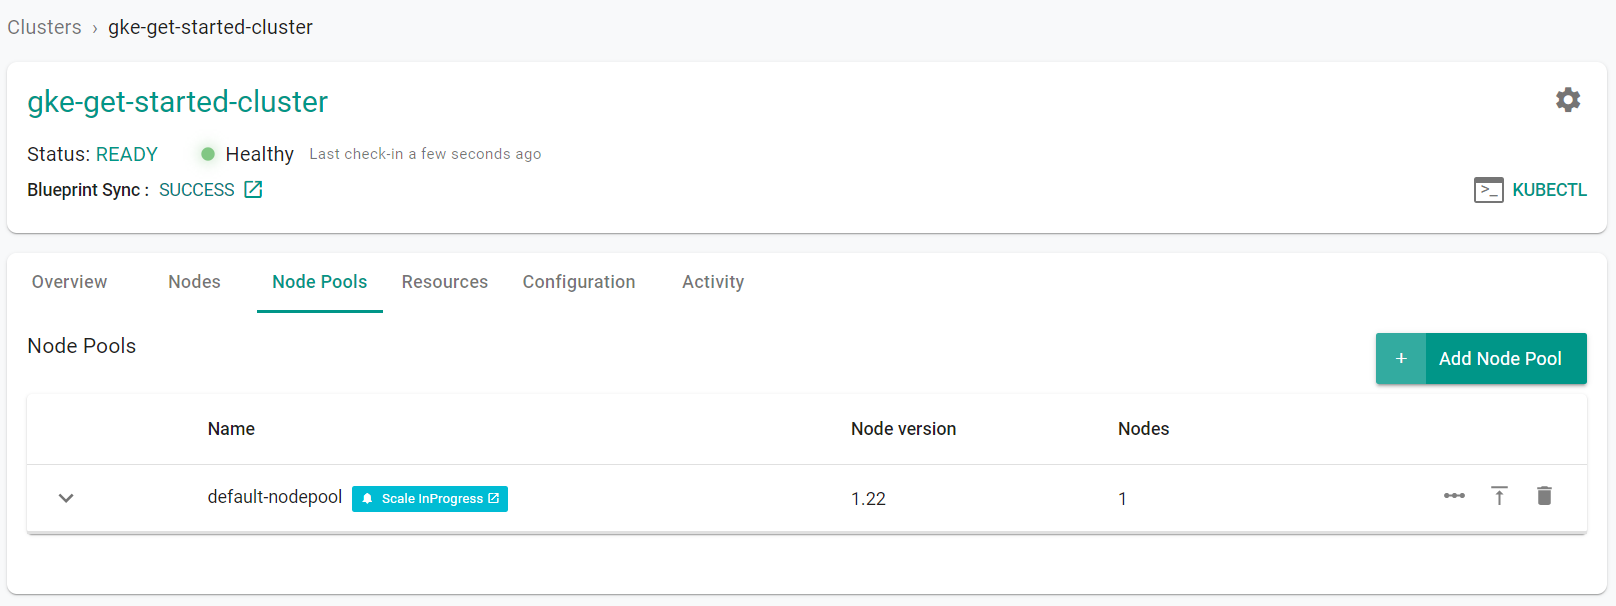
You will see the scale operation displayed
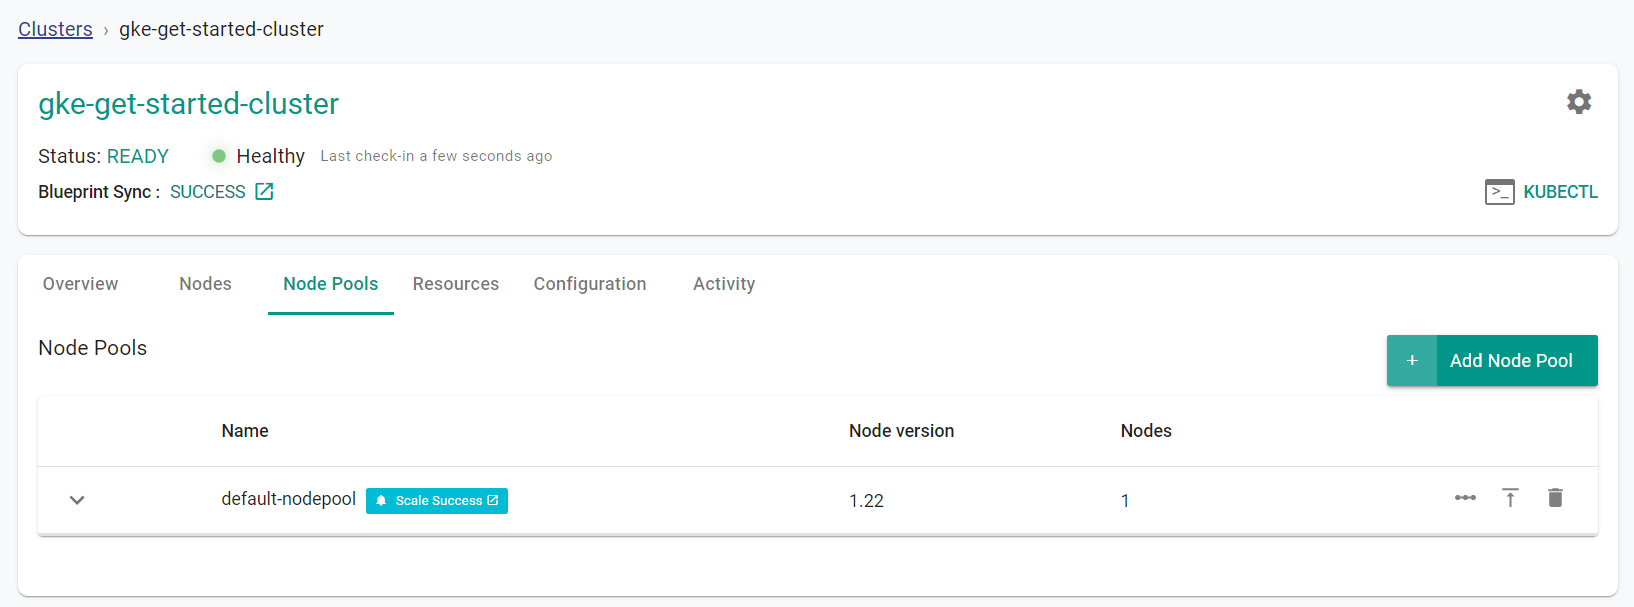
After a few minutes, from the web console, we can see that the scale operation has completed and the number of nodes is 1.
Step 2: Add Node Pool
In this step, we will add a node pool to the cluster.
- Navigate to the previously created project in your Org
- Select Infrastructure -> Clusters
- Click on the cluster name of the previosuly created cluster
- Click the "Node Pools" tab
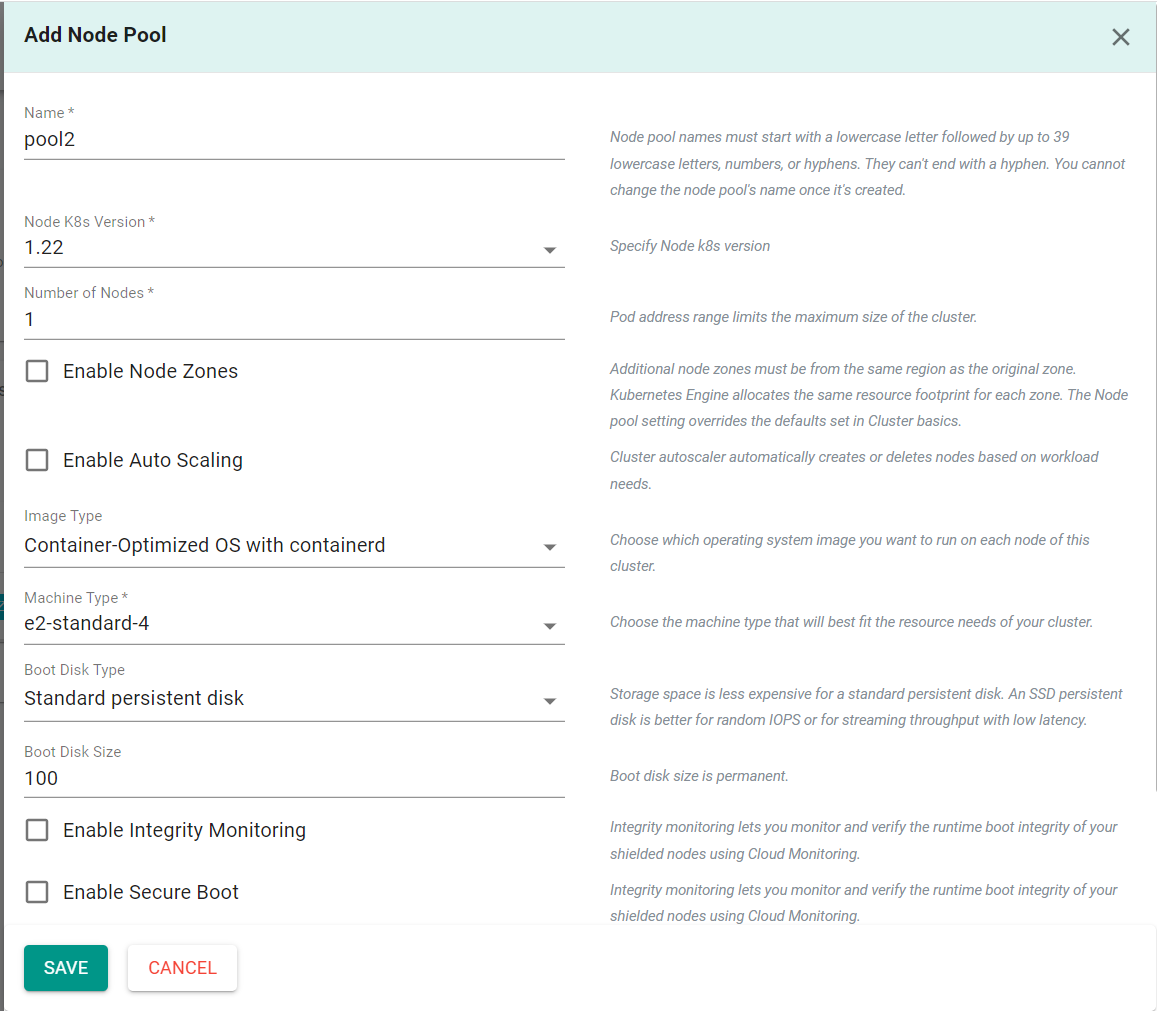
- Click "Add Node Pool"
- Enter a "Name" for the node pool
- Select the "Node K8s Version" to match the existing node pool
- set the "Number of Nodes" to 1
- Click "Save"
From the web console, we can see that the new node pool is being created. This could take up to 15 minutes to complete.
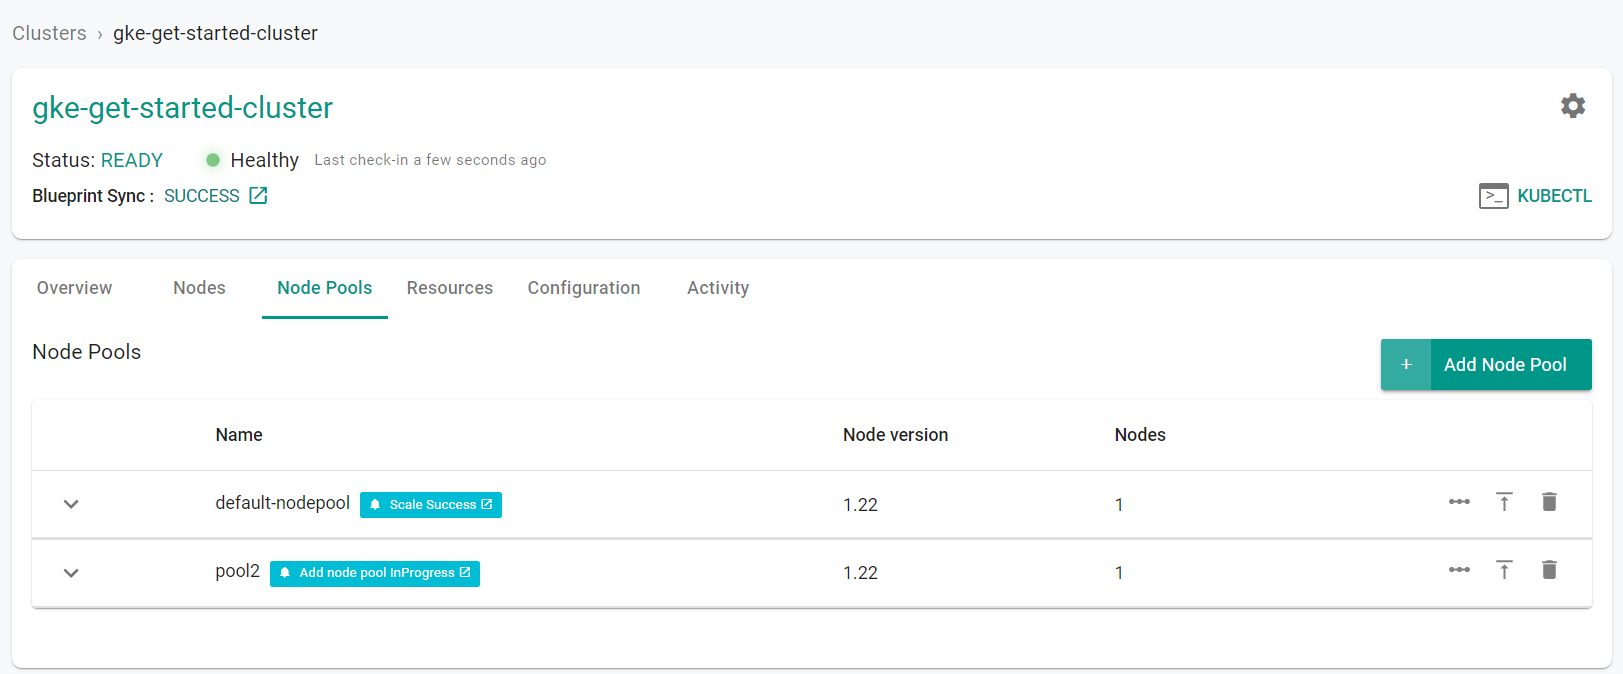
Monitor the web console until the node pool has been created

Step 3: Remove Node Pool
In this step, we will remove the node pool from the cluster.
- Navigate to the previously created project in your Org
- Select Infrastructure -> Clusters
- Click on the cluster name of the previosuly created cluster
- Click the "Node Pools" tab
- Click the delete button on the newly created node pool
- Click "YES to confirm the node pool deletion
From the web console, we can see that the new node pool is being removed
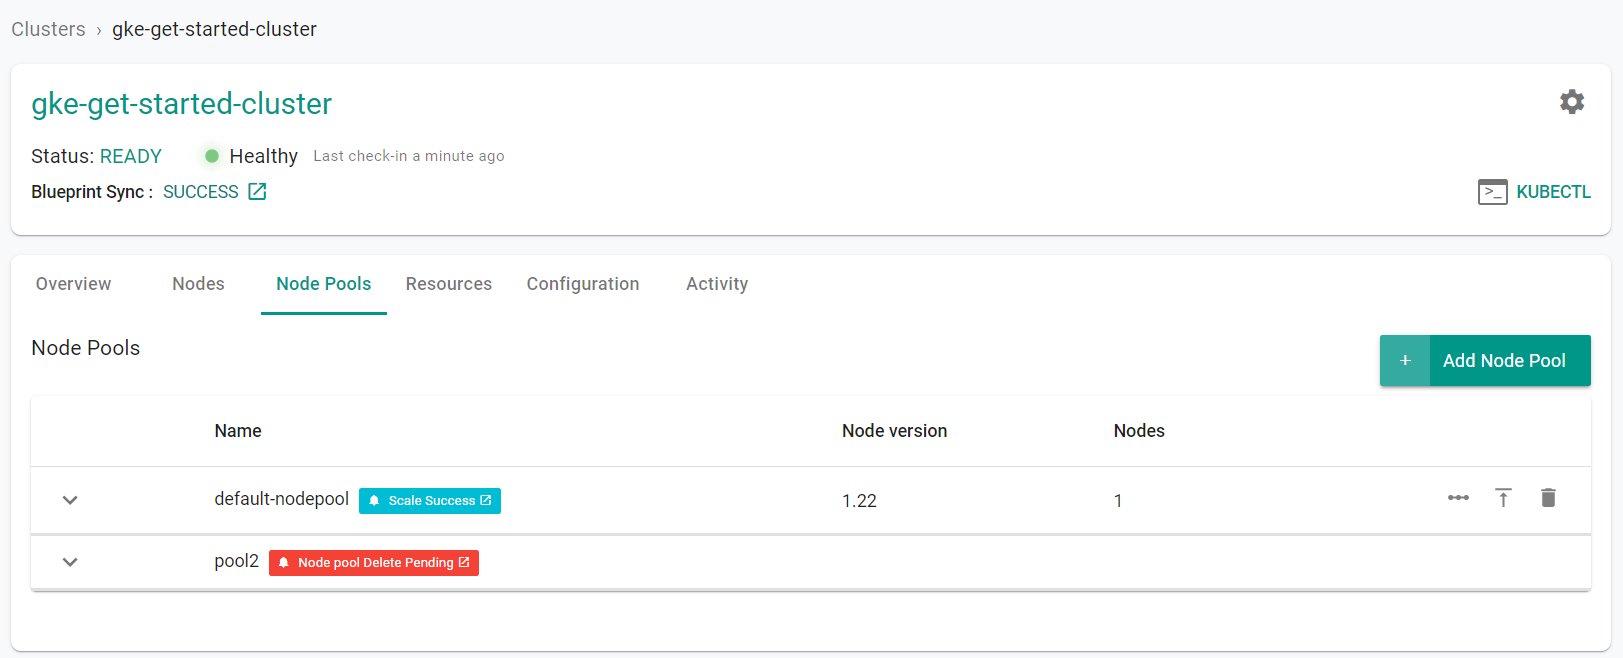
Monitor the web console until the node pool has been removed. You will only see one node pool remaining.

Step 1: Scale Nodes
In this step, we will scale the number of nodes within the cluster. You can scale the number of nodes up or down, depending on your needs. In this example, we will scale the number of nodes down to 1.
Download the cluster config from the existing cluster
- Go to Infrastructure -> Clusters. Click on the settings icon of the cluster and select "Download Cluster Config"
- Update the "size" to "1" in the downloaded specification file
size: 1
The updated YAML file will look like this:
apiVersion: infra.k8smgmt.io/v2
kind: Cluster
metadata:
    labels:
        rafay.dev/clusterName: gke-get-started-cluster
        rafay.dev/clusterType: gke
    name: gke-get-started-cluster
    project: gke
spec:
    blueprint:
        name: default-gke
        version: latest
    cloudCredentials: GCP-CC
    config:
        controlPlaneVersion: "1.22"
        location:
            defaultNodeLocations:
                - us-west1-c
            type: zonal
            zone: us-west1-c
        name: gke-get-started-cluster
        network:
            enableVPCNativeTraffic: true
            maxPodsPerNode: 110
            name: default
            networkAccess:
                privacy: public
            nodeSubnetName: default
        nodePools:
            - machineConfig:
                bootDiskSize: 100
                bootDiskType: pd-standard
                imageType: COS_CONTAINERD
                machineType: e2-standard-4
              name: default-nodepool
              nodeVersion: "1.22"
              size: 1
        project: demos-249423
    type: Gke
- Execute the following command to scale the number of nodes within the cluster node pool. Note, update the file name in the below command with the name of your updated specification file.
./rctl apply -f gke-get-started-cluster-config.yaml
From the web console, we can see that the scale operation is in progress.
- Navigate to the previously created project in your Org
- Select Infrastructure -> Clusters
- Click on the cluster name of the previosuly created cluster
- Click the "Node Pools" tab

After a few minutes, from the web console, we can see that the scale operation has completed and the number of nodes is 1.

Step 2: Add Node Pool
In this step, we will add a node pool to the cluster. We will modify the specification file that was applied in step 1.
- Add the following node pool configuration code to the previously applied cluster specification file.
    nodePools:
        - machineConfig:
            bootDiskSize: 100
            bootDiskType: pd-standard
            imageType: COS_CONTAINERD
            machineType: e2-standard-4
          name: pool2
          nodeVersion: "1.22"
          size: 1
The fully updated cluster specification file including the newly added spot instance node pool code will look like this:
apiVersion: infra.k8smgmt.io/v2
kind: Cluster
metadata:
    labels:
        rafay.dev/clusterName: gke-get-started-cluster
        rafay.dev/clusterType: gke
    name: gke-get-started-cluster
    project: gke
spec:
    blueprint:
        name: default-gke
        version: latest
    cloudCredentials: GCP-CC
    config:
        controlPlaneVersion: "1.22"
        location:
            defaultNodeLocations:
                - us-west1-c
            type: zonal
            zone: us-west1-c
        name: gke-get-started-cluster
        network:
            enableVPCNativeTraffic: true
            maxPodsPerNode: 110
            name: default
            networkAccess:
                privacy: public
            nodeSubnetName: default
        nodePools:
            - machineConfig:
                bootDiskSize: 100
                bootDiskType: pd-standard
                imageType: COS_CONTAINERD
                machineType: e2-standard-4
              name: default-nodepool
              nodeVersion: "1.22"
              size: 1
            - machineConfig:
                bootDiskSize: 100
                bootDiskType: pd-standard
                imageType: COS_CONTAINERD
                machineType: e2-standard-4
              name: pool2
              nodeVersion: "1.22"
              size: 1
        project: demos-249423
    type: Gke
- Execute the following command to create the node pool. Note, update the file name in the below command with the name of your updated specification file.
./rctl apply -f gke-cluster-basic.yaml
From the web console, we can see that the new node pool is being created. This could take up to 15 minutes to complete.
- Navigate to the previously created project in your Org
- Select Infrastructure -> Clusters
- Click on the cluster name of the previosuly created cluster
- Click the "Node Pools" tab
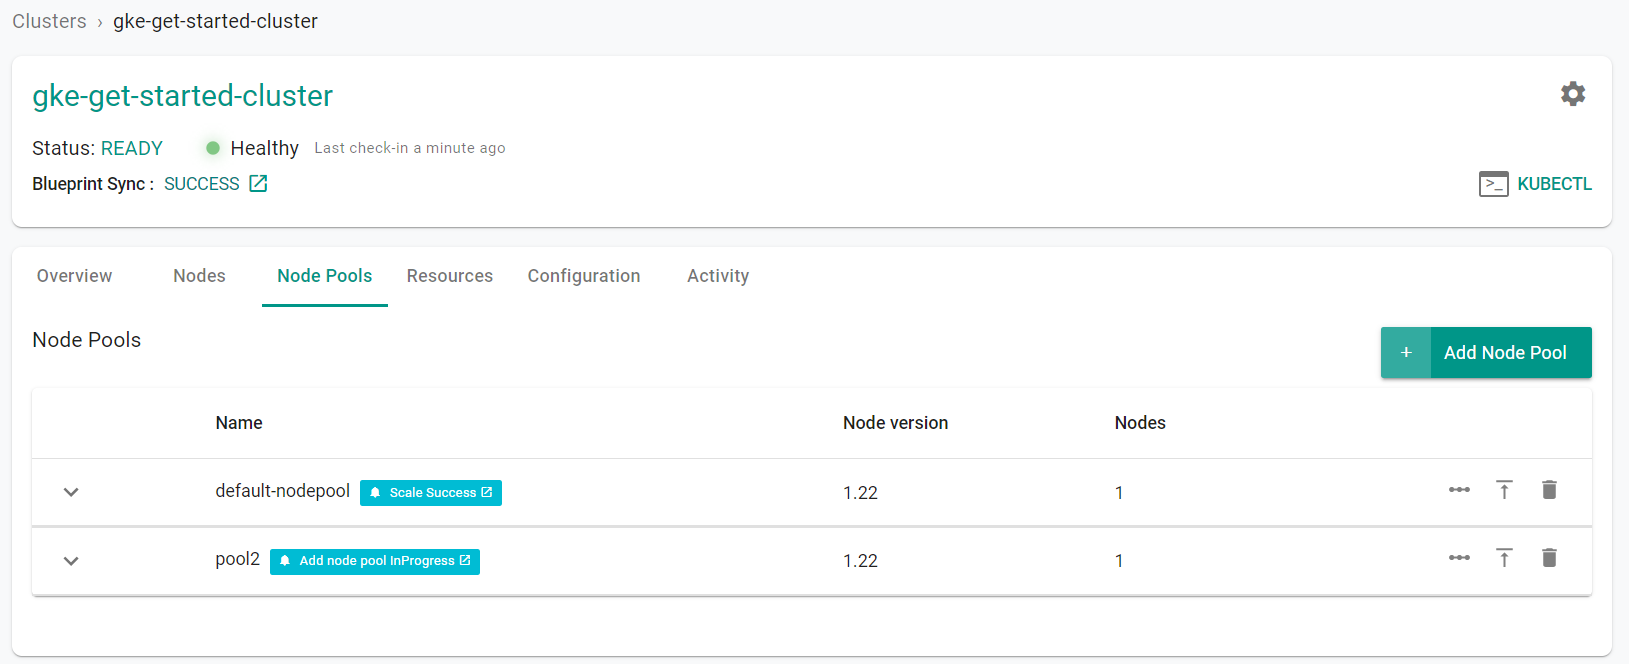
Monitor the web console until the node pool has been created

Step 3: Remove Node Pool
In this step, we will remove the node pool from the cluster. We will modify the specification file that was applied in step 2. We will simply remove the code section that was added in step 2 to remove the node pool.
- Remove the following node pool configuration code from the previously applied cluster specification file
  - machineConfig:
      bootDiskSize: 100
      bootDiskType: pd-standard
      imageType: COS_CONTAINERD
      machineType: e2-standard-4
    name: pool2
    nodeVersion: "1.22"
    size: 1
The updated cluster specification file with the removed node pool code will look like this:
apiVersion: infra.k8smgmt.io/v2
kind: Cluster
metadata:
    labels:
        rafay.dev/clusterName: gke-get-started-cluster
        rafay.dev/clusterType: gke
    name: gke-get-started-cluster
    project: gke
spec:
    blueprint:
        name: default-gke
        version: latest
    cloudCredentials: GCP-CC
    config:
        controlPlaneVersion: "1.22"
        location:
            defaultNodeLocations:
                - us-west1-c
            type: zonal
            zone: us-west1-c
        name: gke-get-started-cluster
        network:
            enableVPCNativeTraffic: true
            maxPodsPerNode: 110
            name: default
            networkAccess:
                privacy: public
            nodeSubnetName: default
        nodePools:
            - machineConfig:
                bootDiskSize: 100
                bootDiskType: pd-standard
                imageType: COS_CONTAINERD
                machineType: e2-standard-4
              name: default-nodepool
              nodeVersion: "1.22"
              size: 1
        project: demos-249423
    type: Gke
- Execute the following command to remove the node pool. Note, update the file name in the below command with the name of your updated specification file.
./rctl apply -f gke-cluster-basic.yaml
From the web console, we can see that the new node pool is being removed
- Navigate to the previously created project in your Org
- Select Infrastructure -> Clusters
- Click on the cluster name of the previosuly created cluster
- Click the "Node Pools" tab
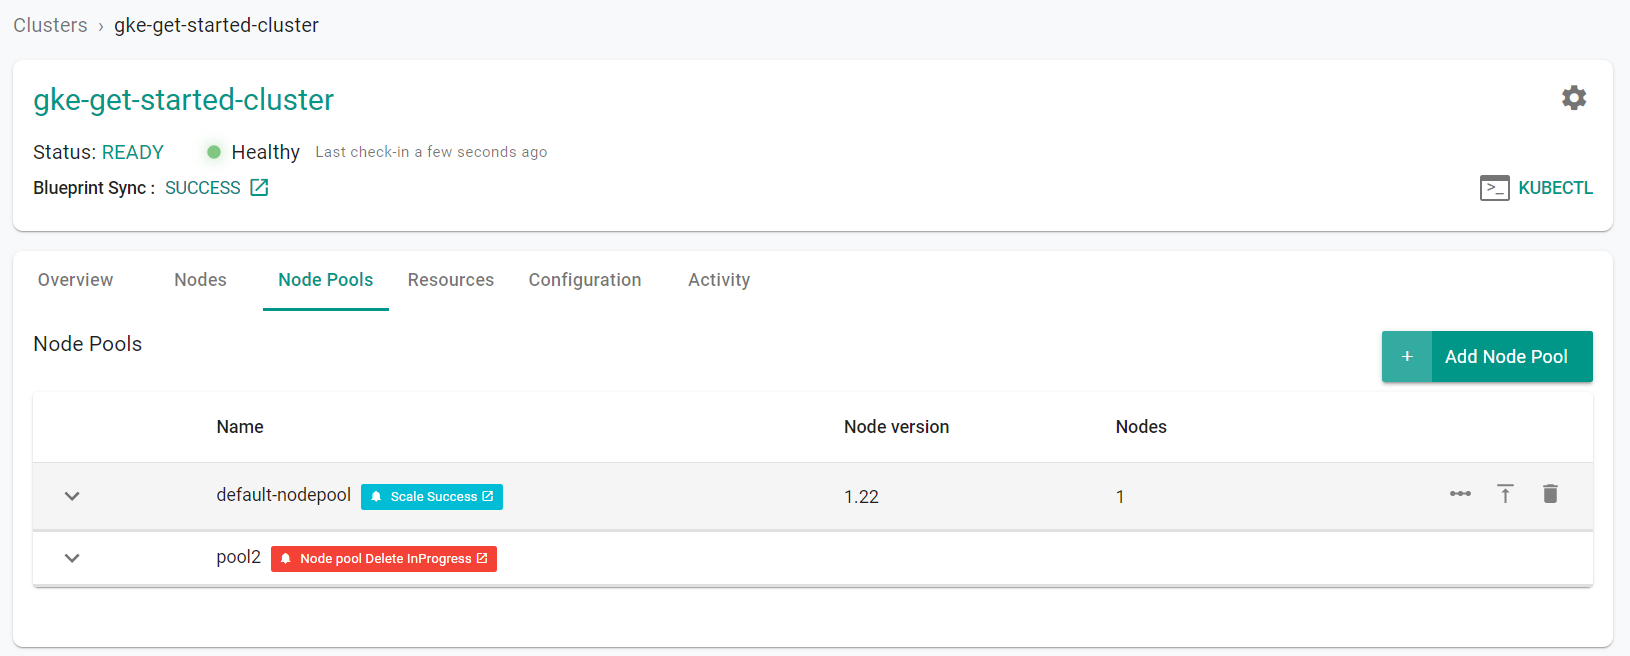
Monitor the web console until the node pool has been removed. You will only see one node pool remaining.
Recap
Congratulations! At this point, you have
- Successfully scaled a node pool to include the desired number of nodes
- Successfully added a node pool to the cluster
- Successfully removed a node pool from the cluster