Knative
In this exercise, you will install Knative to enable serverless workloads on your Kubernetes cluster. Knative manages the deployment, scaling, and routing of stateless applications, and integrates with ingress controllers like Kourier or Istio to expose services externally. This allows Knative services to scale to zero when idle and become accessible from outside the cluster without relying on external cloud-native serverless platforms—making it ideal for on-premises or hybrid cloud environments.
Important
This tutorial describes the steps using the Rafay Web Console. The entire workflow can also be fully automated and embedded into an automation pipeline
Assumptions
You have already provisioned or imported a Kubernetes cluster into your Rafay Org with a load balancer.
Step 1: Create Knative Operator Namespace
- Login into the Web Console
- Navigate to Infrastructure -> Namespaces
- Create a new namespace, enter the name knative-operator and select type as Wizard
- In the placement section, select a cluster
- Click Save & Go to Publish
- Publish the namespace

Step 1: Create Knative Operator repository
- Navigate to Integrations -> Repositories
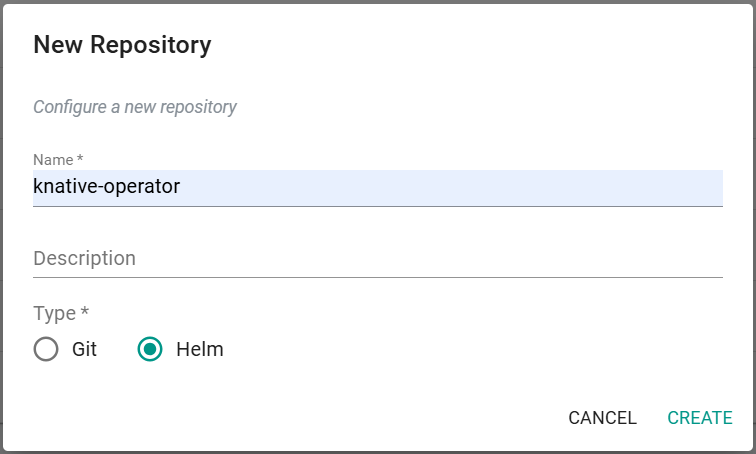
- Click New Repository
- Enter the name knative-operator and select type as Helm
- Click Create
- Enter https://knative.github.io/operator for the endpoint
- Click Save
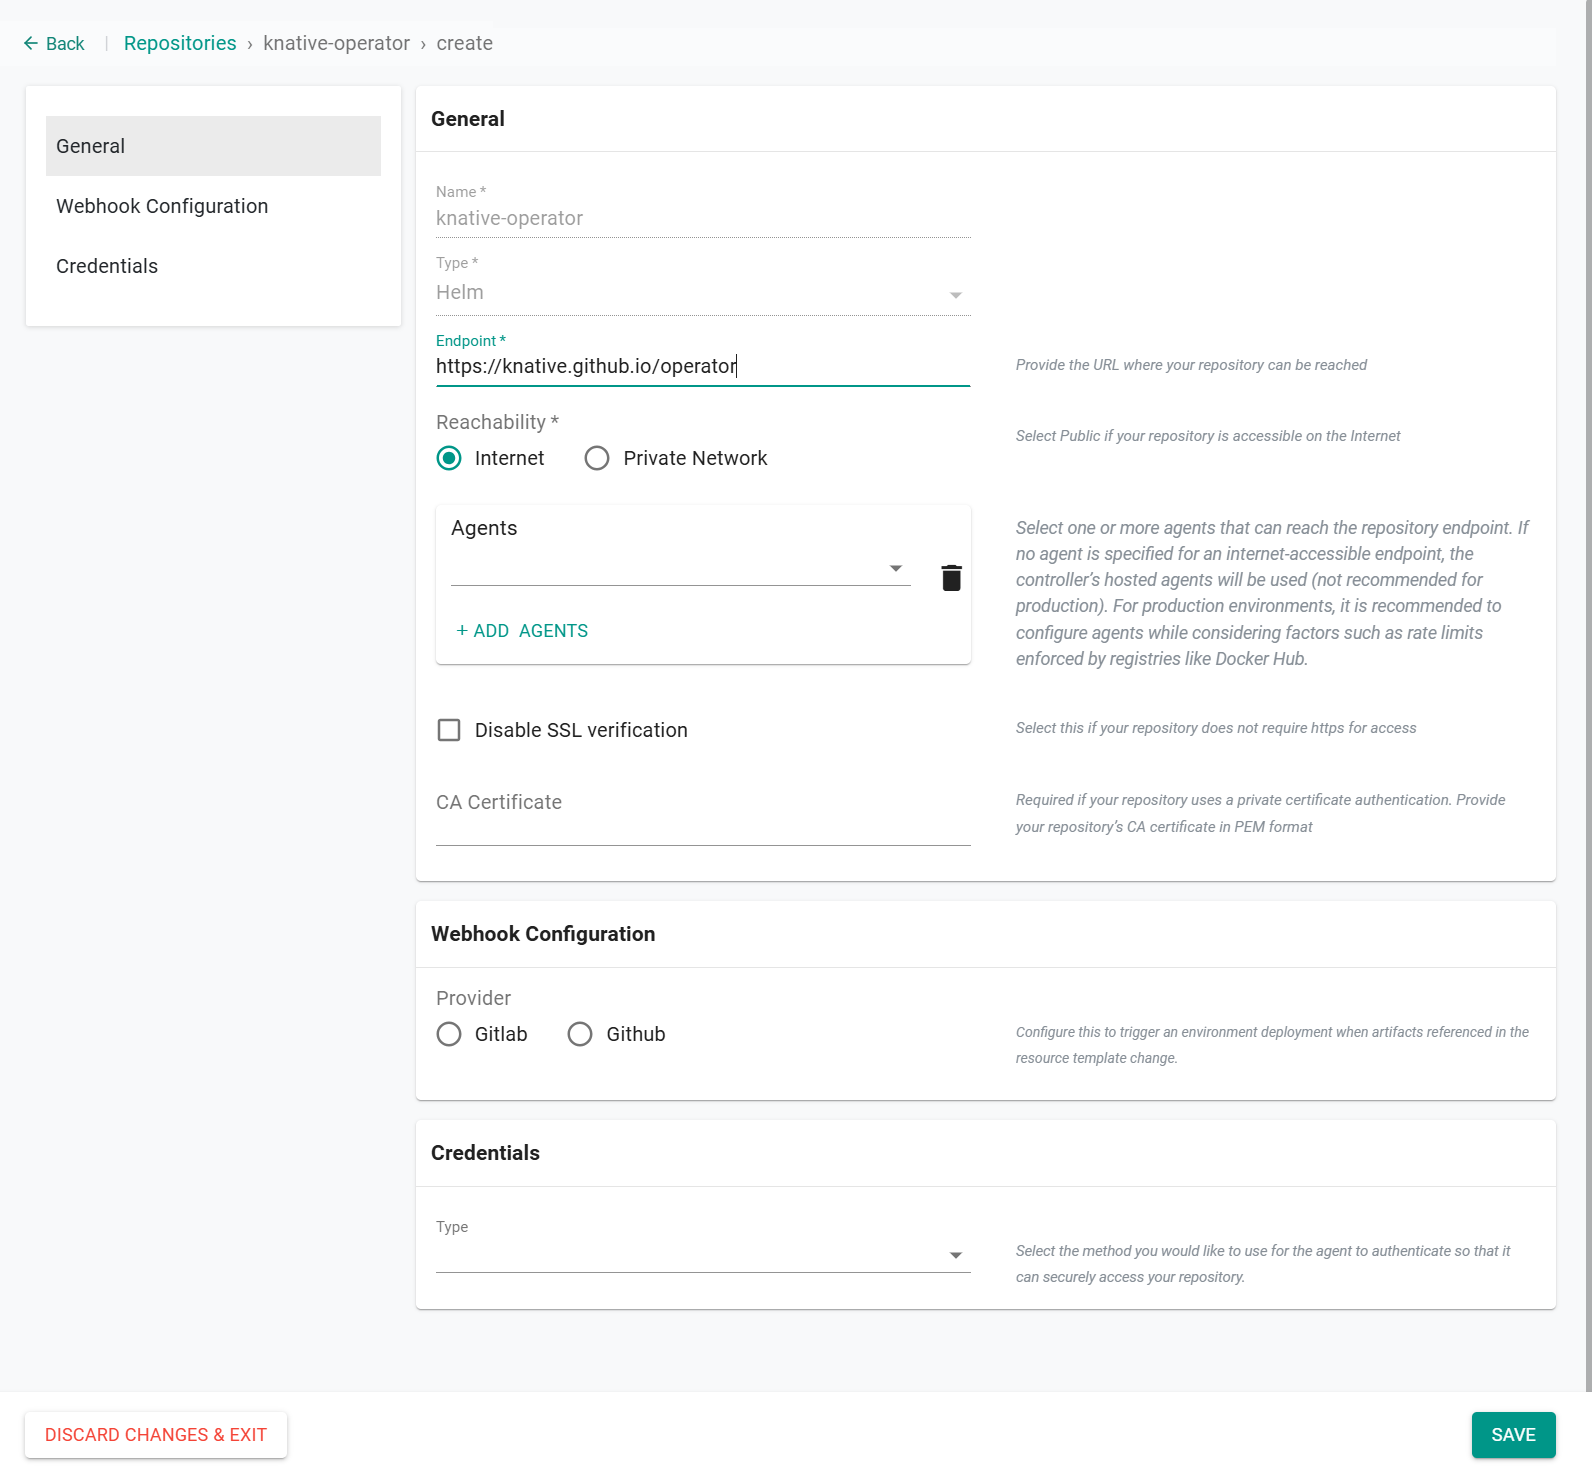
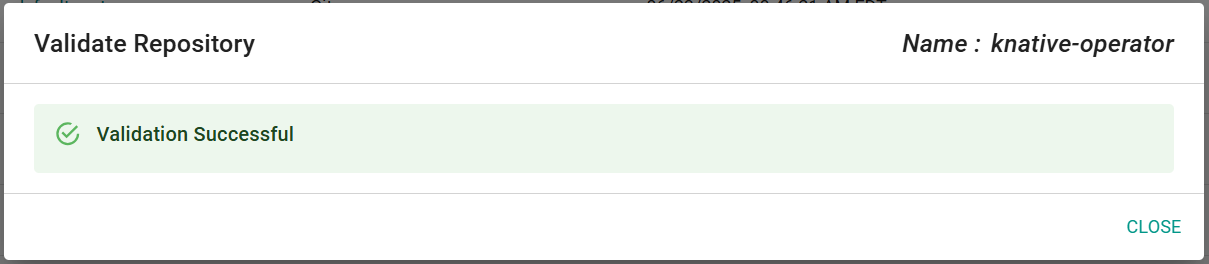
- Click the "validate" button on the repo
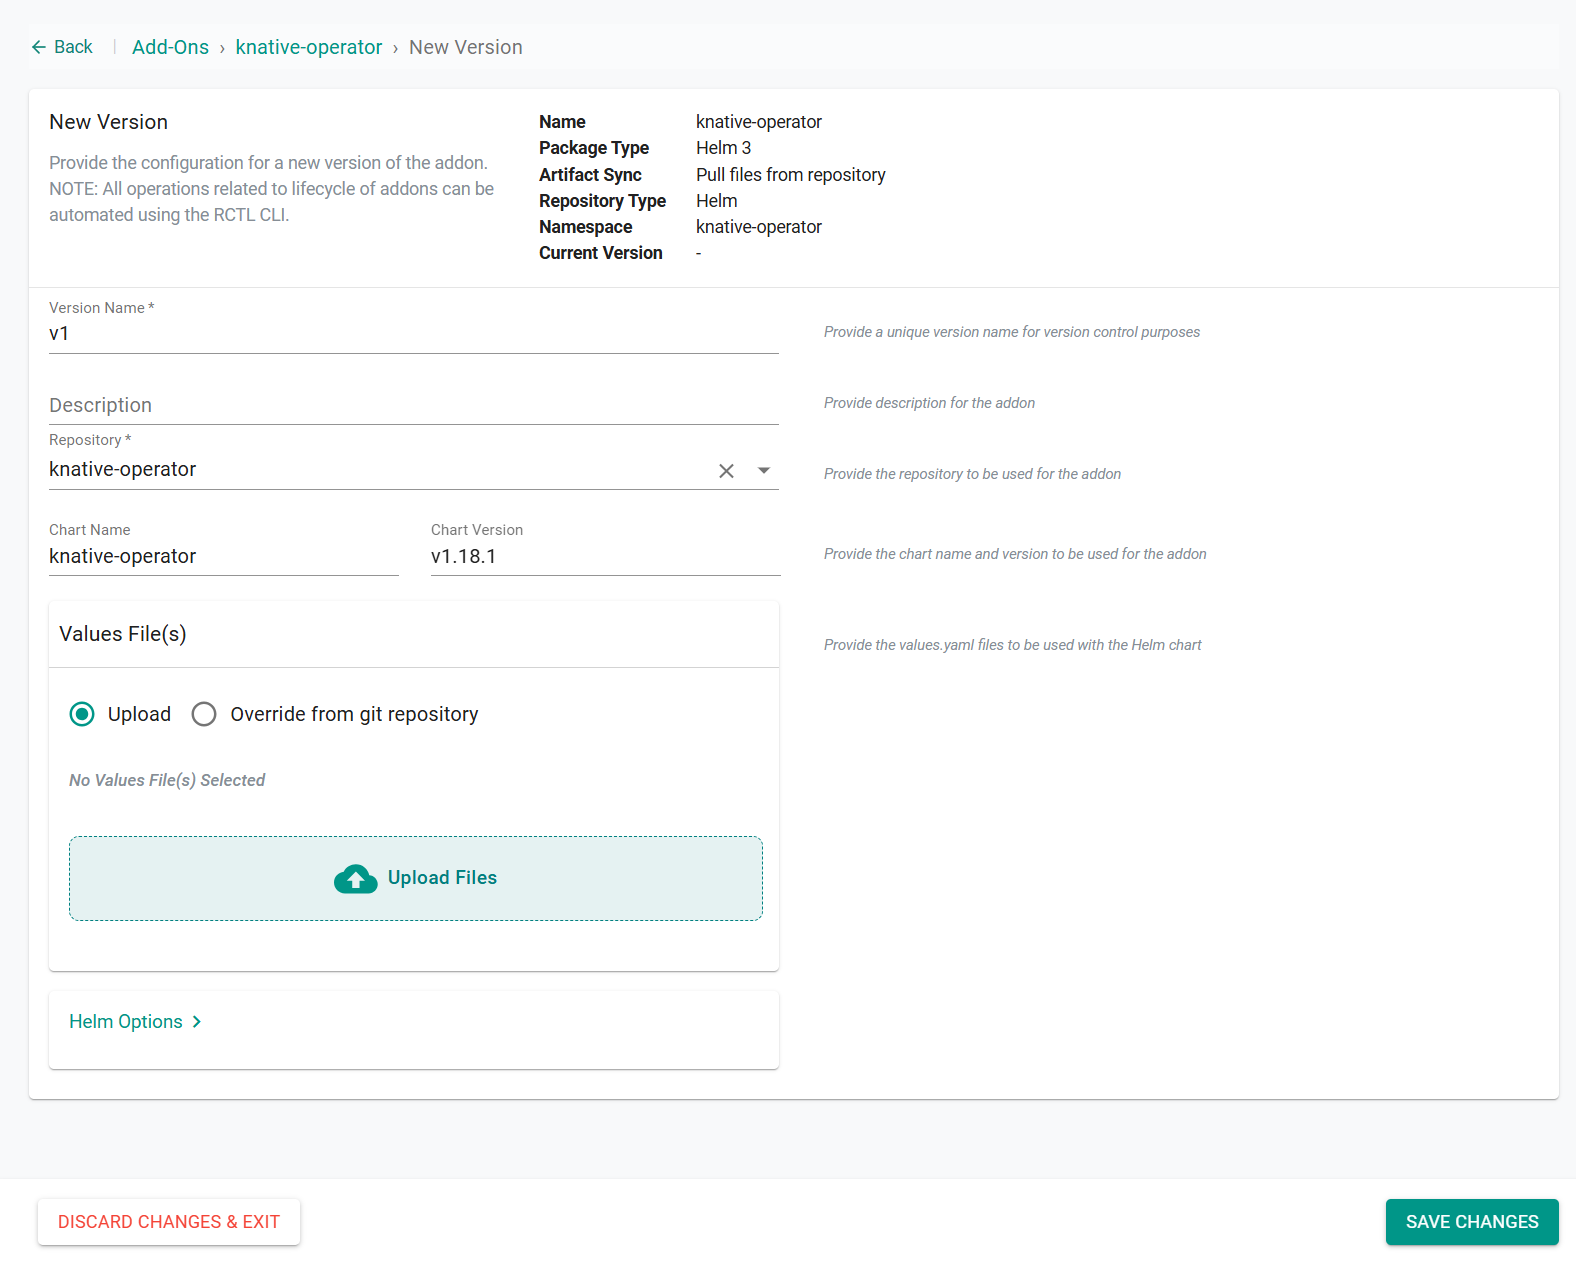
Step 3: Create Knative Operator Add-on
- Navigate to Infrastructure -> Add-Ons
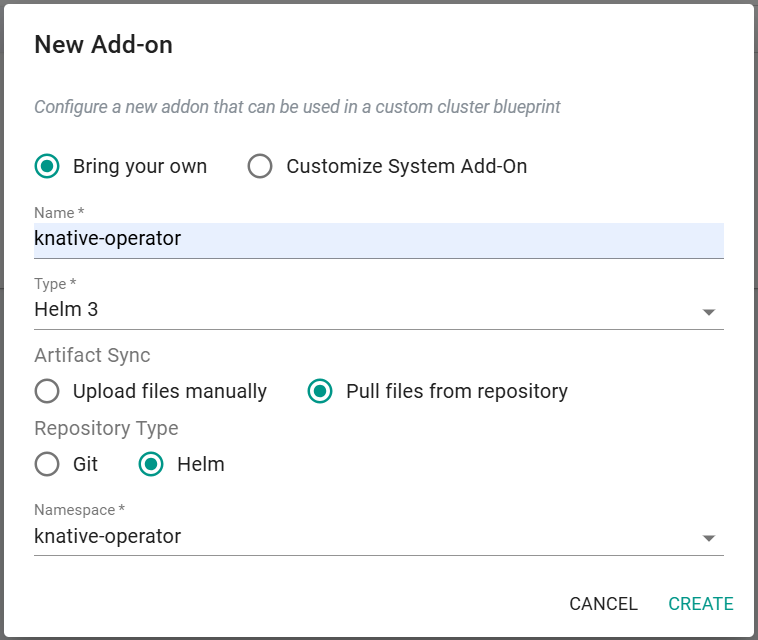
- Select New Add-On -> Create New Add-On
- Enter knative-operator for the name
- Set the type as Helm 3
- Select Pull files from repository
- Select Helm for the repository type
- Select the namespace knative-operator
- Select New Version
- Enter a version name
- Enter knative-operator for the chart name
- Enter v1.18.1 for teh chart version
- Click Save Changes
Step 4: Create Knative Serving Namespace
- Navigate to Infrastructure -> Namespaces
- Create a new namespace, enter the name knative-serving and select type as Wizard
- In the placement section, select a cluster
- Click Save & Go to Publish
- Publish the namespace

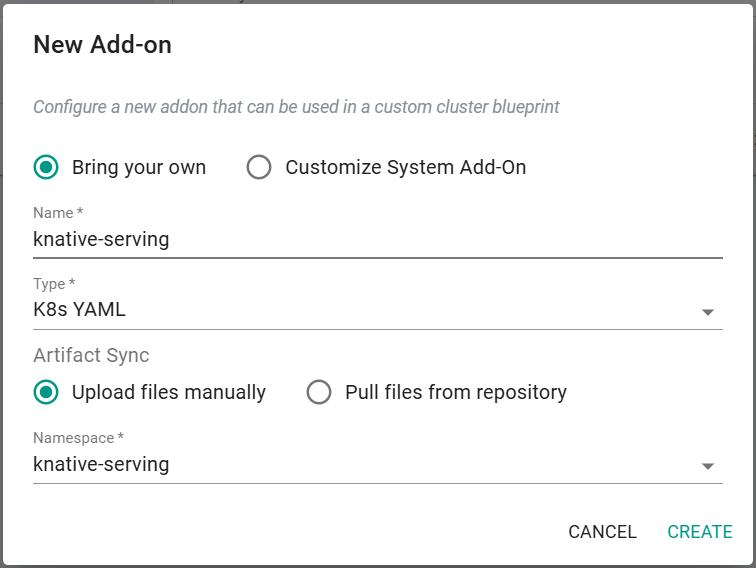
Step 5: Create Knative Serving Add-on
- Navigate to Infrastructure -> Add-Ons
- Select New Add-On -> Create New Add-On
- Enter knative-serving for the name
- Set the type as K8s YAML
- Select Upload files manually
- Select the namespace knative-serving
- Click Create
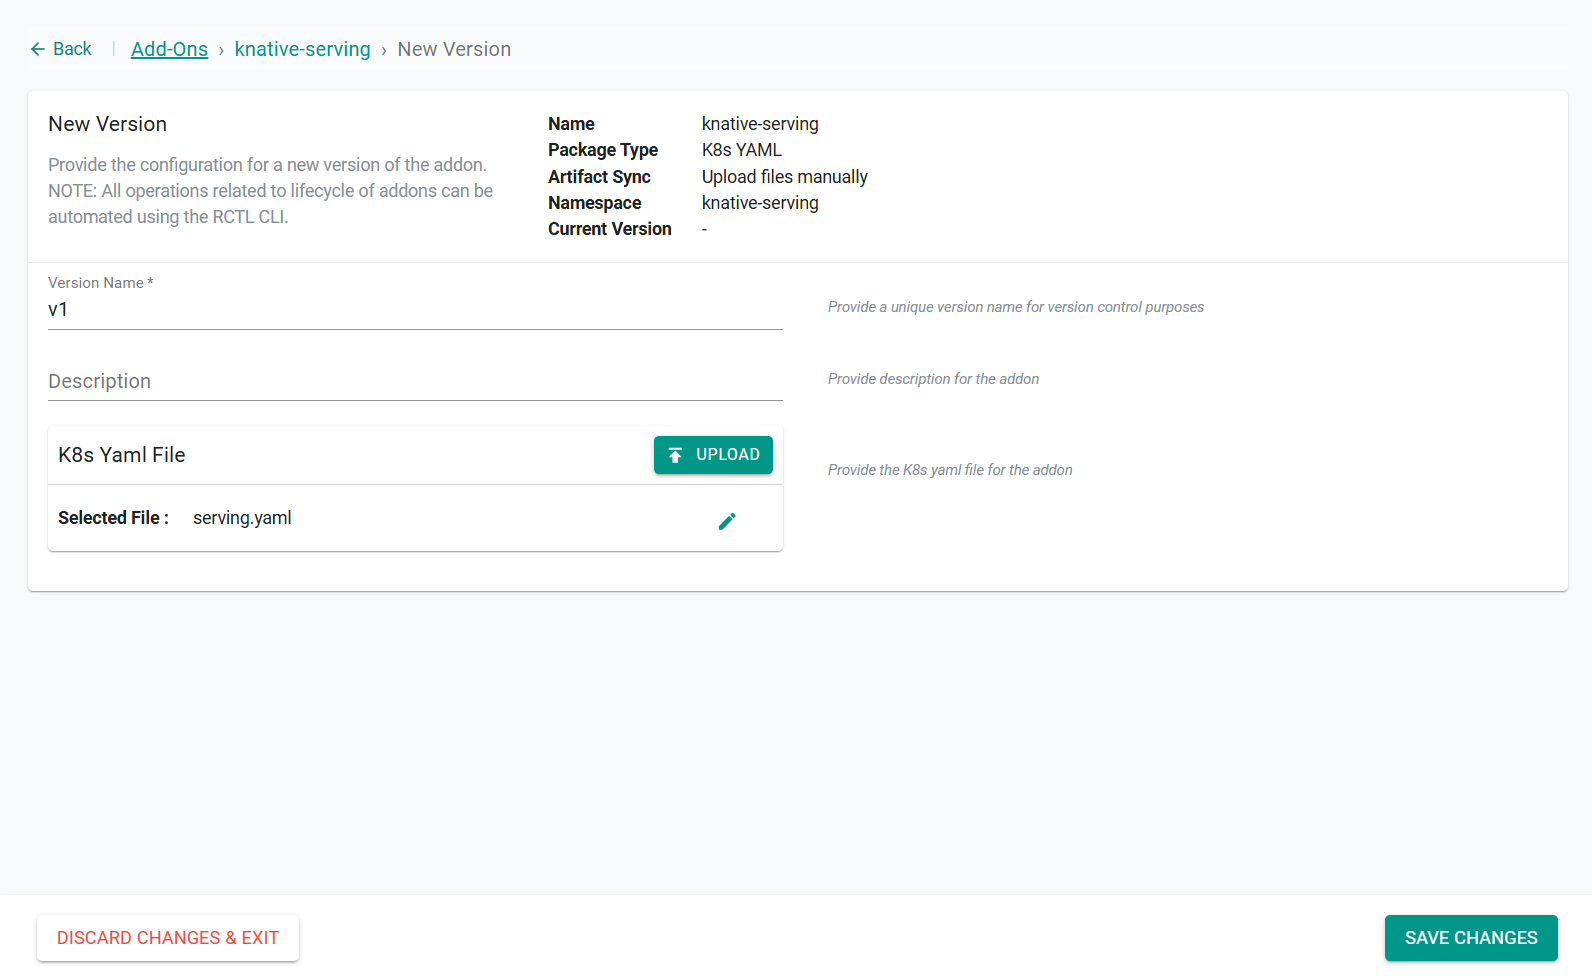
- Select New Version
- Enter a version name
- Save the following yaml to a file. Update the domain section with your domain.
apiVersion: operator.knative.dev/v1beta1
kind: KnativeServing
metadata:
  name: knative-serving
  namespace: knative-serving
spec:
  # ...
  ingress:
    kourier:
      enabled: true
  config:
    network:
      ingress-class: "kourier.ingress.networking.knative.dev"
    domain:
      example.com: ""
- Click Upload and select the previously created file
- Click Save Changes
Step 6: Create Knative Eventing Namespace
- Navigate to Infrastructure -> Namespaces
- Create a new namespace, enter the name knative-eventing and select type as Wizard
- In the placement section, select a cluster
- Click Save & Go to Publish
- Publish the namespace

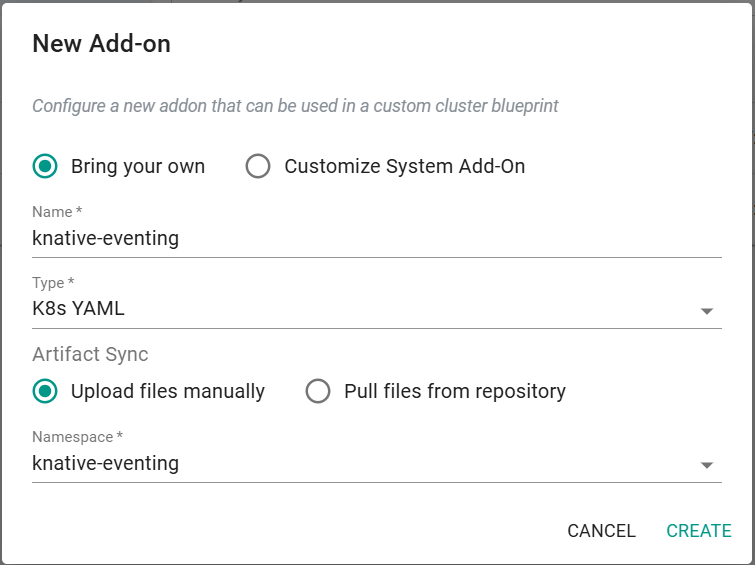
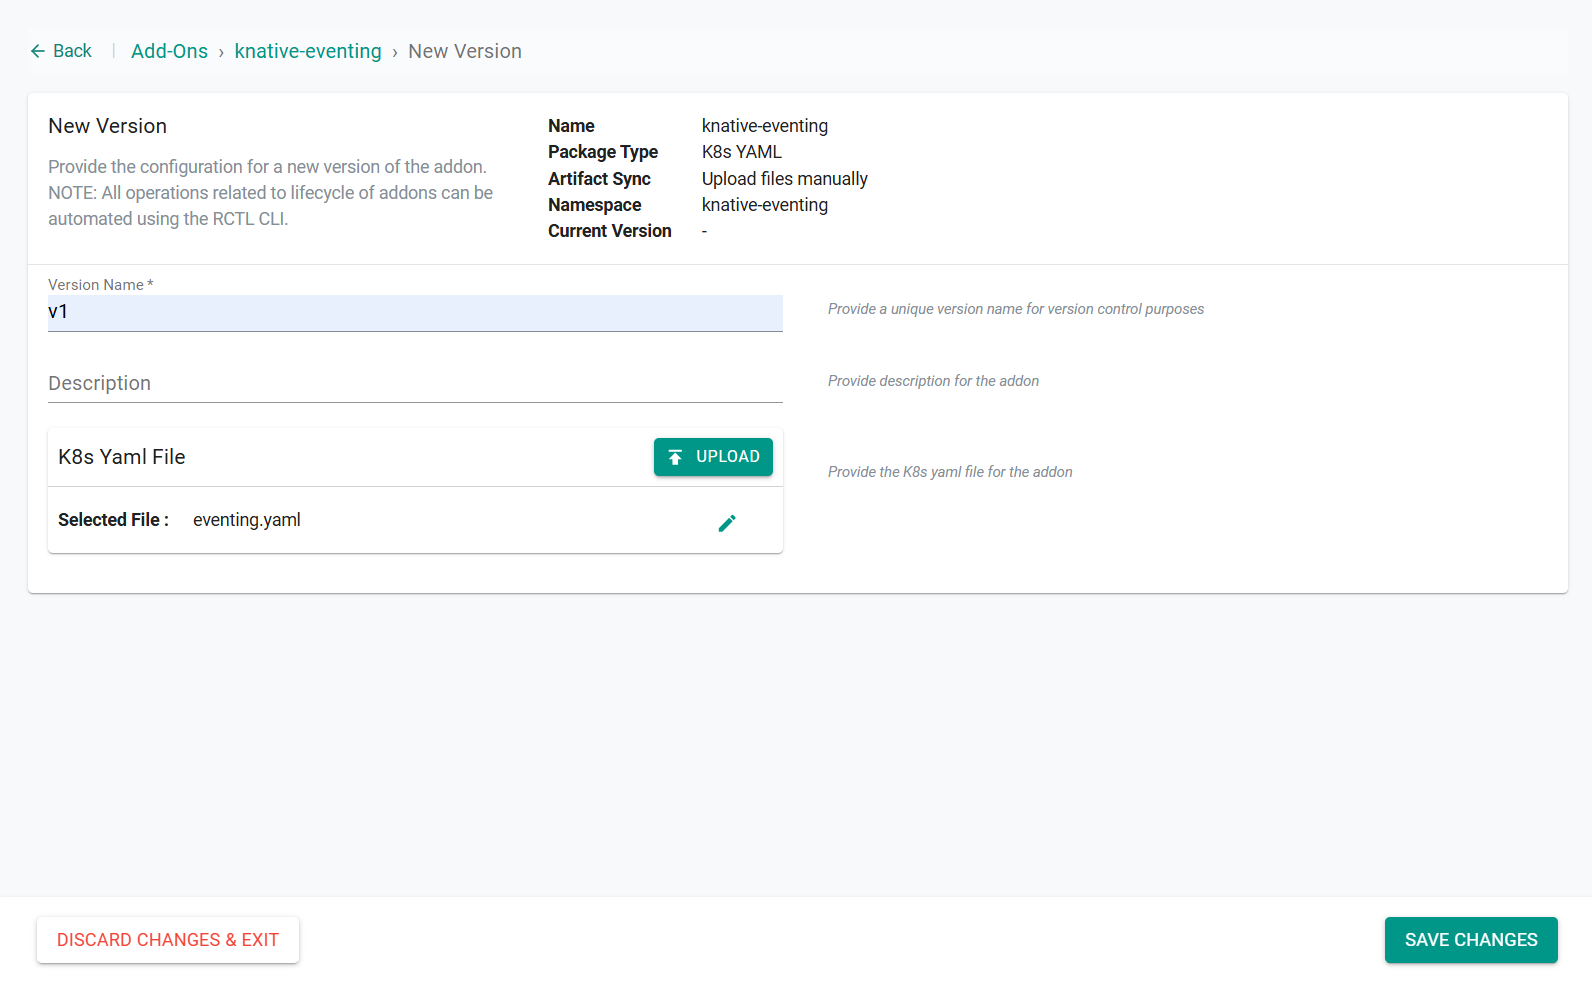
Step 7: Create Knative Eventing Add-on
- Navigate to Infrastructure -> Add-Ons
- Select New Add-On -> Create New Add-On
- Enter knative-eventing for the name
- Set the type as K8s YAML
- Select Upload files manually
- Select the namespace knative-eventing
- Click Create
- Select New Version
- Enter a version name
- Save the following yaml to a file. Update the domain section with your domain.
apiVersion: v1
kind: Namespace
metadata:
  name: knative-eventing
---
apiVersion: operator.knative.dev/v1beta1
kind: KnativeEventing
metadata:
  name: knative-eventing
  namespace: knative-eventing
- Click Upload and select the previously created file
- Click Save Changes
Step 8: Create Blueprint
- Navigate to Infrastructure -> Blueprints
- Click New Blueprint
- Enter a name for the blueprint
- Click Save
- Enter a version name
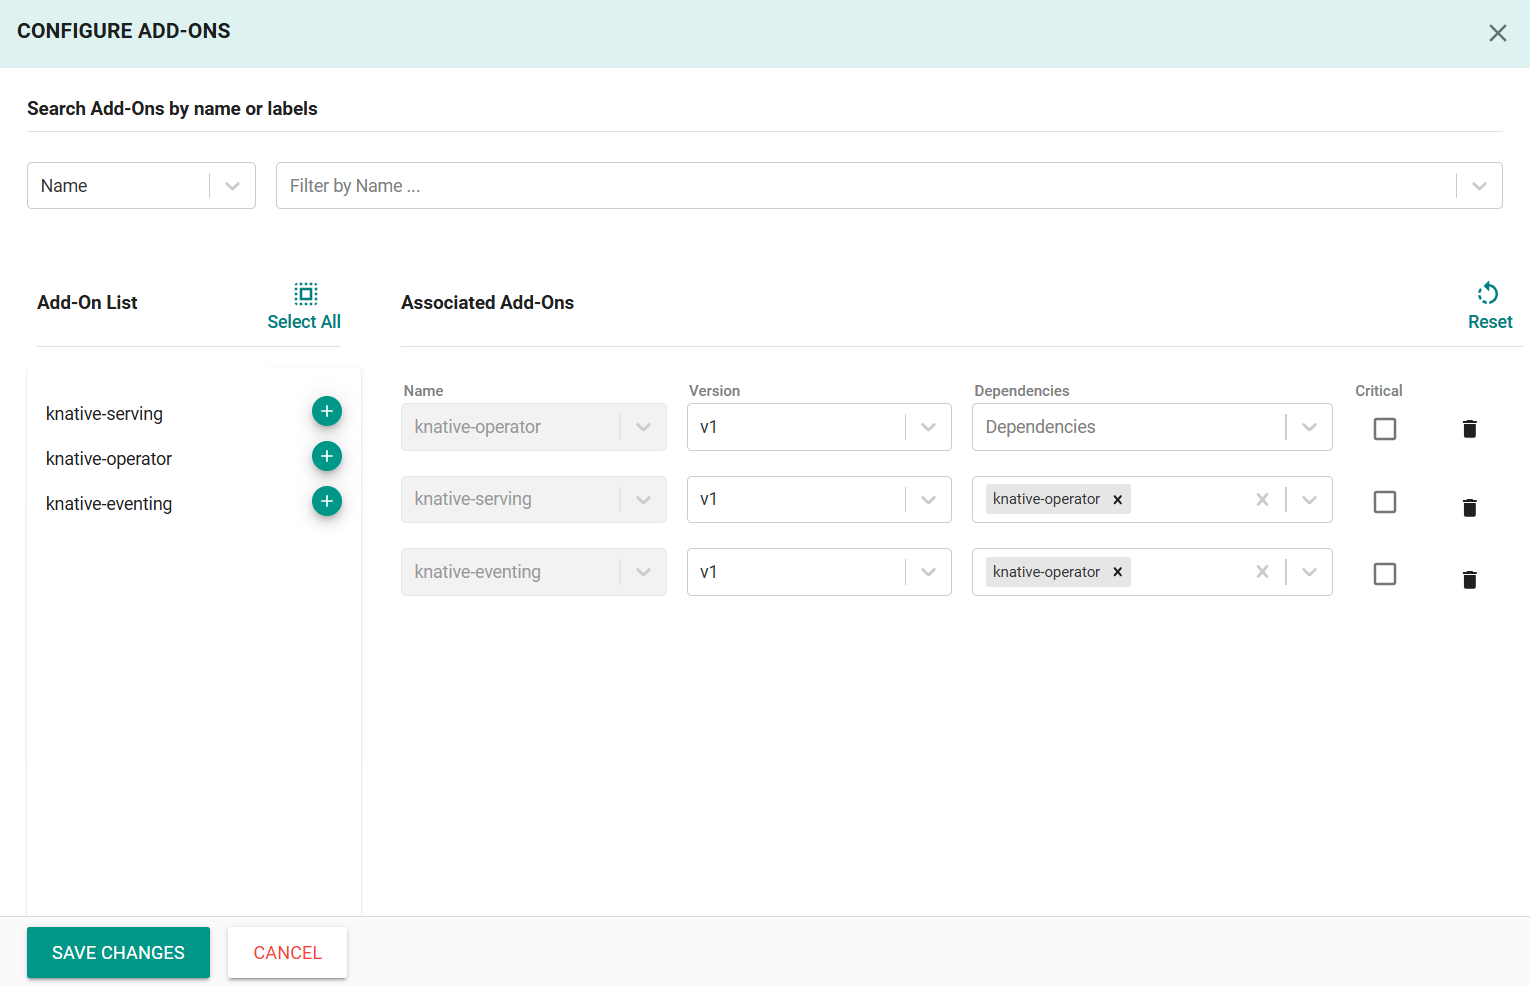
- Click Configure Add-Ons
- Select the previously created Knative add-ons
- Select the knative-operator add-on as the dependency for the serving and eventing add-ons
- Click Save Changes
- Click Save Changes
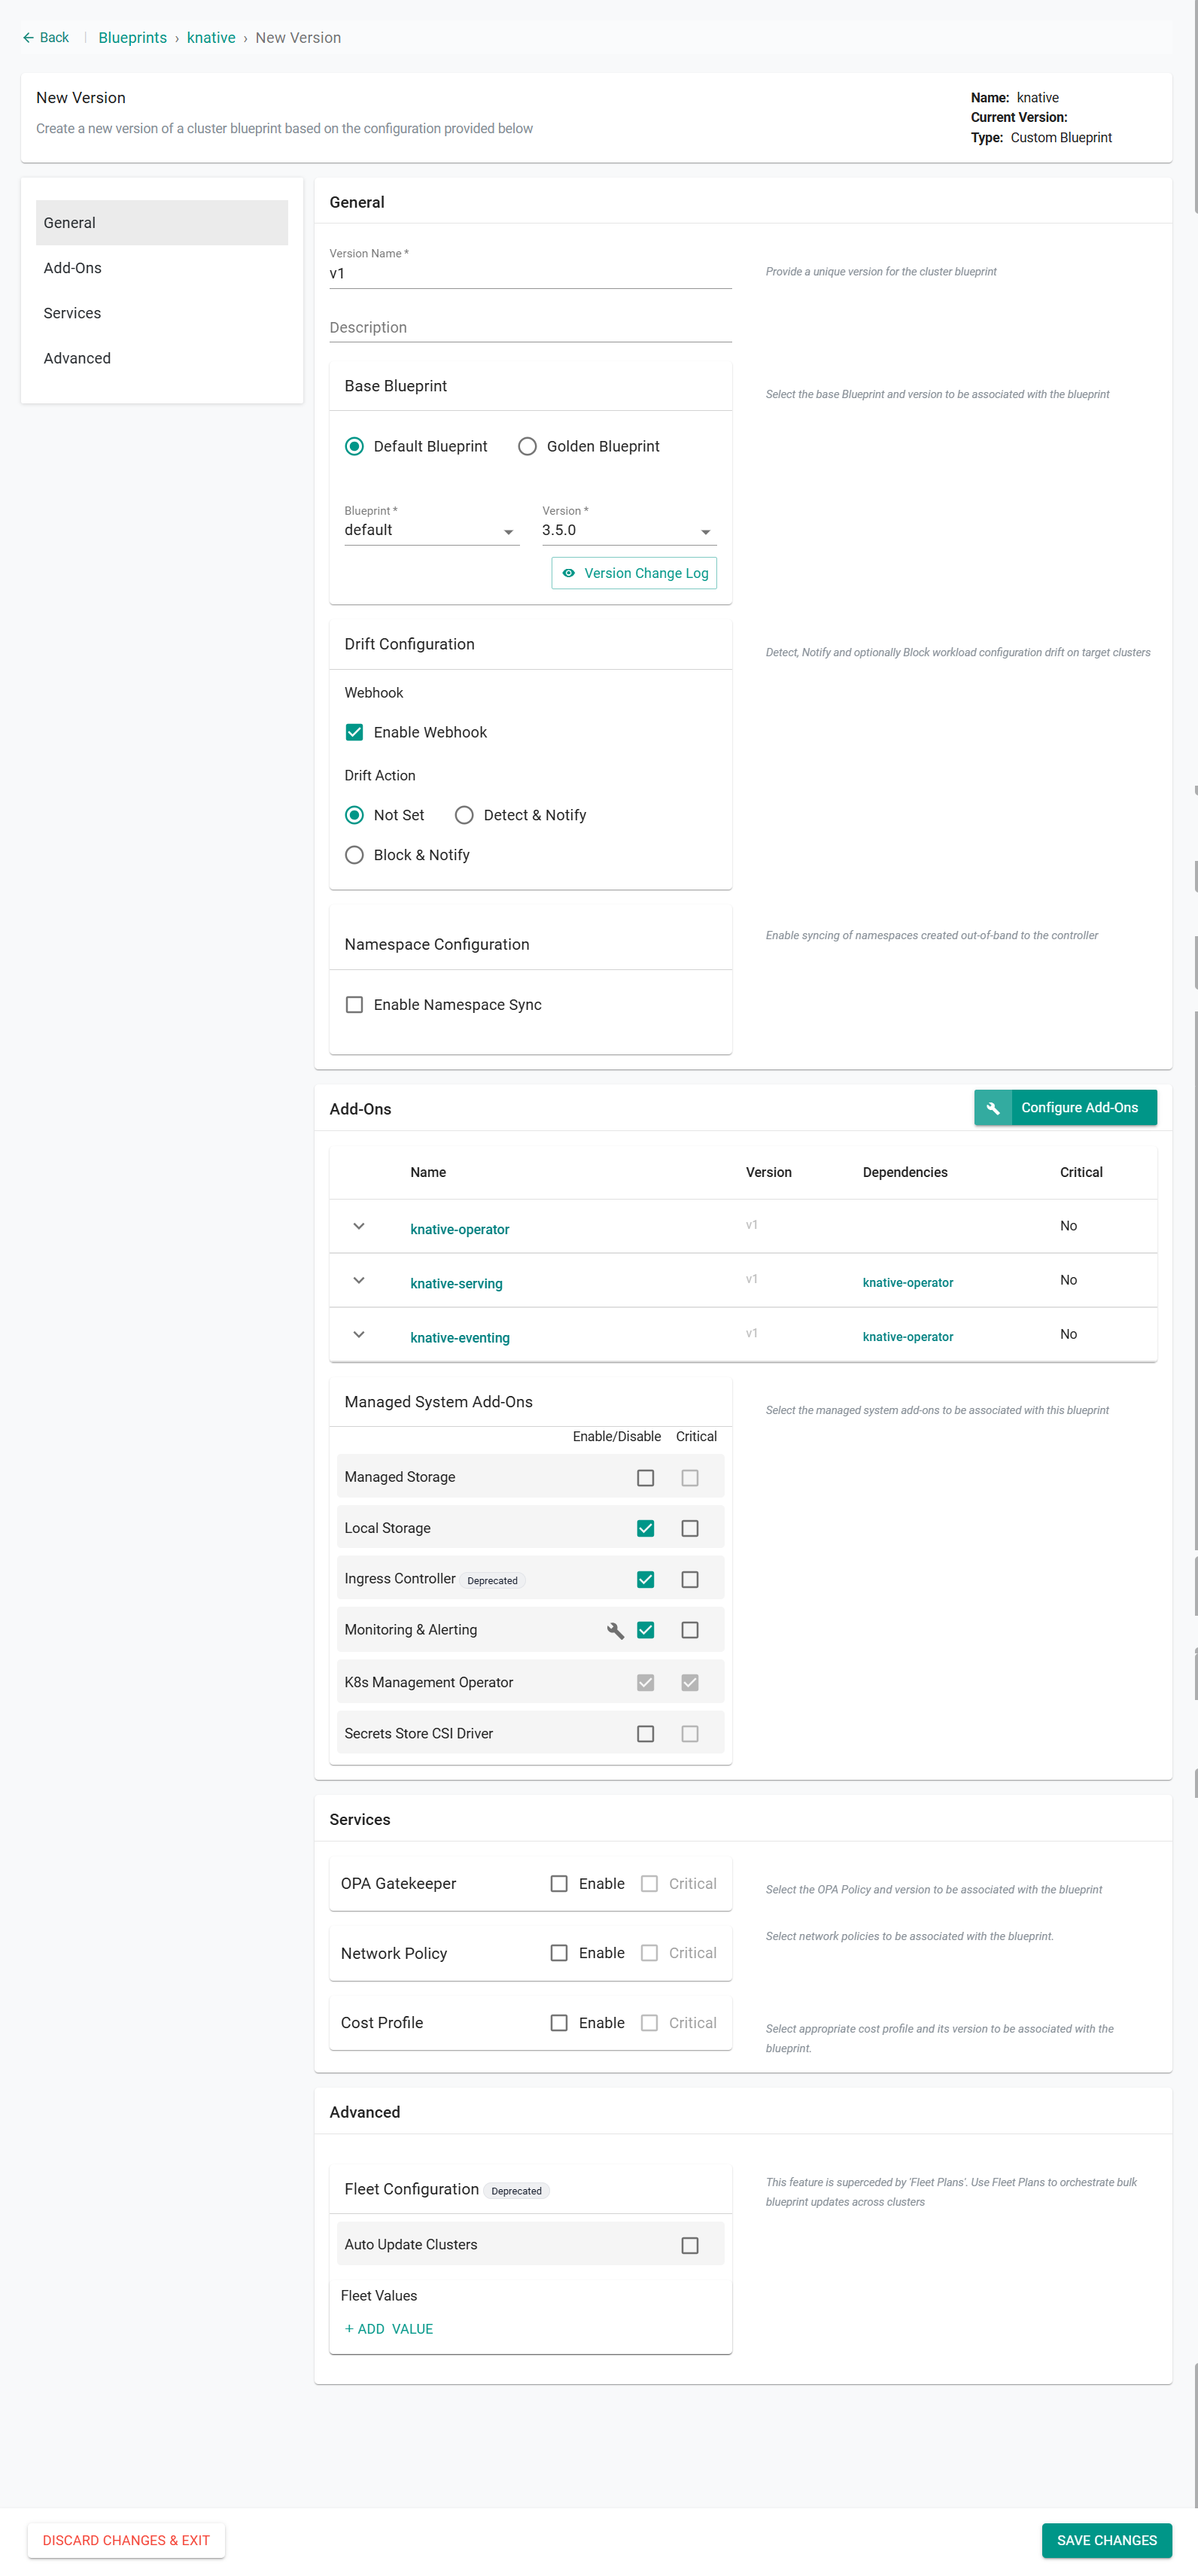
- Click Save Changes
Step 8: Apply Blueprint
- Navigate to Infrastructure -> Clusters
- Click the gear icon on your cluster and select Update Blueprint
- Select the previously created blueprint
- Click Save and Publish
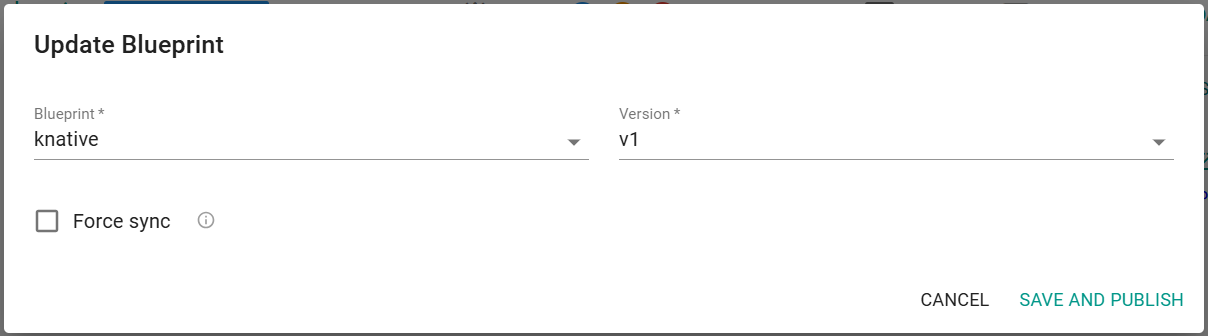
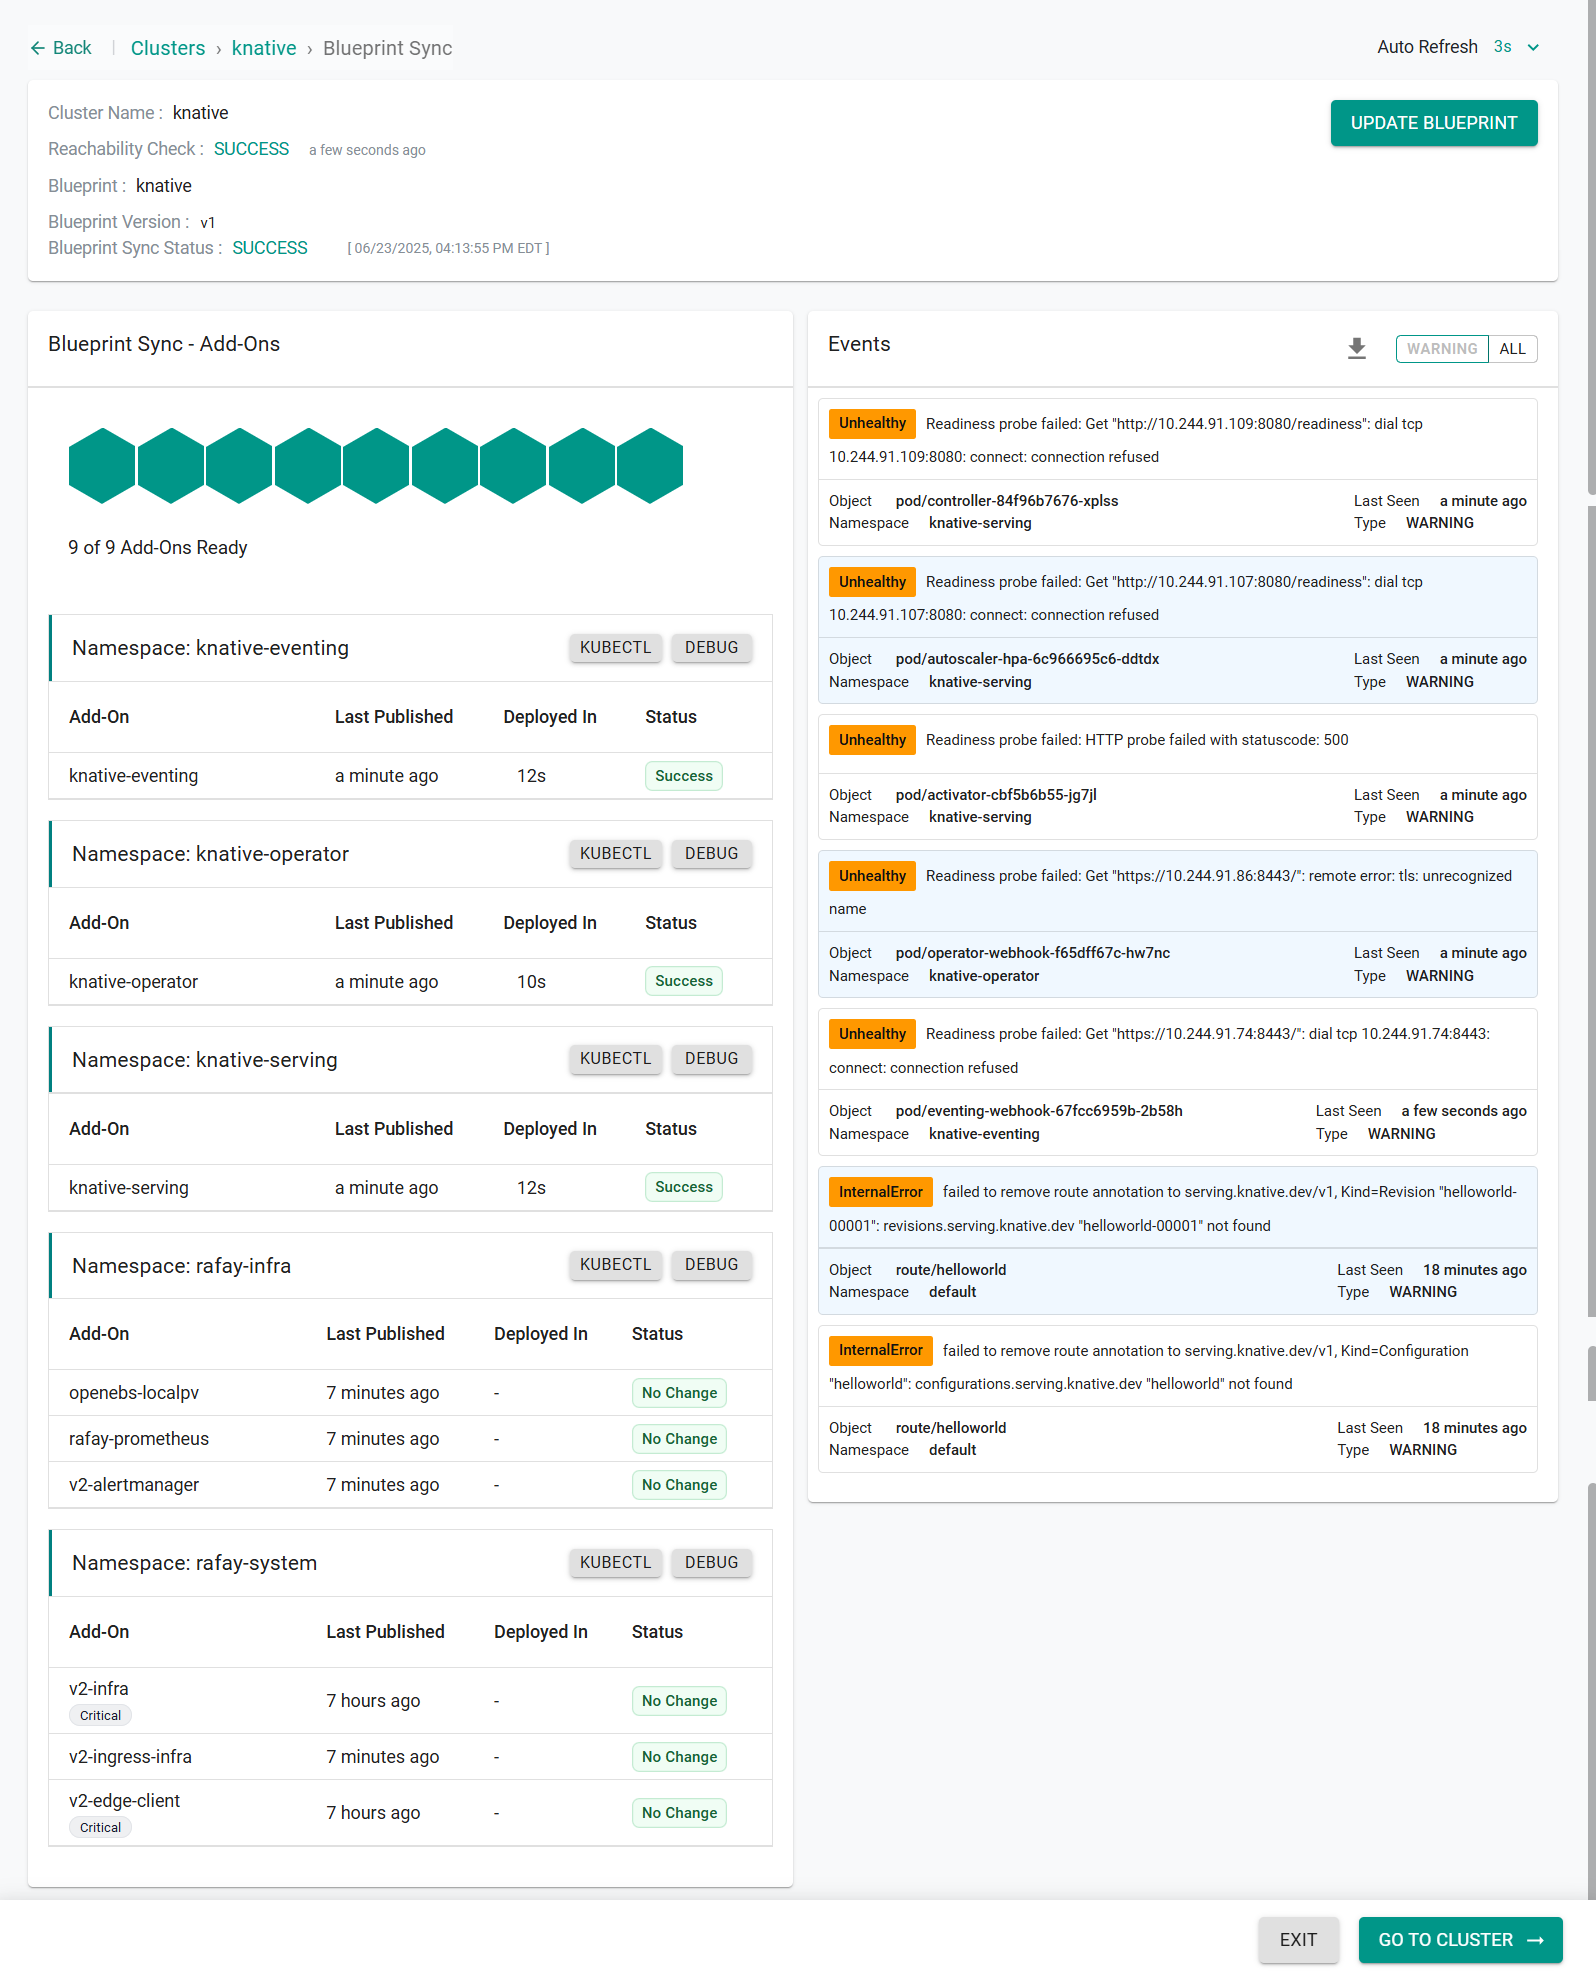
After a few seconds, the blueprint with the Knative add-ons will be published on the cluster.
Step 9: Test Knative
In this step, you will create a sample Knative service that deploys a serverless HTTP service that responds like httpbin.org, managed and autoscaled by Knative.
- Create a file named app.yaml with the following contents
apiVersion: serving.knative.dev/v1
kind: Service
metadata:
  name: helloworld
  namespace: default
spec:
  template:
    spec:
      containers:
        - image: docker.io/kennethreitz/httpbin
          ports:
            - containerPort: 80
- Type the following command to create the resource
kubectl apply -f app.yaml
- Run the following command to watch for Knative autoscaling
watch kubectl get pods -n default
- Run the following command from your local machine to create a port-forward connection to the Knative Kourier service
kubectl port-forward -n knative-serving svc/kourier 8080:80
- Run the following command to get the hostname of the application
kubectl get ksvc helloworld -o jsonpath='{.status.url}'
You will see output similar to the following:
http://helloworld.default.example.com
- Run the following command to access to application. Be sure to update the hostname with the hostname from the previous command.
curl -H "Host: helloworld.default.example.com" http://localhost:8080
You will see the output of the running "watch" command from above show the scaled application when the curl request was made. This will automatically scale down after 90 seconds.