Part 2: Workload
What Will You Do
In this part of the self-paced exercise, you will deploy a Windows workload to the Windows node on the MKS Cluster.
Step 1: Create Namespace
In this step, we will create a namespace using the web console. The namespace will be used to deploy workloads in future steps.
- Navigate to the project in your Org where the cluster is located.
- Select Infrastructure -> Namespaces
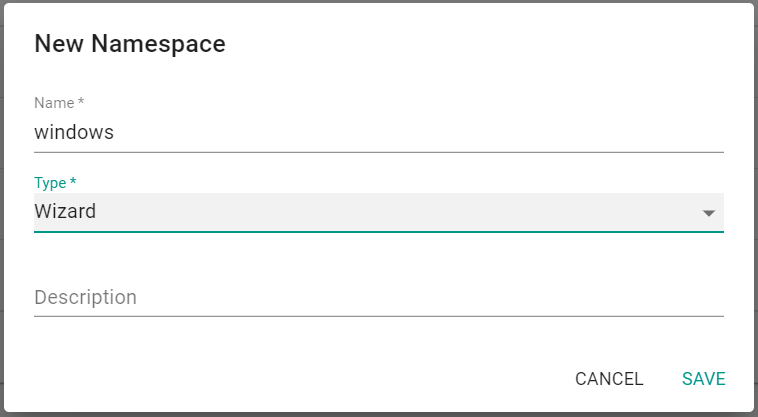
- Click "New Namespace"
- Enter "windows" for the name
- Select "Wizard" for the Type
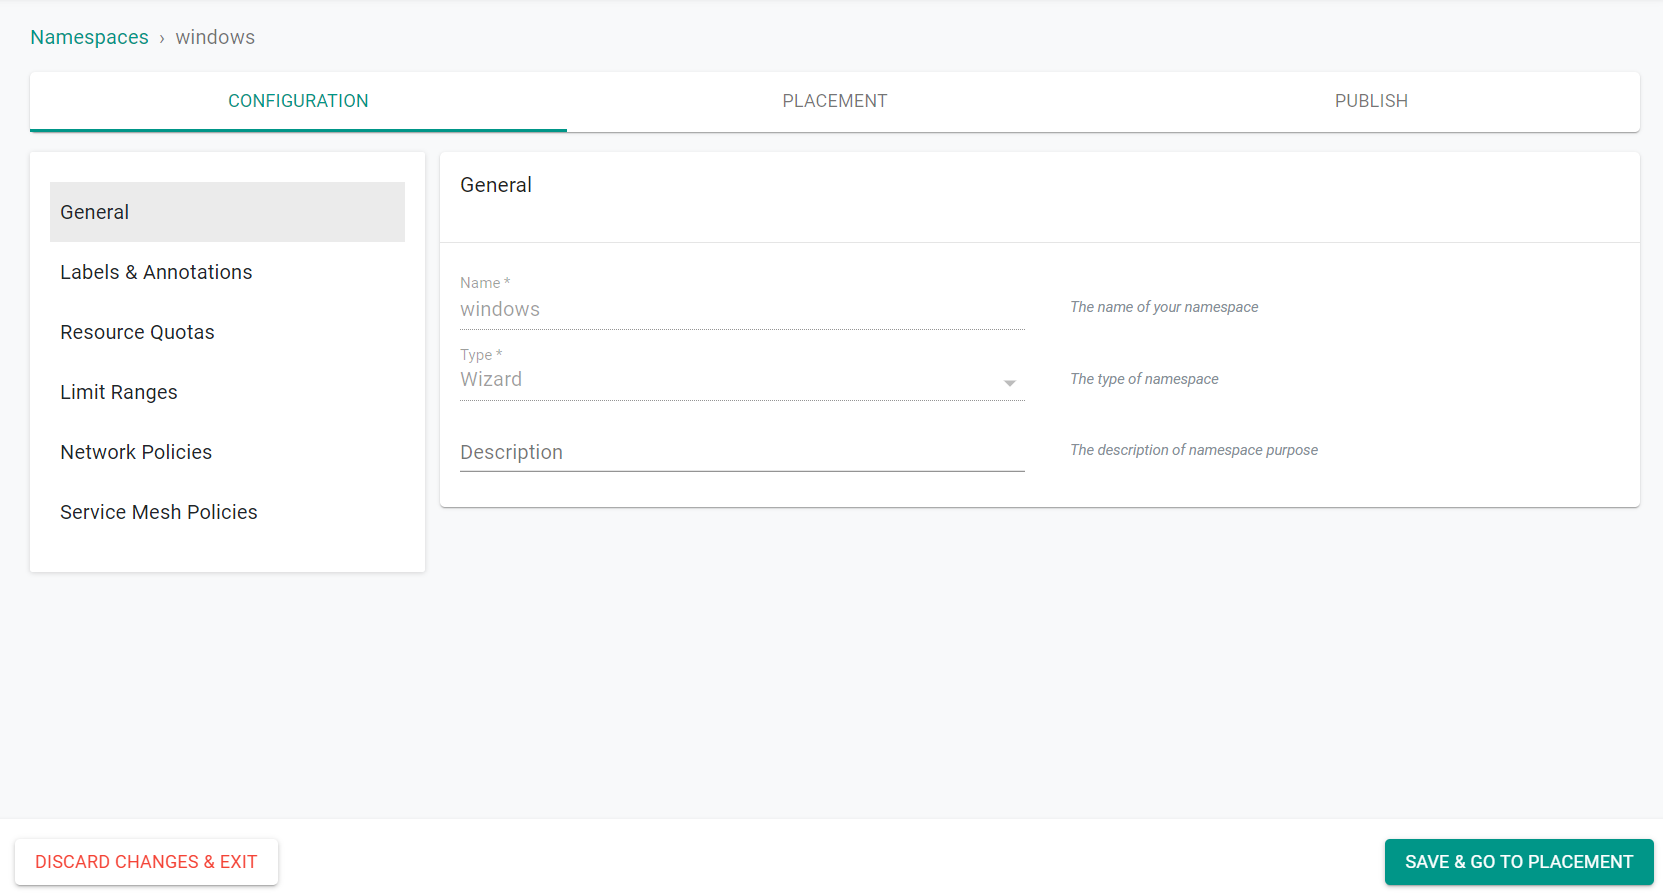
- Click "Save"
- Click "Save & Go To Placement"
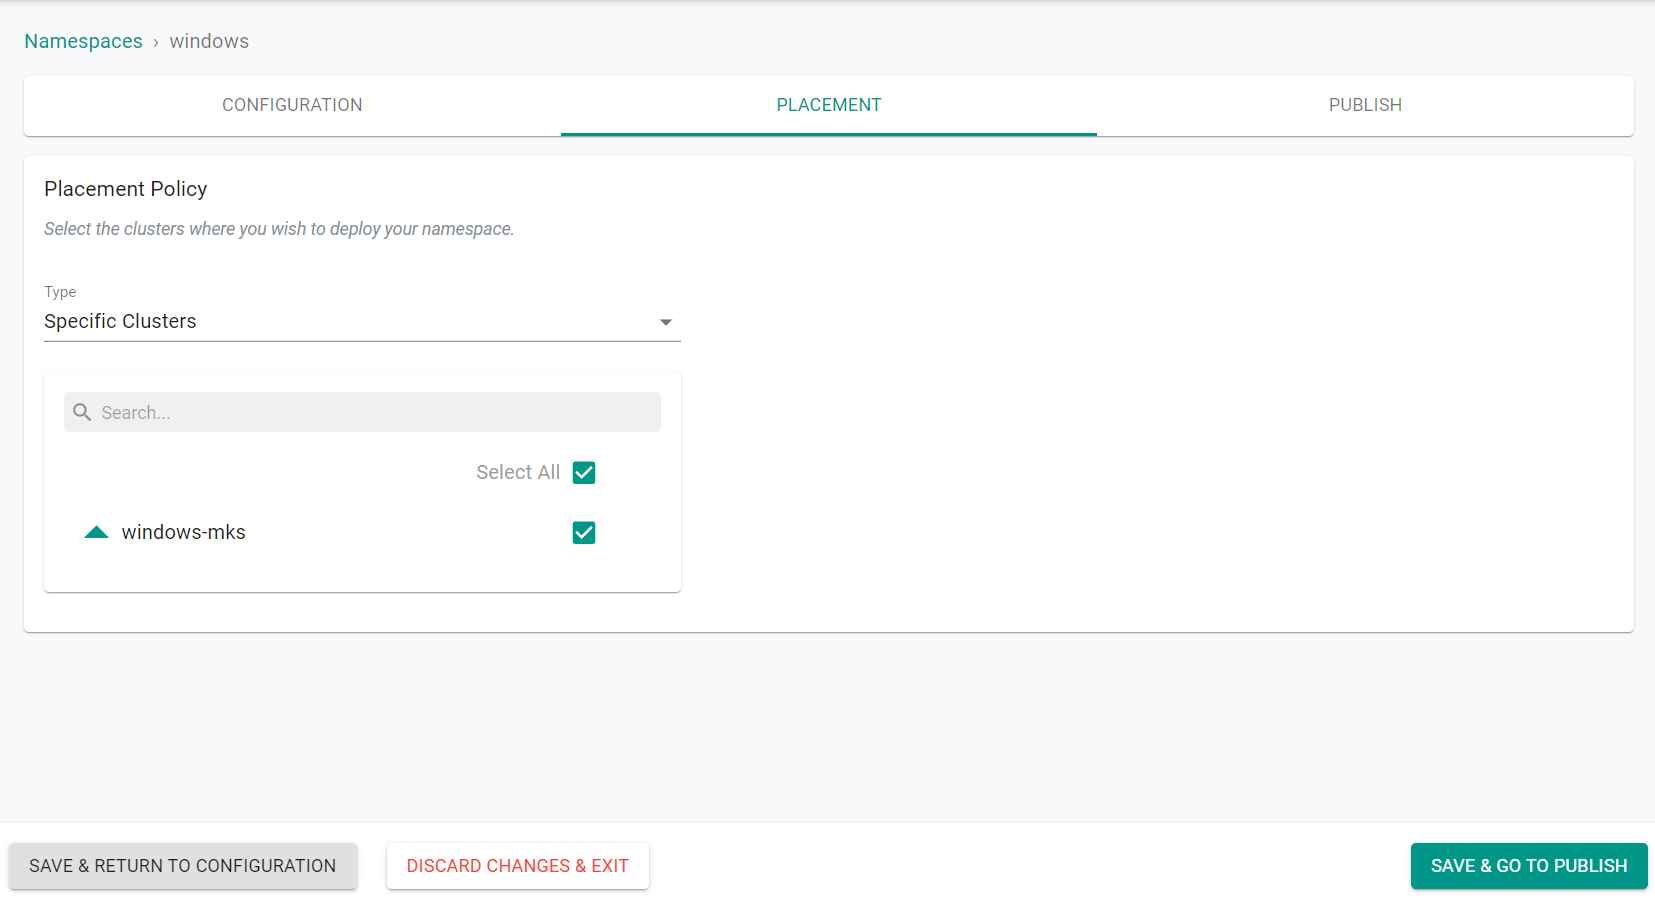
- Select the cluster to create the namespace on
- Click "Save & Go To Publish"
- Click "Publish"
The namespace is now published on the cluster.
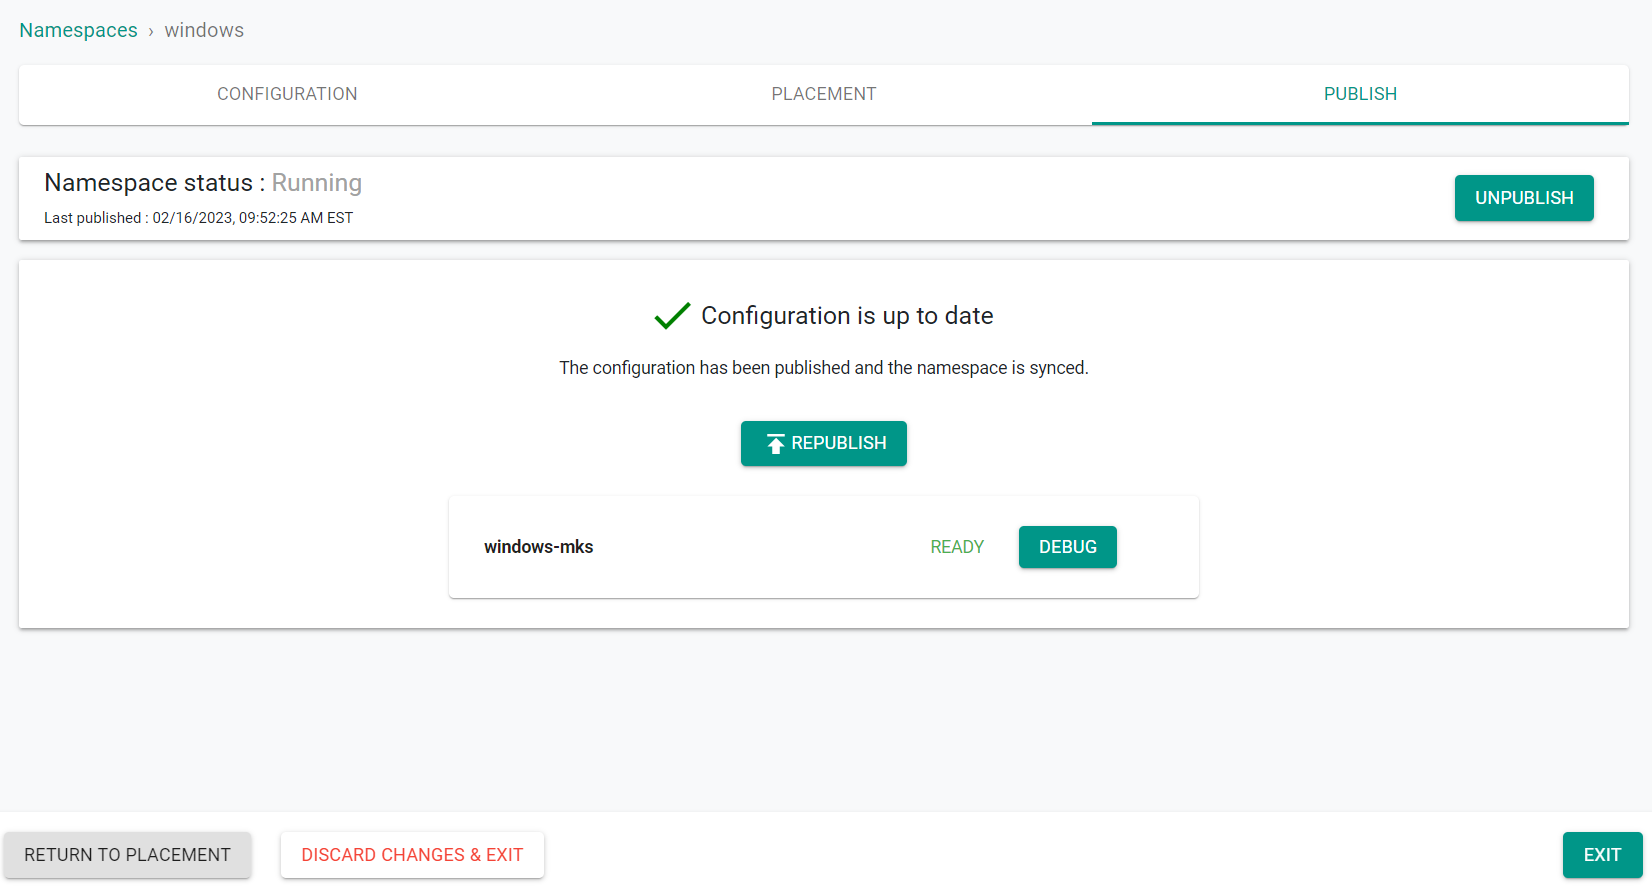
- Click "Exit"
Step 2: Deploy Windows Workload
In this step, we will deploy a Windows workload into the previously created namespace.
- Navigate to the project in your Org where the cluster is located.
- Select Applications -> Workloads
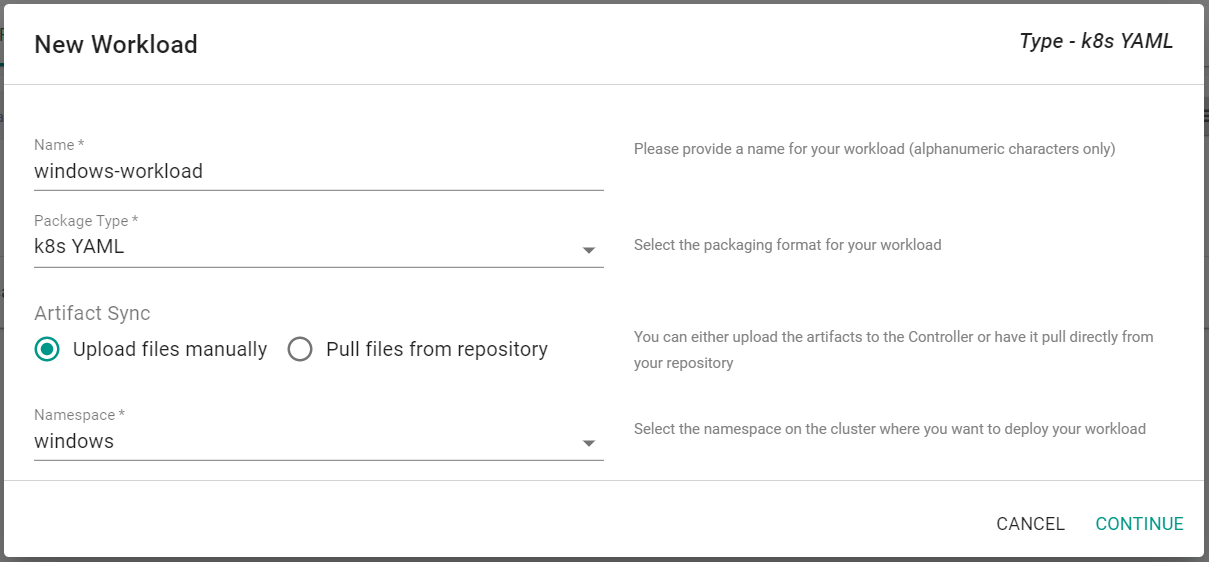
- Click "New Workload" -> "Create New Workload"
- Enter "windows-workload" for the name
- Select "k8s YAML" for the Package Type
- Select "Upload files manually"
- Select the "Windows" namespace
- Click "Continue"
- Save the below specification file to your computer as "windows-workload.yaml".
Important
The 'nodeSelector' section, lines 40 & 41, specifies which OS to use. This is an important configuration to specify to avoid scheduling issues. Without a nodeSelector configuration, this deployment could be scheduled on a Linux node, causing it to fail. Kubernetes scheduling doesn't recognize Operating System, rather it is based on scores. For more information, please visit https://kubernetes.io/docs/concepts/scheduling-eviction/kube-scheduler/ .
apiVersion: v1
kind: Service
metadata:
  name: win-webserver
  labels:
    app: win-webserver
spec:
  ports:
    # the port that this service should serve on
    - port: 80
      targetPort: 80
  selector:
    app: win-webserver
  type: NodePort
---
apiVersion: apps/v1
kind: Deployment
metadata:
  labels:
    app: win-webserver
  name: win-webserver
spec:
  replicas: 2
  selector:
    matchLabels:
      app: win-webserver
  template:
    metadata:
      labels:
        app: win-webserver
      name: win-webserver
    spec:
     containers:
      - name: windowswebserver
        image: mcr.microsoft.com/windows/servercore:ltsc2019
        command:
        - powershell.exe
        - -command
        - "<#code used from https://gist.github.com/19WAS85/5424431#> ; $$listener = New-Object System.Net.HttpListener ; $$listener.Prefixes.Add('http://*:80/') ; $$listener.Start() ; $$callerCounts = @{} ; Write-Host('Listening at http://*:80/') ; while ($$listener.IsListening) { ;$$context = $$listener.GetContext() ;$$requestUrl = $$context.Request.Url ;$$clientIP = $$context.Request.RemoteEndPoint.Address ;$$response = $$context.Response ;Write-Host '' ;Write-Host('> {0}' -f $$requestUrl) ;  ;$$count = 1 ;$$k=$$callerCounts.Get_Item($$clientIP) ;if ($$k -ne $$null) { $$count += $$k } ;$$callerCounts.Set_Item($$clientIP, $$count) ;$$ip=(Get-NetAdapter | Get-NetIpAddress); $$header='<html><body><H1>Windows Container Web Server</H1>' ;$$callerCountsString='' ;$$callerCounts.Keys | % { $$callerCountsString+='<p>IP {0} callerCount {1} ' -f $$ip[1].IPAddress,$$callerCounts.Item($$_) } ;$$footer='</body></html>' ;$$content='{0}{1}{2}' -f $$header,$$callerCountsString,$$footer ;Write-Output $$content ;$$buffer = [System.Text.Encoding]::UTF8.GetBytes($$content) ;$$response.ContentLength64 = $$buffer.Length ;$$response.OutputStream.Write($$buffer, 0, $$buffer.Length) ;$$response.Close() ;$$responseStatus = $$response.StatusCode ;Write-Host('< {0}' -f $$responseStatus)  } ; "
     nodeSelector:
      kubernetes.io/os: windows
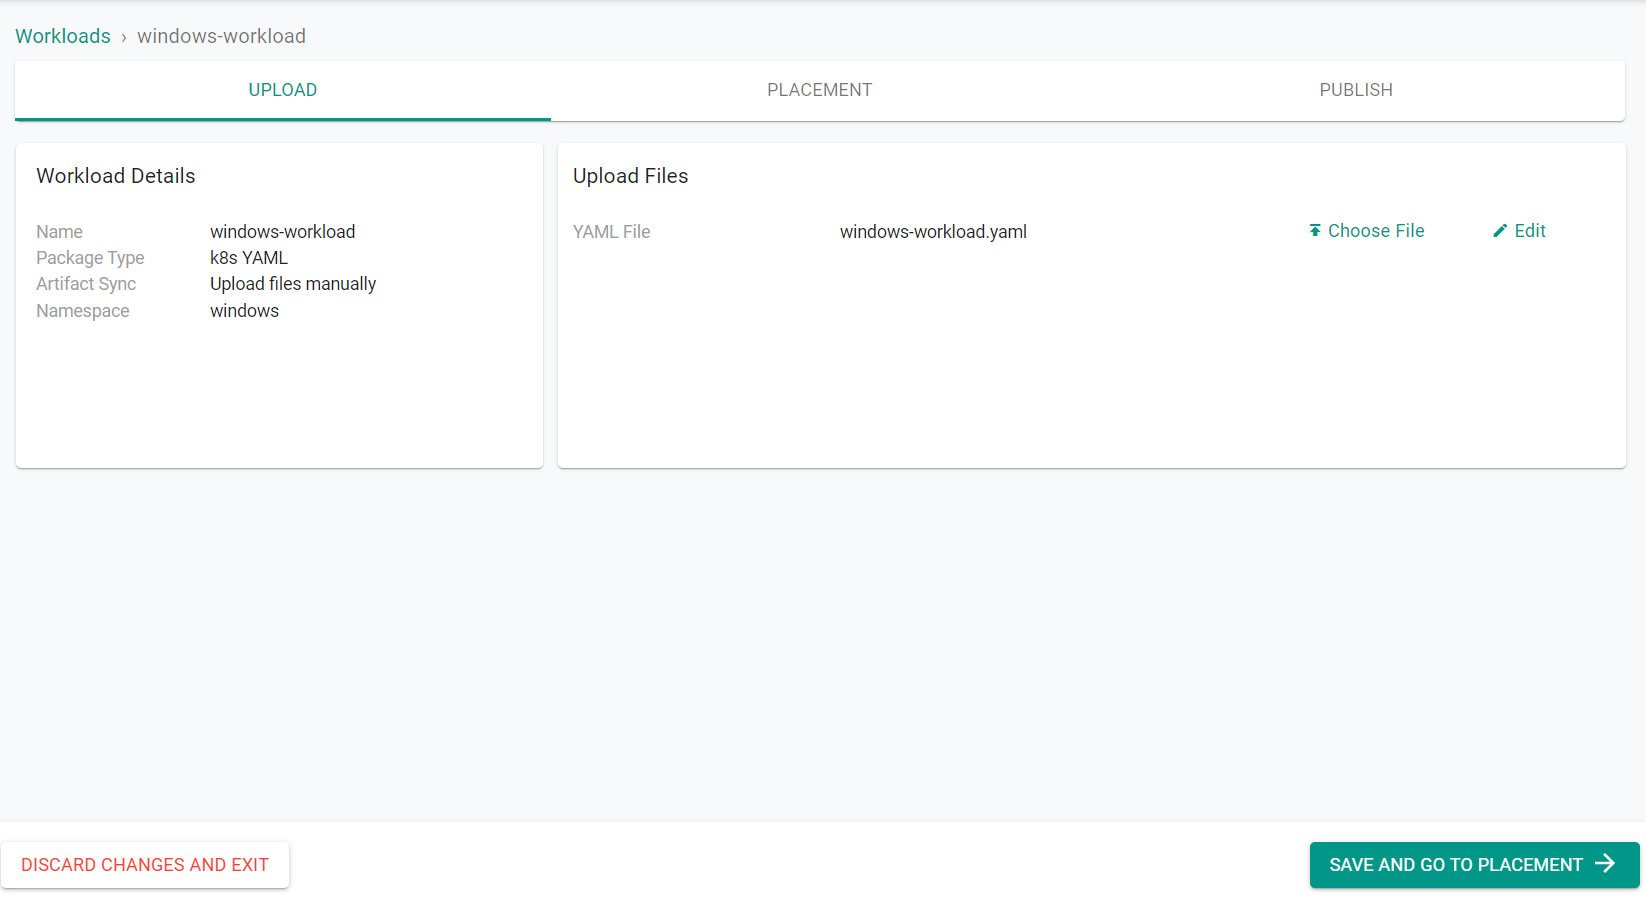
- Click "Choose File" to upload the previously created YAML file
- Click "Save and Go To Placement"
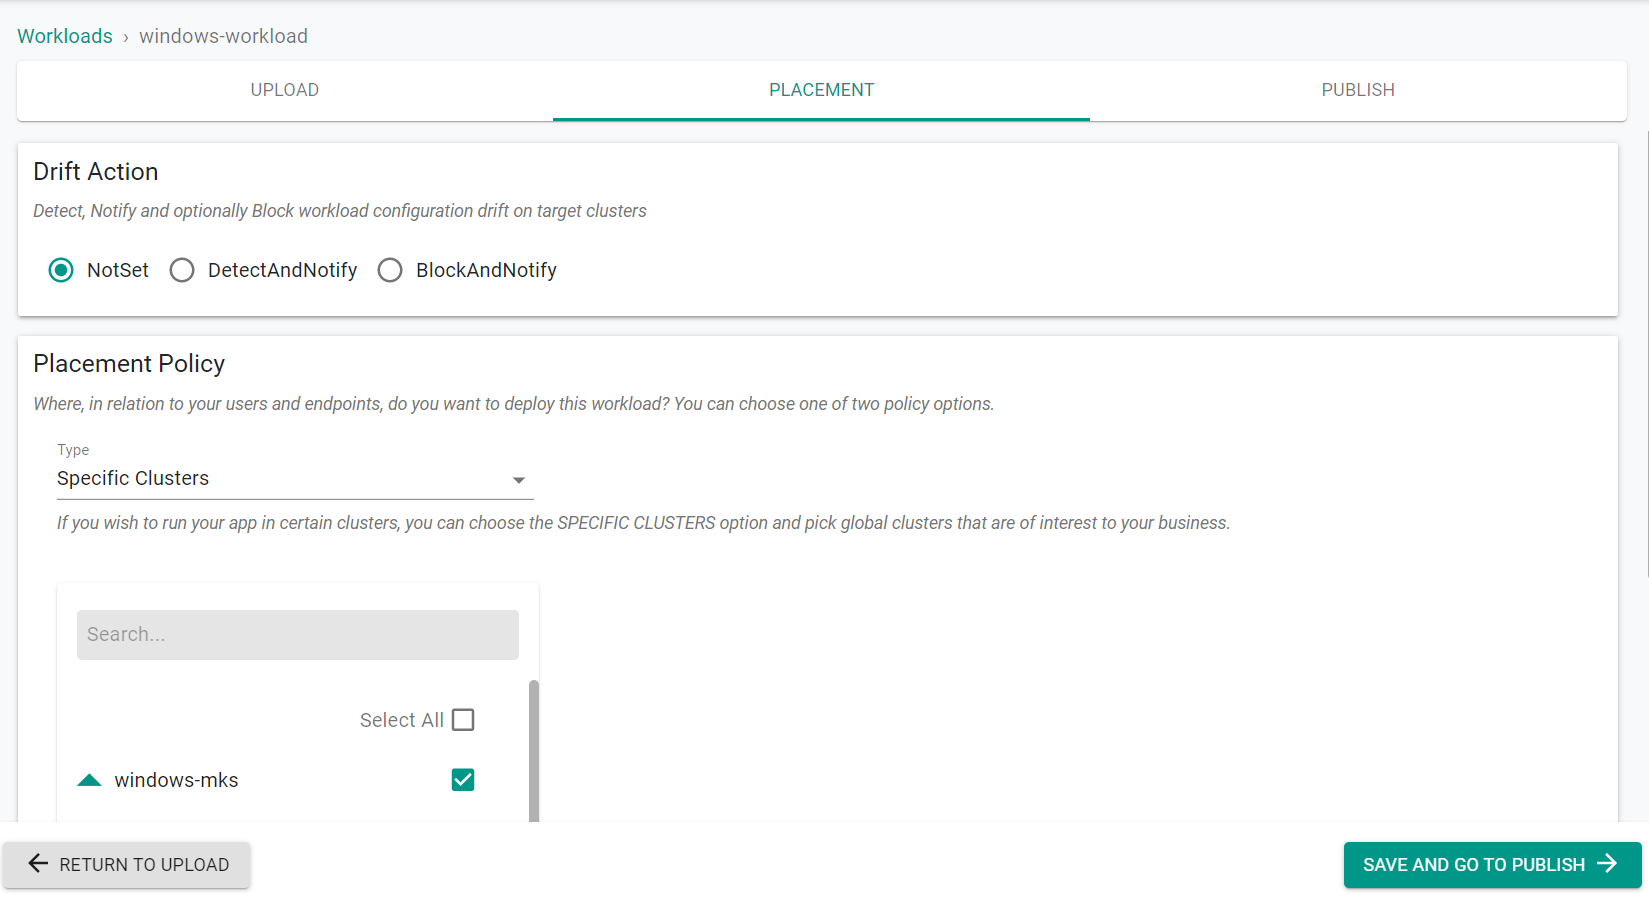
- Select the cluster to deploy the workload on
- Click "Save & Go To Publish"
- Click "Publish"
The workload is now published on the cluster.
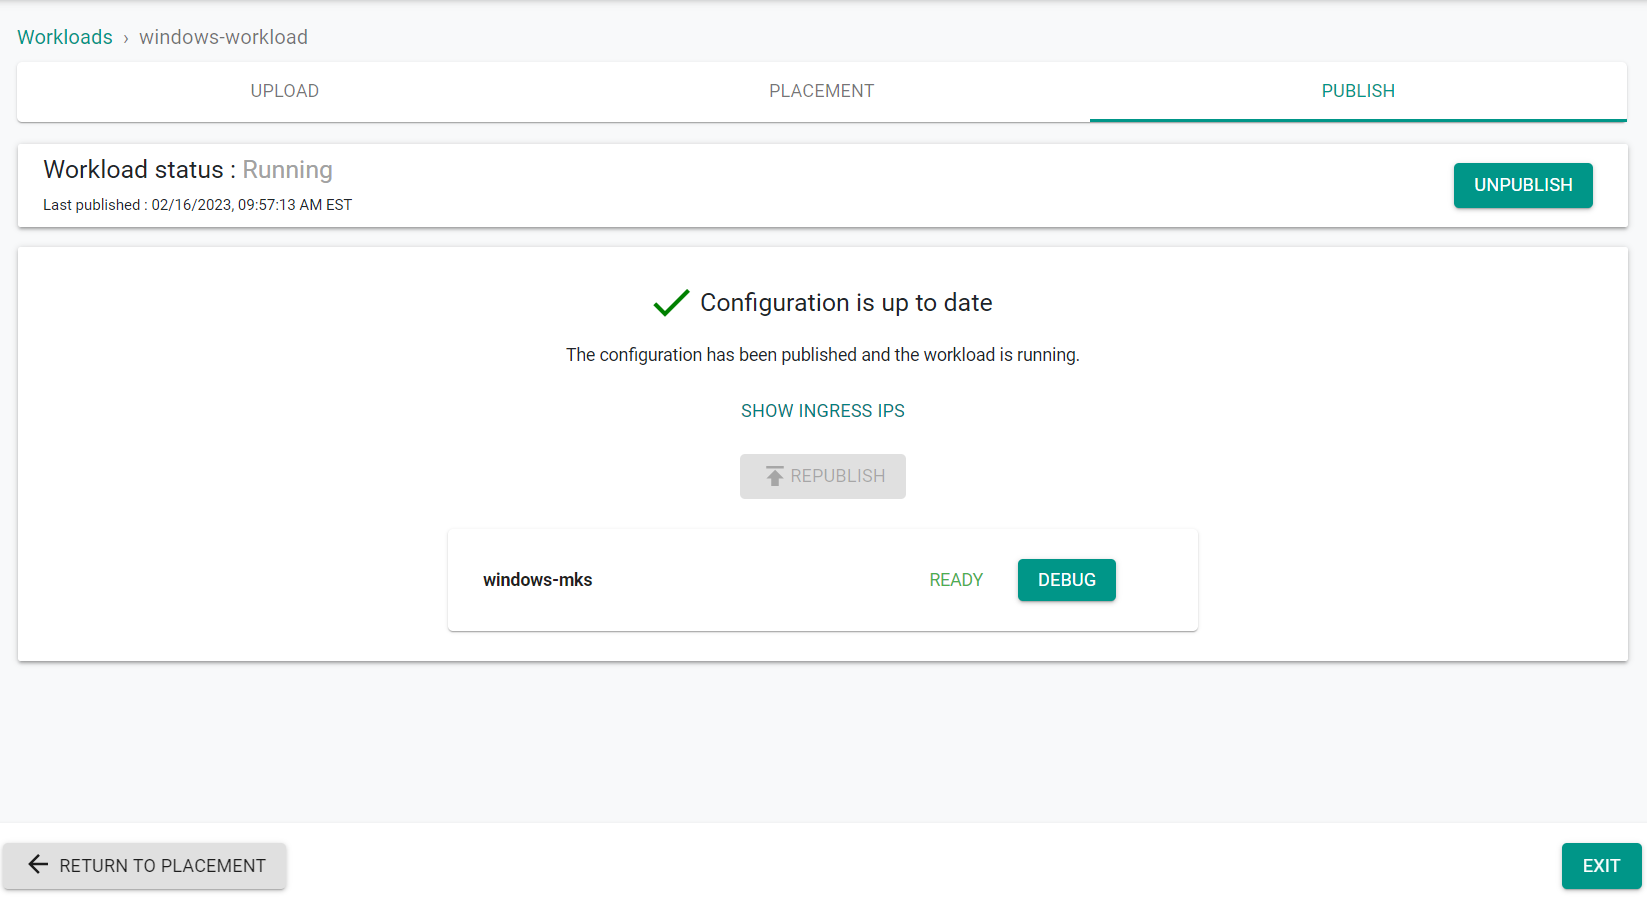
- Click "Exit"
Step 3: Validate Workload
In this step, we will verify the Windows workload is running and accessible.
- Navigate to the project in your Org where the cluster is located.
- Select Infrastructure -> Clusters
- Click on the kubectl link of the cluster and type the following command
kubectl get pods -n windows
You should see output similar to the following showing the windows workload running
NAME                            READY   STATUS    RESTARTS   AGE
win-webserver-df5876b96-4d7vm   1/1     Running   0          118s
win-webserver-df5876b96-6jt26   1/1     Running   0          118s
- Enter the following command
kubectl get services -n windows
You should see output similar to the following showing the Cluster IP address of the service the workload is using.
NAME            TYPE       CLUSTER-IP      EXTERNAL-IP   PORT(S)        AGE
win-webserver   NodePort   10.108.133.57   <none>        80:31125/TCP   2m38s
- Enter the following command on the linux node. Be sure to update the cluster-ip address with the ip address previously obtained.
curl <cluster-ip>
You should see output similar to the following showing the web response from the windows workload.
<html><body><H1>Windows Container Web Server</H1><p>IP 10.244.138.9 callerCount 1 </body></html>
Recap
Congratulations! At this point, you have successfully provisioned a Windows workload running on an MKS cluster.