Import Cluster
In this section, you will create a custom cluster blueprint and create an imported cluster with the blueprint.
What Will You Do
In this part, you will:
- Create a Custom Cluster Blueprint
- Create an Imported Cluster
Step 1: Create Custom Blueprint
In this step, you will create a custom cluster blueprint with the Monitoring and Alerting Manged System Add-on.
- Navigate to a project in your Org
- Select Infrastructure -> Blueprints
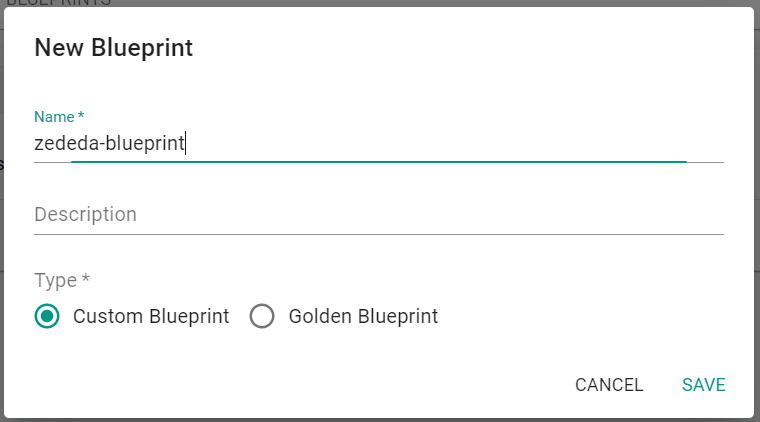
- Click "New Blueprint"
- Enter a name for the blueprint
- Click "Save"
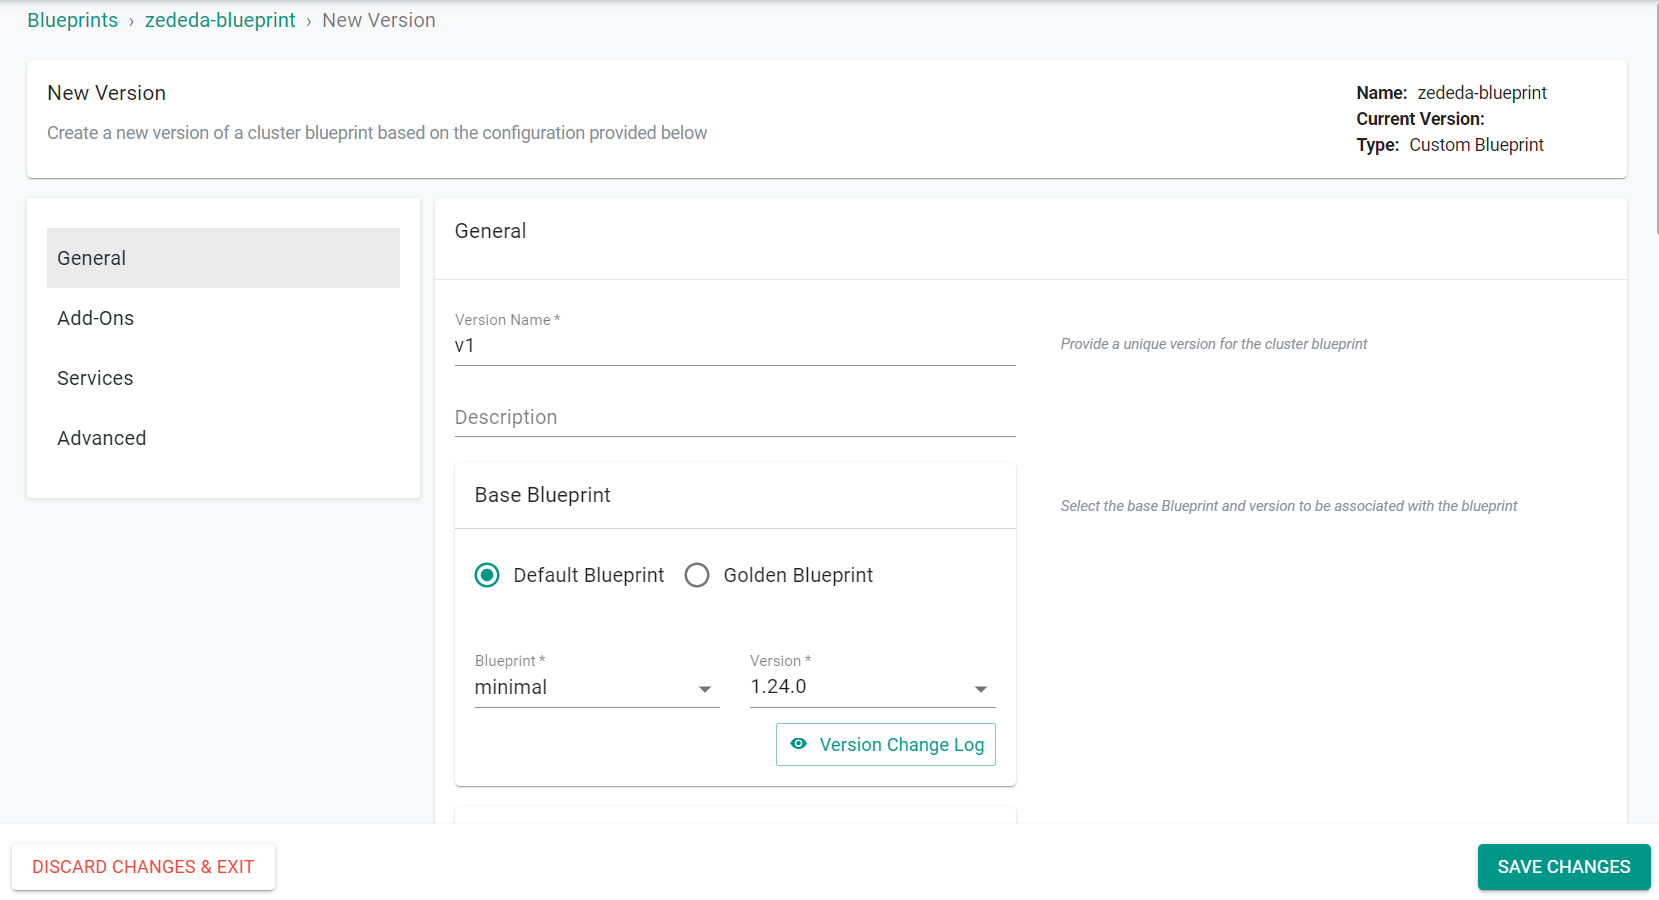
- Enter a version name
- Select Minimal for the base blueprint
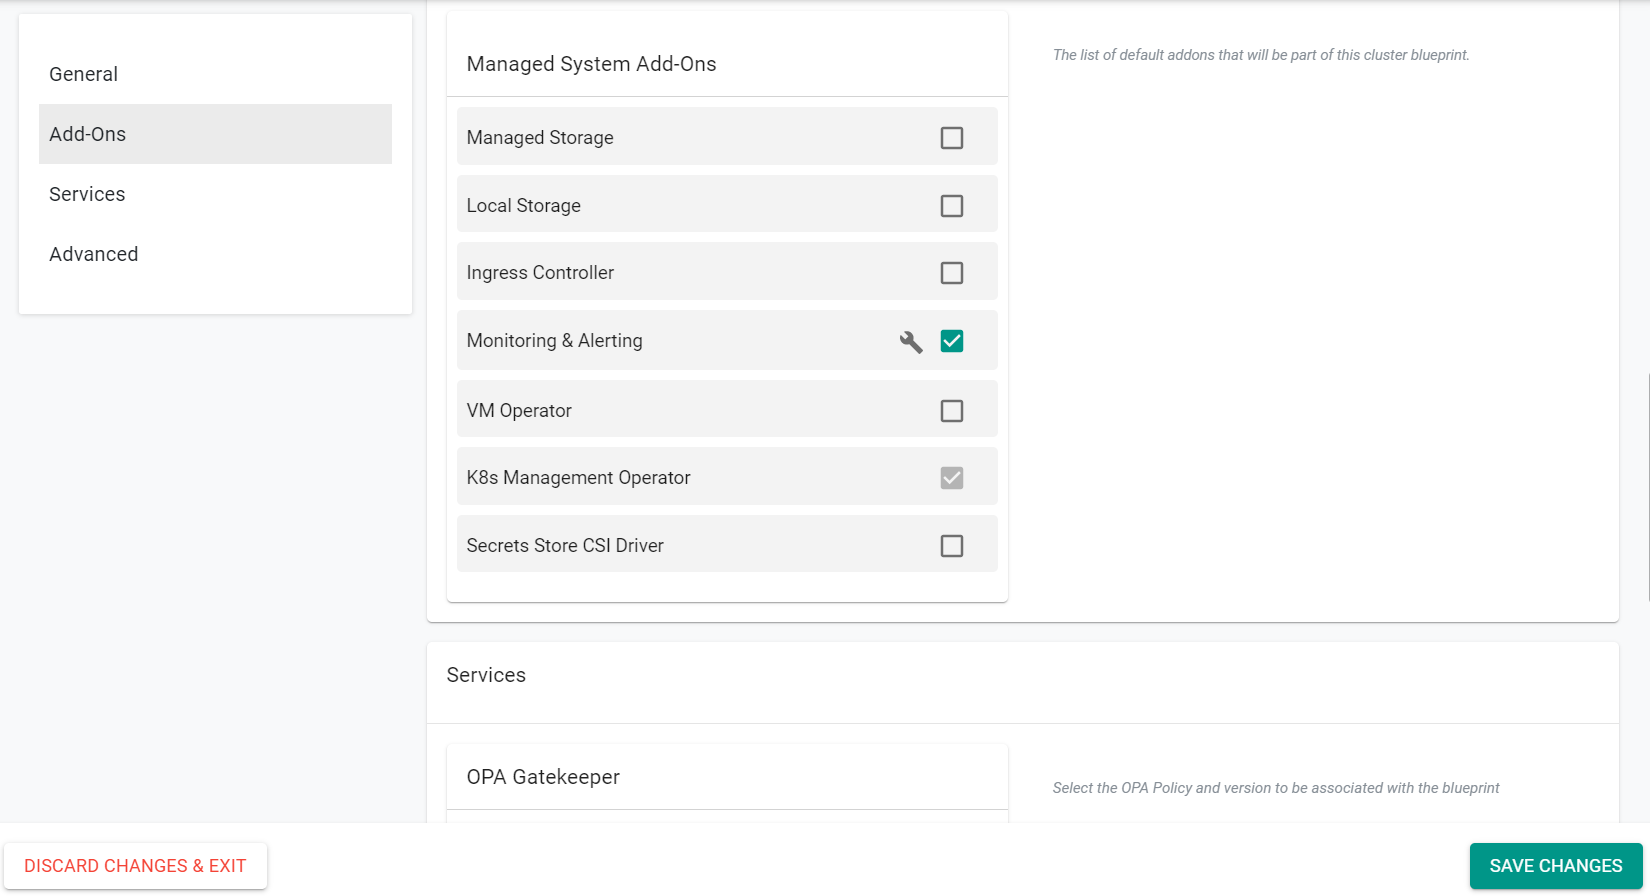
- Select Monitoring & Alerting under Managed System Add-Ons
- Click "Save Changes"
Step 2: Import Cluster
In this step, you will configure and import your Cluster using the web console.
- Navigate to a project in your Org
- Select Infrastructure -> Clusters
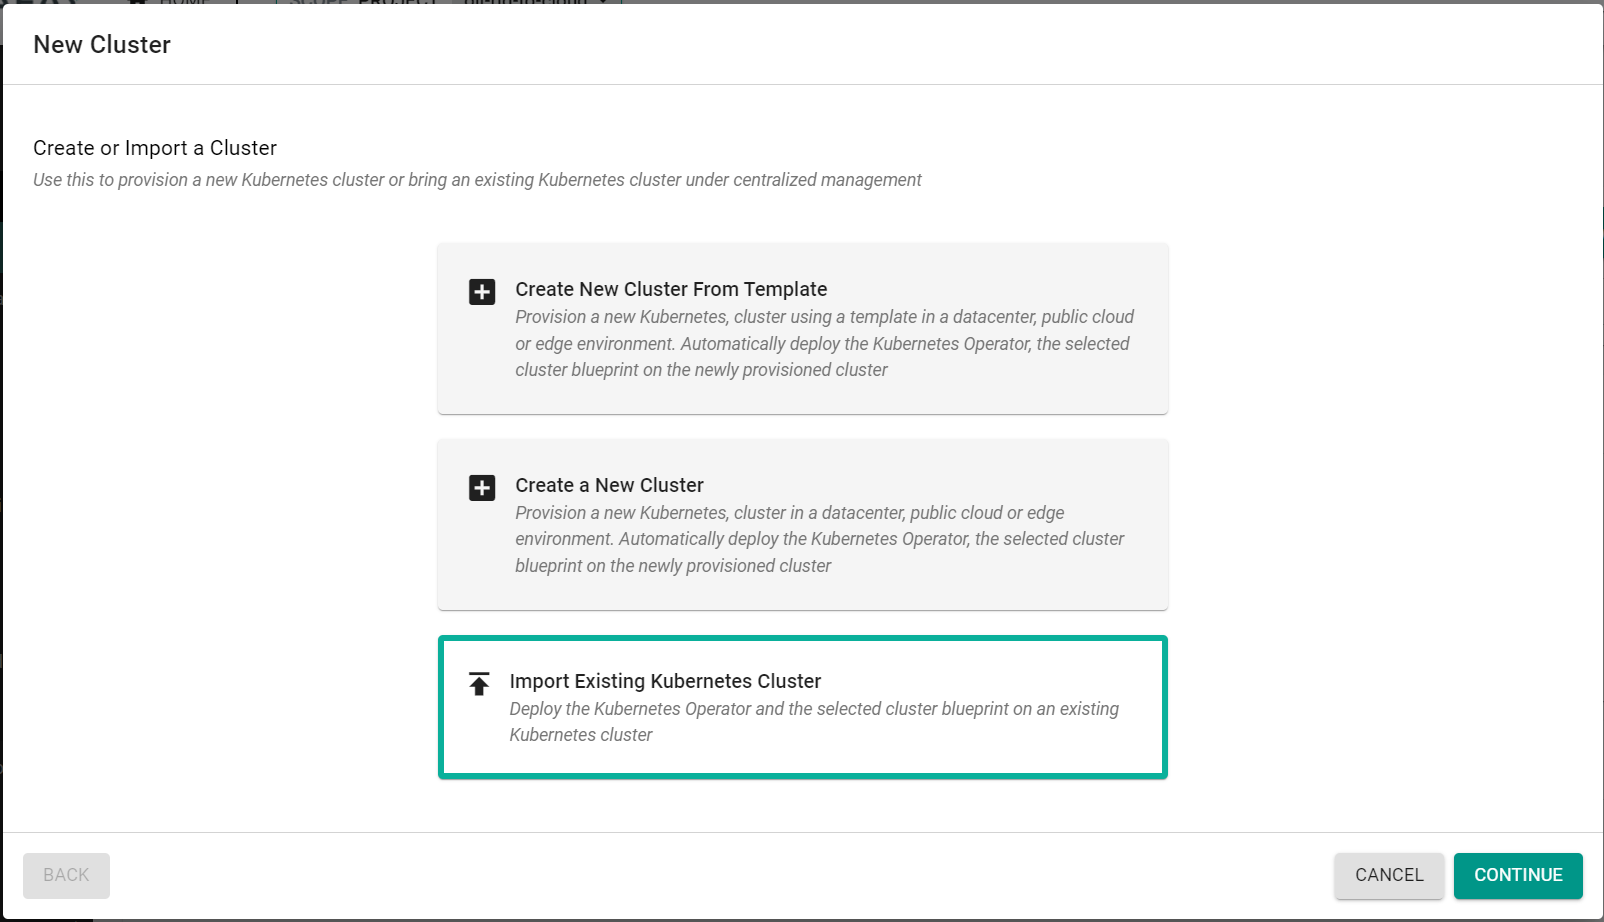
- Click "New Cluster"
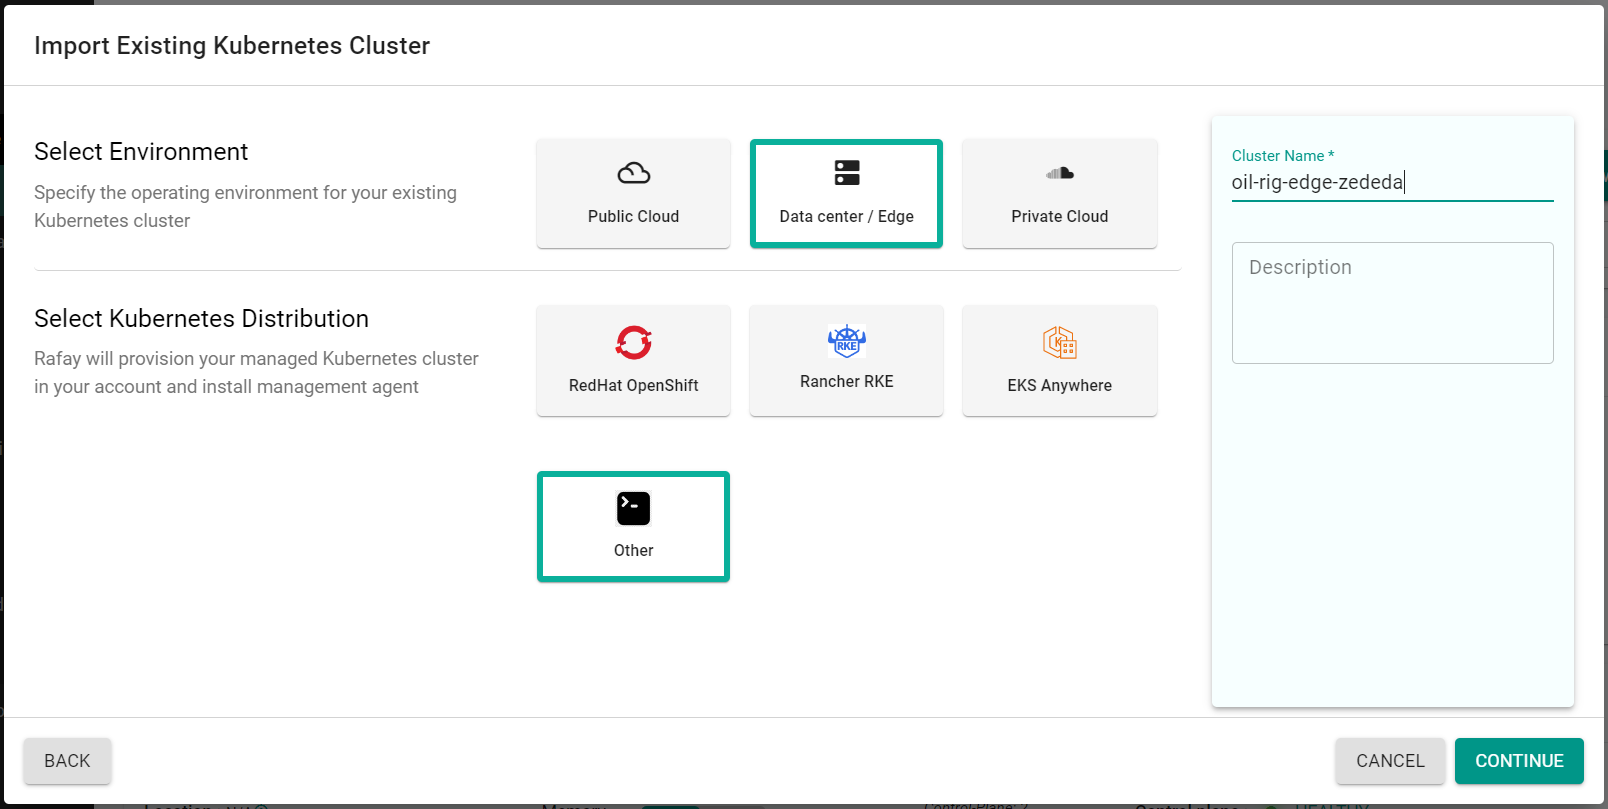
- Select "Import Existing Kubernetes Cluster"
- Click "Continue"
- Select "Data center / Edge"
- Select "Other"
- Enter a cluster name
- Click "Continue"
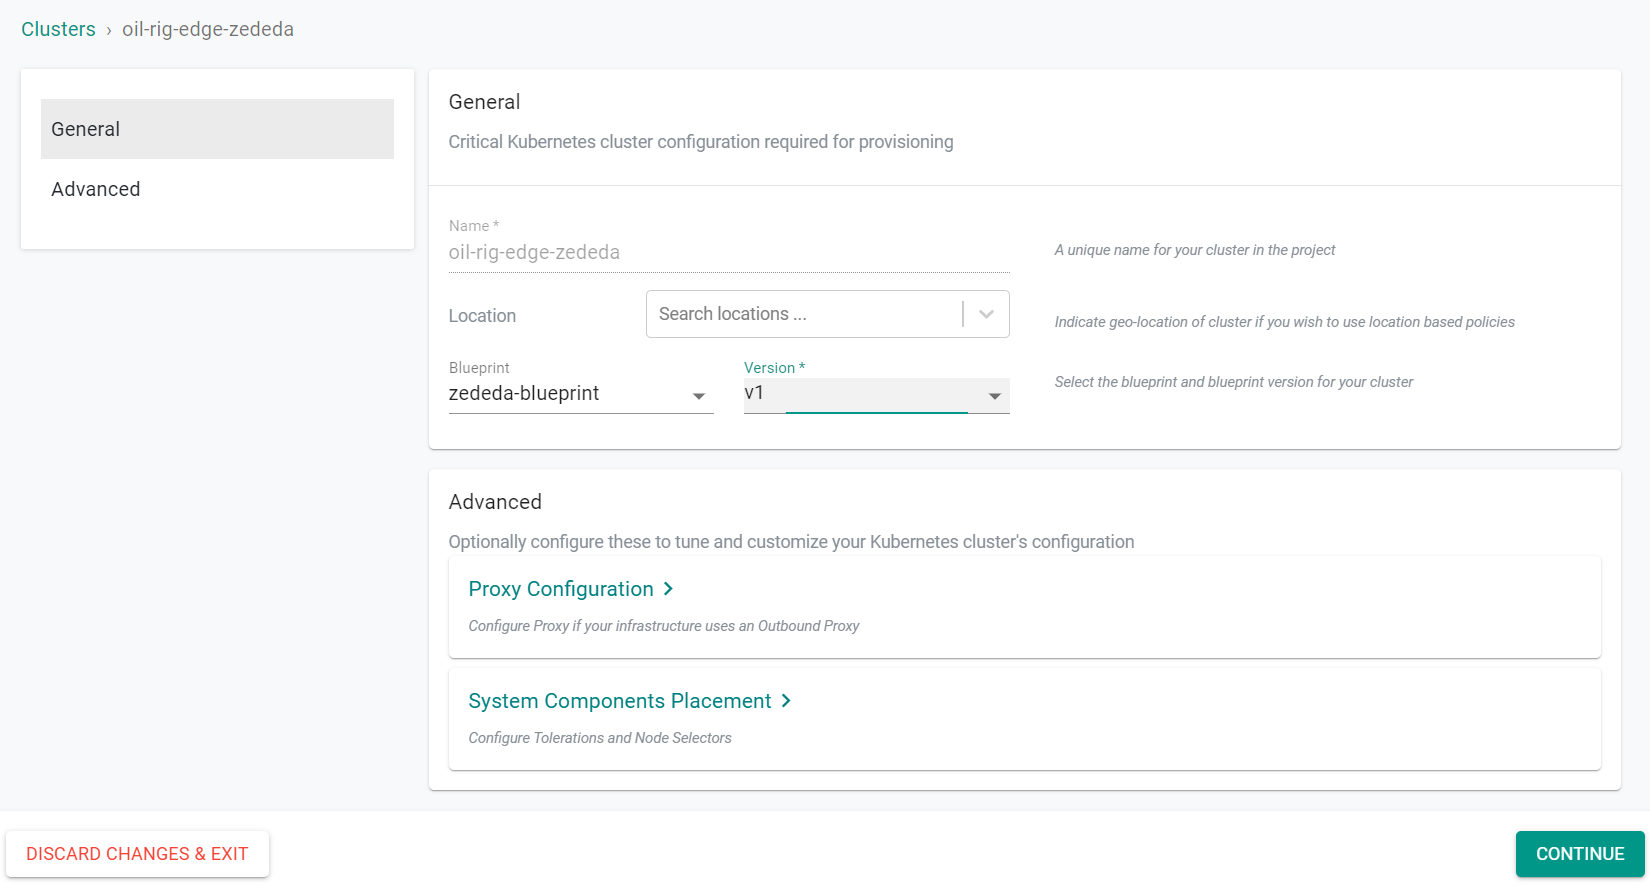
- Select the previously created blueprint
- Click "Continue"
You will now use the ZEDEDA console to deploy an Edge App that will finish the import process for the cluster.