Part 4: Workload
What Will You Do
In this part of the self-paced exercise, you will deploy a test EFS workload to your Amazon EKS cluster.
Step 1: Create Namespace
First let us go ahead and create a namespace for the workload
- Open Terminal (on macOS/Linux) or Command Prompt (Windows) and navigate to the folder where you forked the Git repository
- Navigate to the folder "
/getstarted/efseks/workload" - Type the command
rctl create ns -f namespace.yaml
This step creates a namespace in your project. The controller can create a namespace on "multiple clusters" based on its placement policy.
rctl publish ns efstest
Verify
To verify that then namespace was successfully created on your EKS cluster, run the following kubectl command
kubectl get ns efstest
You should see results like the following. Note that the namespace was successfully created on your EKS cluster.
NAME              STATUS   AGE
efstest           Active   8s
Step 2: Deploy Storageclass
The "efsstorageclass.yaml" file contains the declarative specification for the storageclass resource that will use the EFS CSI driver to access the previously created EFS file system.
- Update the cluster name if a different cluster name is being used
name: efsstorageclass
namespace: efstest
project: defaultproject
type: NativeYaml
clusters: eks-efs-cluster
payload: ./efsstorageclassspec.yaml
The "efsstorageclassspec.yaml" file contains the declarative specification for the storageclass itself.
- Edit the file "efsstorageclassspec.yaml" and update the fileSystemId with the file system ID that was saved from section 2, step 4 of this guide.
kind: StorageClass
apiVersion: storage.k8s.io/v1
metadata:
  name: efs-sc
provisioner: efs.csi.aws.com
parameters:
  provisioningMode: efs-ap
  fileSystemId: fs-0e85e5697ed5a7121
  directoryPerms: "700"
  gidRangeStart: "1000" # optional
  gidRangeEnd: "2000" # optional
  basePath: "/dynamic_provisioning" # optional
- Run the below command to create the storageclass
rctl create workload efsstorageclass.yaml
If there were no errors, you should see a message like below
Workload created successfully
Now, let us publish the newly created storageclass workload to the EKS cluster. The workload can be deployed to multiple clusters as per the configured "placement policy". In this case, you are deploying to a single EKS cluster.
rctl publish workload efsstorageclass
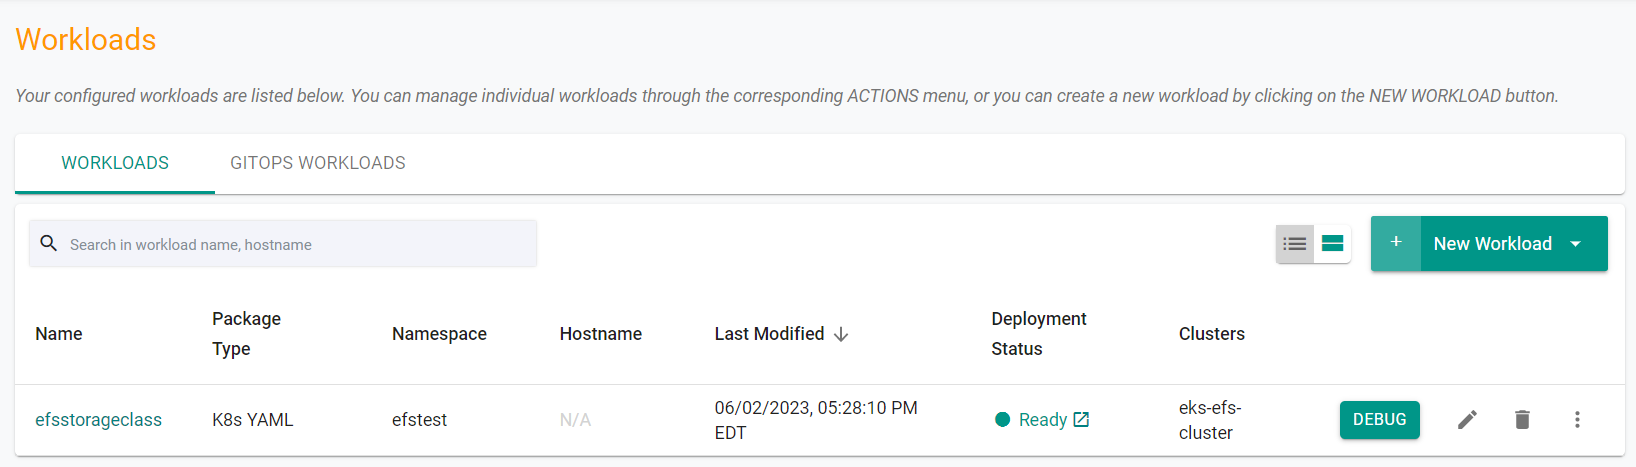
Step 3: Verify Storageclass
In the web console, click on Applications -> Workloads. You should see something like the following showing the published workload.
Step 4: Deploy Persistent Volume Claim
The "efspvc.yaml" file contains the declarative specification for the persistent volume claim resource that will use previously created storageclass.
- Update the cluster name if a different cluster name is being used
name: efspvc
namespace: efstest
project: defaultproject
type: NativeYaml
clusters: eks-efs-cluster
payload: ./efspvcspec.yaml
The "efspvcpec.yaml" file contains the declarative specification for the PVC itself.
apiVersion: v1
kind: PersistentVolumeClaim
metadata:
  name: efs-claim
spec:
  accessModes:
    - ReadWriteMany
  storageClassName: efs-sc
  resources:
    requests:
      storage: 5Gi
- Run the below command to create the PVC
rctl create workload efspvc.yaml
If there were no errors, you should see a message like below
Workload created successfully
Now, let us publish the newly created PVC workload to the EKS cluster. The workload can be deployed to multiple clusters as per the configured "placement policy". In this case, you are deploying to a single EKS cluster.
rctl publish workload efspvc
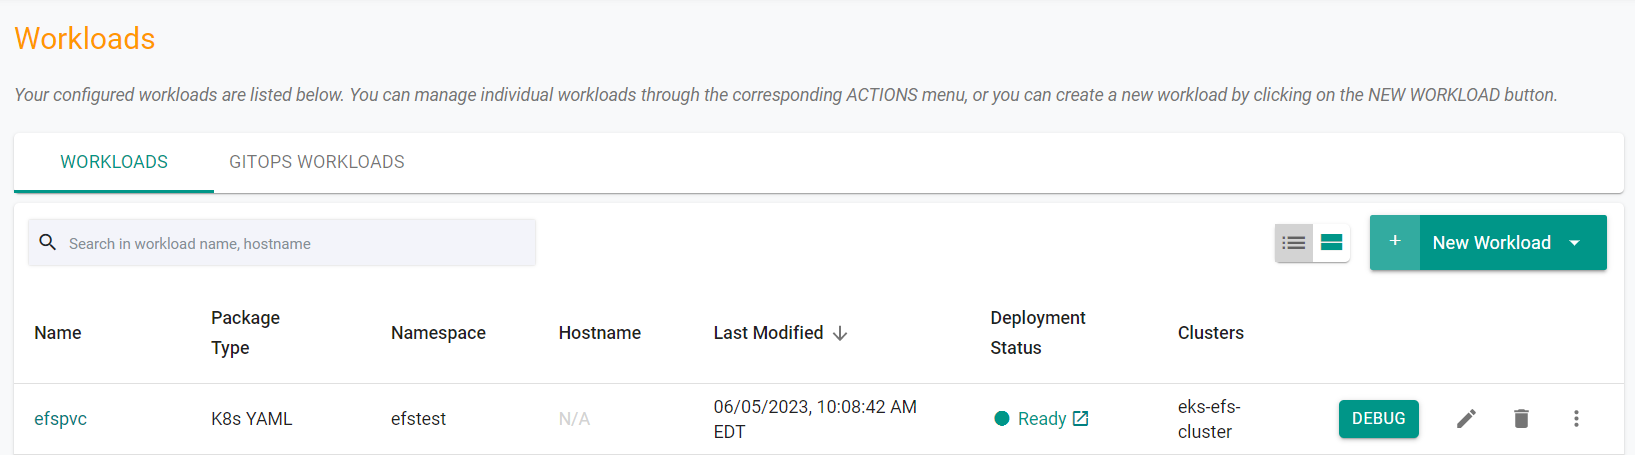
Step 5: Verify Persistent Volume Claim
In the web console, click on Applications -> Workloads. You should see something like the following showing the published workload.
Step 6: Deploy Test Application
The "efsapp.yaml" file contains the declarative specification for the test application resource that will be created to test the use of the EFS CSI Driver.
- Update the cluster name if a different cluster name is being used
name: efsapp
namespace: efstest
project: defaultproject
type: NativeYaml
clusters: eks-efs-cluster
payload: ./efsappspec.yaml
The "efsapppec.yaml" file contains the declarative specification for the application itself.
apiVersion: v1
kind: Pod
metadata:
  name: efs-app
spec:
  containers:
    - name: app
      image: centos
      command: ["/bin/sh"]
      args: ["-c", "while true; do echo $(date -u) >> /data/out; sleep 5; done"]
      volumeMounts:
        - name: persistent-storage
          mountPath: /data
  volumes:
    - name: persistent-storage
      persistentVolumeClaim:
        claimName: efs-claim
- Run the below command to create the PVC
rctl create workload efsapp.yaml
If there were no errors, you should see a message like below.
Workload created successfully
Now, let us publish the newly created workload to the EKS cluster. The workload can be deployed to multiple clusters as per the configured "placement policy". In this case, you are deploying to a single EKS cluster.
rctl publish workload efsapp
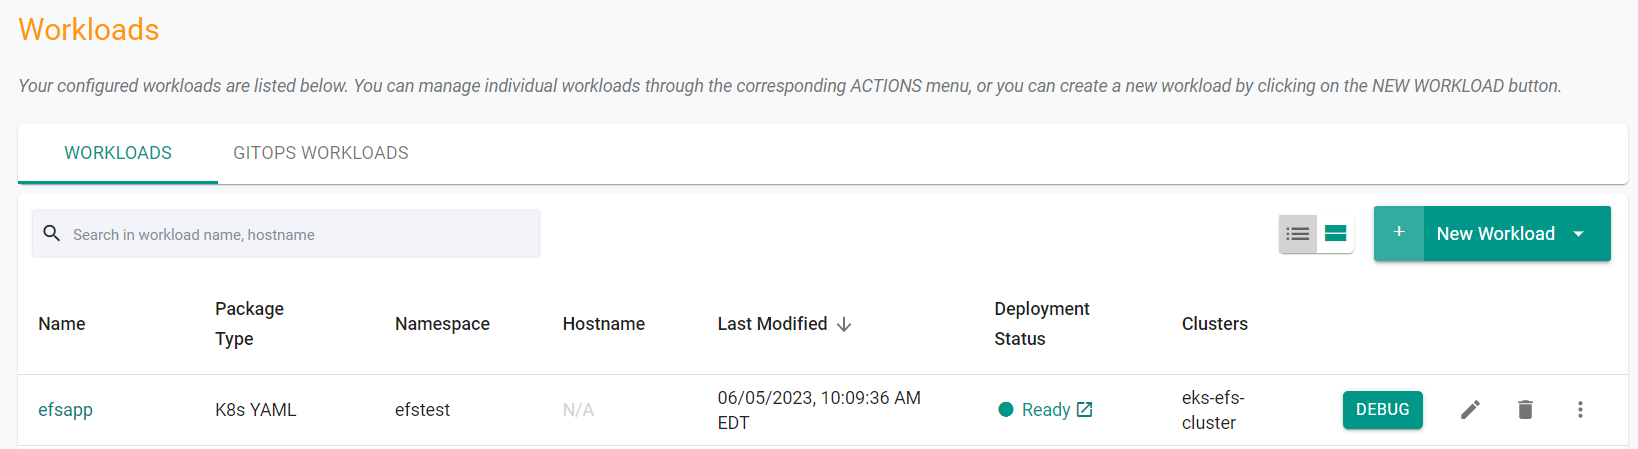
Step 7: Verify Application
In the web console, click on Applications -> Workloads. You should see something like the following showing the published workload.
- Navigate to Infrastructure -> Clusters
- Click on Resources in the cluster card
- Select Pods in the left hand tree view
- Select the efstest in the namespace dropdown menu
- On the efs-app pod, select Actions -> Shell and Logs -> Exec
- Type the following command
cat data/out
You should see something simlar to the following output showing recent timestamps.
Mon Jun 5 14:58:14 UTC 2023
Mon Jun 5 14:58:19 UTC 2023
Mon Jun 5 14:58:24 UTC 2023
Mon Jun 5 14:58:29 UTC 2023
Mon Jun 5 14:58:34 UTC 2023
Mon Jun 5 14:58:39 UTC 2023
Mon Jun 5 14:58:44 UTC 2023
Mon Jun 5 14:58:49 UTC 2023
Mon Jun 5 14:58:54 UTC 2023
Mon Jun 5 14:58:59 UTC 2023
Mon Jun 5 14:59:04 UTC 2023
Mon Jun 5 14:59:09 UTC 2023
Mon Jun 5 14:59:14 UTC 2023
sh-4.4#
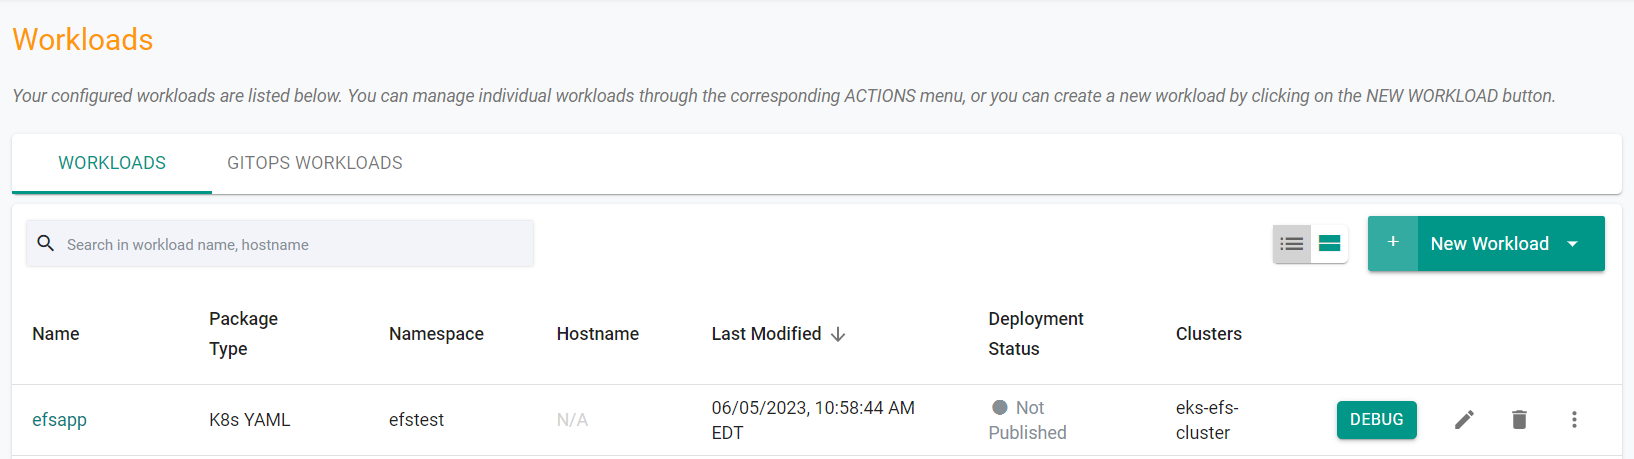
Step 8: Remove Test Application
In this step, you will remove the test application by unpublishing the workload. The data that was generated by the application will still be present on the EFS file system.
- Run the following command to unpublish the workload
rctl unpublish workload efsapp
In the web console, click on Applications -> Workloads. You should see something like the following showing the unpublished workload.
Step 9: Redeploy Test Application
In this step, you will redeploy the test application and see that the previously created data is still available as it was written to the EFS file system which presisted when the test application was removed.
- Run the following command to publish the workload
rctl publish workload efsapp
- Navigate to Infrastructure -> Clusters
- Click on Resources in the cluster card
- Select Pods in the left hand tree view
- Select the efstest in the namespace dropdown menu
- On the efs-app pod, select Actions -> Shell and Logs -> Exec
- Type the following command
cat data/out
You should see something simlar to the following output showing the old data timestamps and the new data timestamps.
Mon Jun 5 14:58:14 UTC 2023
Mon Jun 5 14:58:19 UTC 2023
Mon Jun 5 14:58:24 UTC 2023
Mon Jun 5 14:58:29 UTC 2023
Mon Jun 5 14:58:34 UTC 2023
Mon Jun 5 14:58:39 UTC 2023
Mon Jun 5 14:58:44 UTC 2023
Mon Jun 5 14:58:49 UTC 2023
Mon Jun 5 14:58:54 UTC 2023
Mon Jun 5 14:58:59 UTC 2023
Mon Jun 5 14:59:04 UTC 2023
Mon Jun 5 14:59:09 UTC 2023
Mon Jun 5 14:59:14 UTC 2023
Mon Jun 5 15:04:49 UTC 2023
Mon Jun 5 15:04:54 UTC 2023
Mon Jun 5 15:04:59 UTC 2023
Mon Jun 5 15:05:04 UTC 2023
Mon Jun 5 15:05:09 UTC 2023
Mon Jun 5 15:05:14 UTC 2023
Mon Jun 5 15:05:19 UTC 2023
Mon Jun 5 15:05:24 UTC 2023
Mon Jun 5 15:05:29 UTC 2023
sh-4.4#
Recap
Congratulations! At this point, you have successfuly deployed a test application that uses the EFS CSI Driver to read and write to an AWS EFS File System.