Part 2: Scale
What Will You Do
In part 2, you will:
- Scale the number of nodes from 1 to 2
Watch a video of this exercise.
Assumptions
This part assumes that you have completed Part 1 of this series and have a successfully provisioned and healthy EKS cluster.
Scale Node Group
In this step, we will scale the number of nodes within the cluster. You can scale the number of nodes up or down, depending on your needs. In this example, we will scale the number of nodes from "1" to "2" nodes.
Select a method to provision and manage your EKS cluster from the tabs below.
- In your project, navigate to Infrastructure -> Clusters
- Click on the "cluster name" and then the "node groups" tab. This will display the attributes for the "ng-1" managed node group.
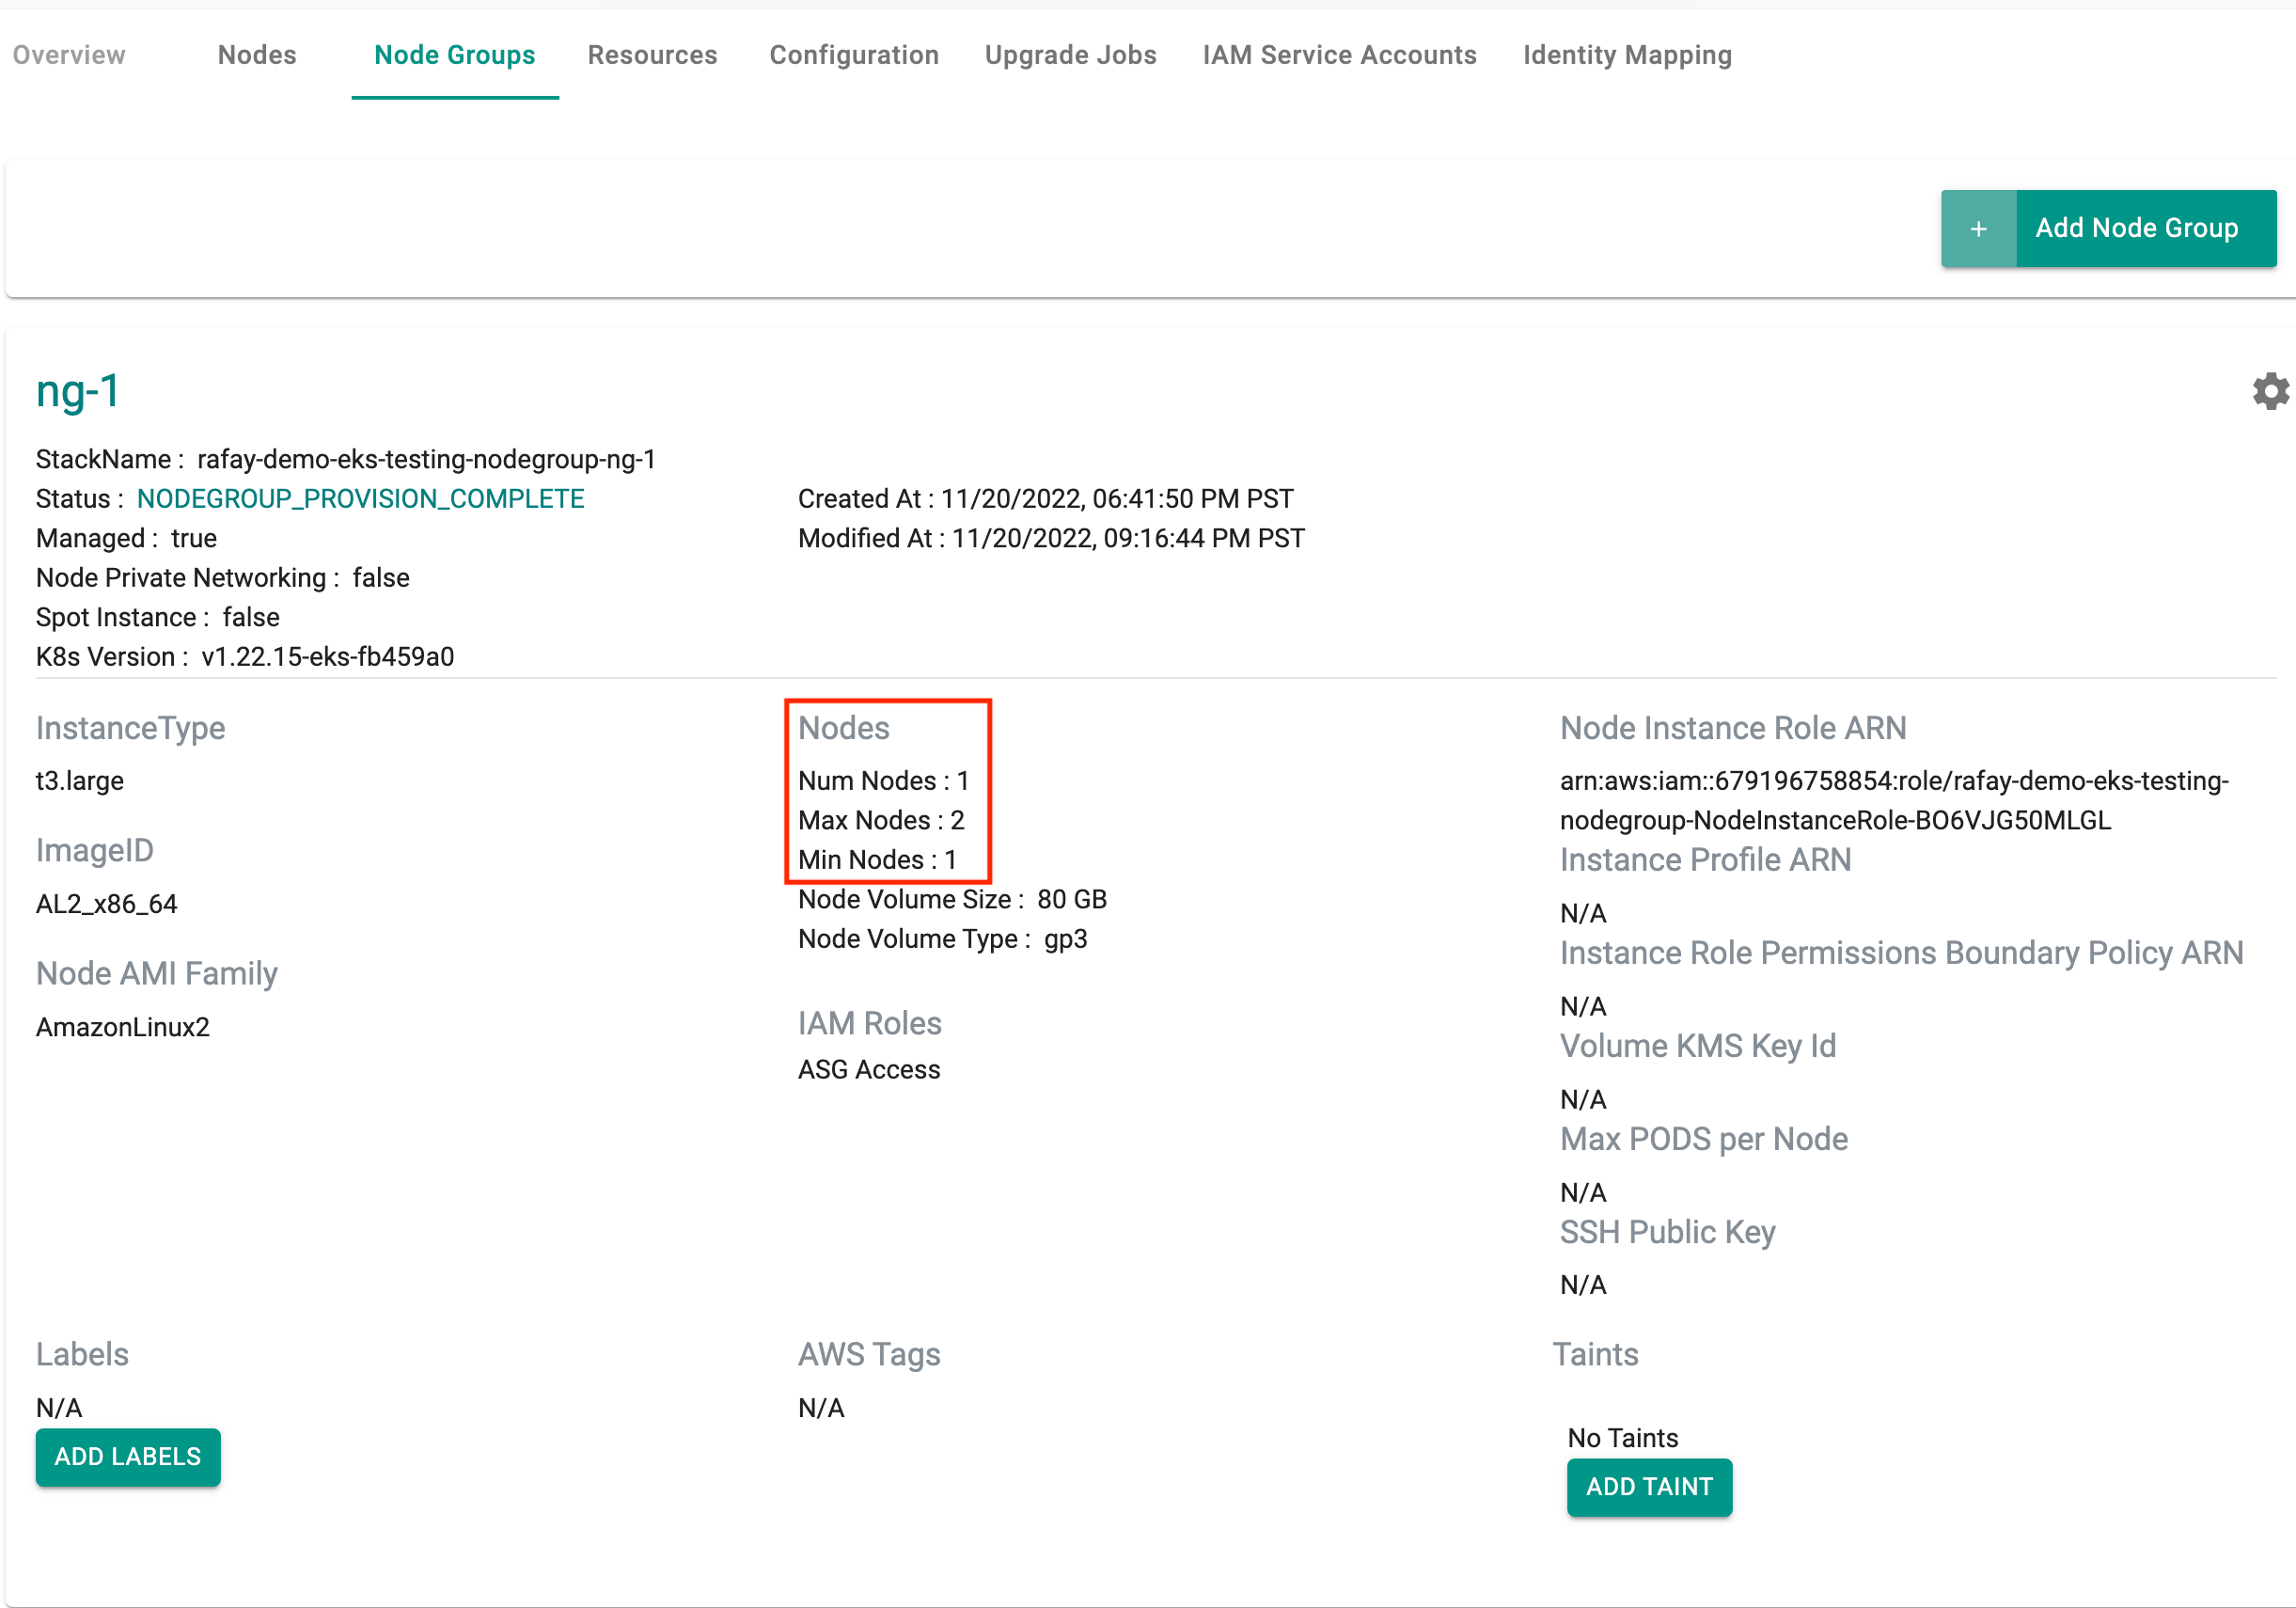
- Click on the gear icon (settings) on the right of the node group
- Select "scale" and update the number of nodes to "2" and click on "Scale"

Download the cluster specification for the existing cluster:
- Go to Infrastructure -> Clusters.
- Click on the settings icon of the cluster and select "Download Cluster Config"
- Update the downloaded specification file with the new number of desired nodes (for example, 2 worker nodes)
  managedNodeGroups:
  - name: ng-1
    desiredCapacity: 1
The updated YAML file will look like this:
kind: Cluster
metadata:
  name: demo-eks-testing
  project: defaultproject
spec:
  type: eks
  cloudprovider: demo
  blueprint: default
---
apiVersion: rafay.io/v1alpha5
kind: ClusterConfig
metadata:
  name: demo-eks-testing
  region: us-west-2
  version: "1.26"
managedNodeGroups:
  - name: ng-1
    instanceType: t3.large
    desiredCapacity: 2
- Execute the following command to scale the number of nodes within the cluster node group
./rctl apply -f eks-cluster-basic.yaml
Cluster: demo-eks-testing
{
  "taskset_id": "72d3dkg",
  "operations": [
    {
      "operation": "NodegroupScaling",
      "resource_name": "ng-1",
      "status": "PROVISION_TASK_STATUS_PENDING"
    }
  ],
  "comments": "The status of the operations can be fetched using taskset_id",
  "status": "PROVISION_TASKSET_STATUS_PENDING"
}
In a few minutes, from the web console, we can see that the number of nodes in the node group have been scaled from "1" to "2" nodes
To scale the node group:
- Edit the
terraform.tfvarsfile. The file location is /terraform/terraform.tfvars. - For
pool1, change thenode_countfrom1to2, then save the file. - Open the terminal or command line.
- Navigate to the
terraformfolder. - Run
terraform apply. Enteryeswhen prompted.
It can take 10 minutes to scale up the cluster. Check the console for the scaling status.
Verify Scaling
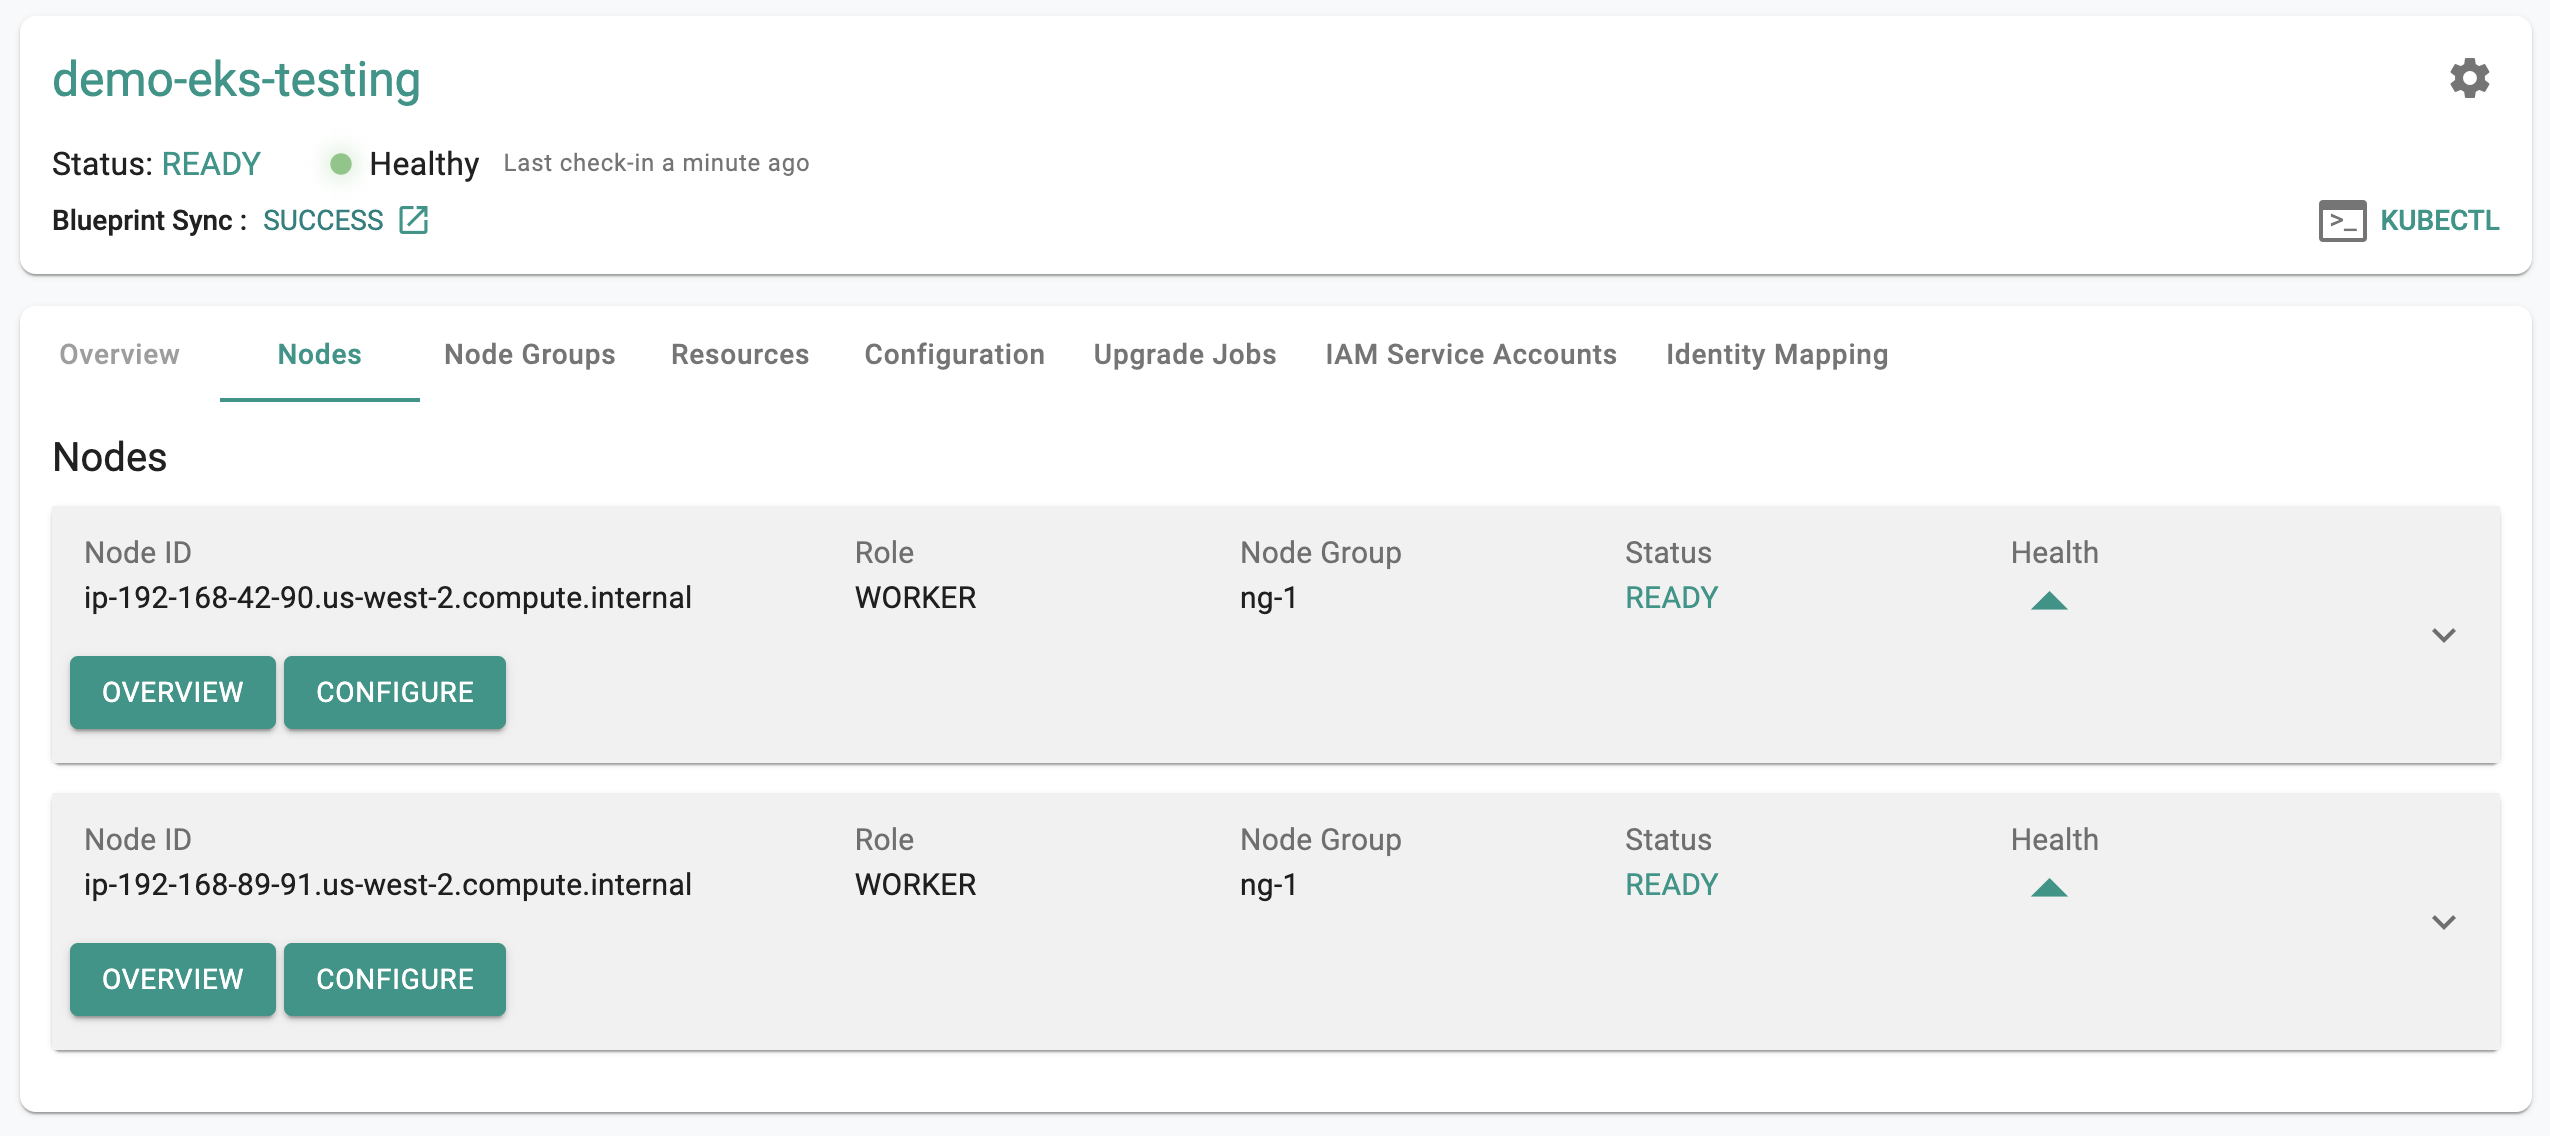
The scaling operation will trigger the creation of additional infrastructure and will take a few minutes to complete. Once successful, the second node will be automatically detected and displayed on the web console.
Users can view details about the new node right on the cluster dashboard by clicking on the "nodes" tab.
Users can also use the Zero Trust Kubectl shell to view details about the new node by using the following command.
kubectl get no
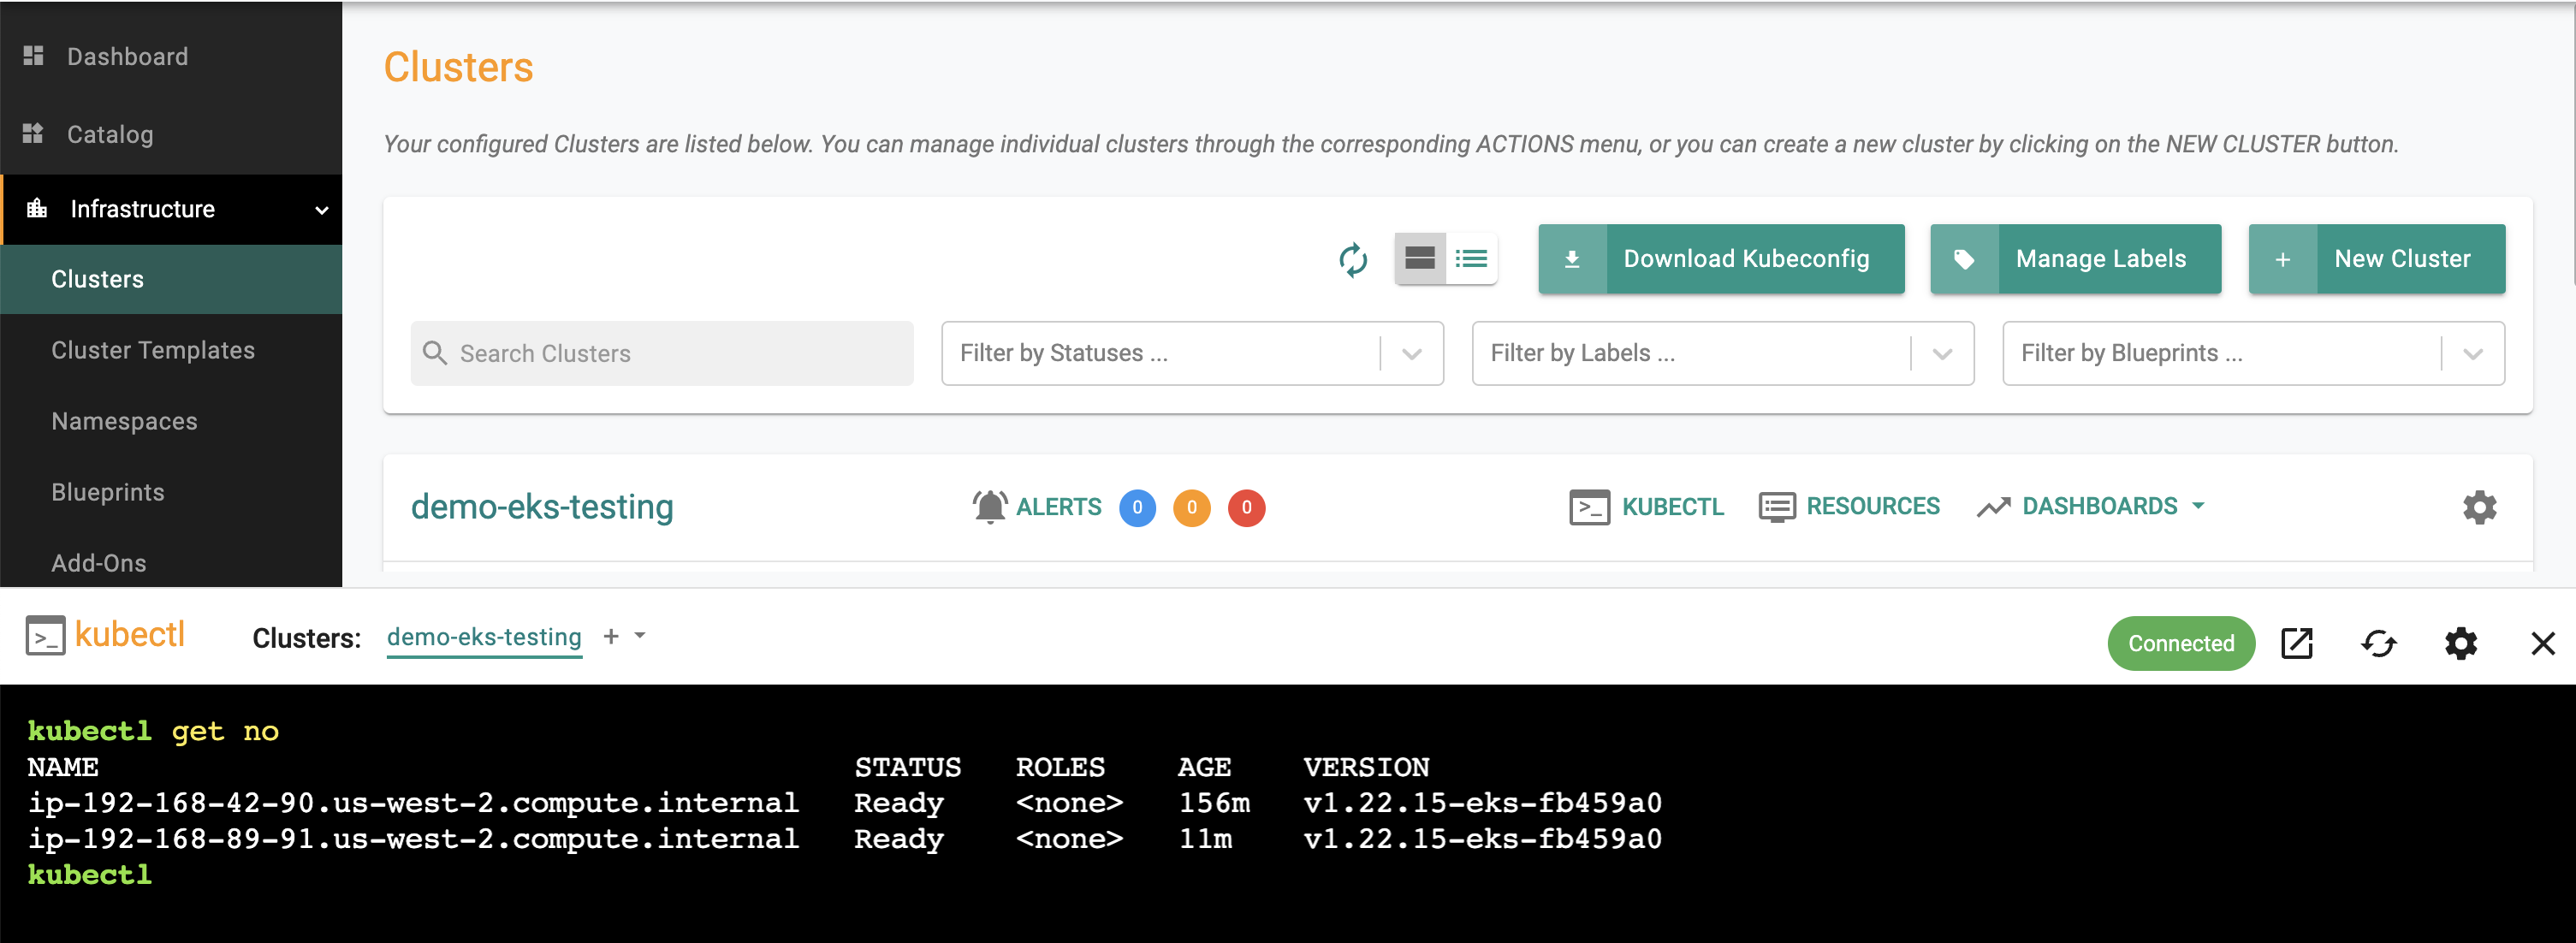
As you can see from this example, Kubectl is reporting two nodes and one of them is reporting an "age" that is from a few minutes back.
Recap
Congratulations! In this exercise, you have successfully scaled the "managed node group" to a higher number of nodes.