Create
Did you know ?
Environments can be managed through various methods:
- UI
- CLI
Create an environment from a template.
Launch Environment
- Navigate to Environments -> Environments within a project to access the environment templates
- Click on the Launch button corresponding to the desired template

- Enter a name and an optional description for the environment template
- Choose an Environment Version from the available options
Add Agent
- Click Add Agent and select the required agent if no agents have been added to the Environment Template or Resource Template
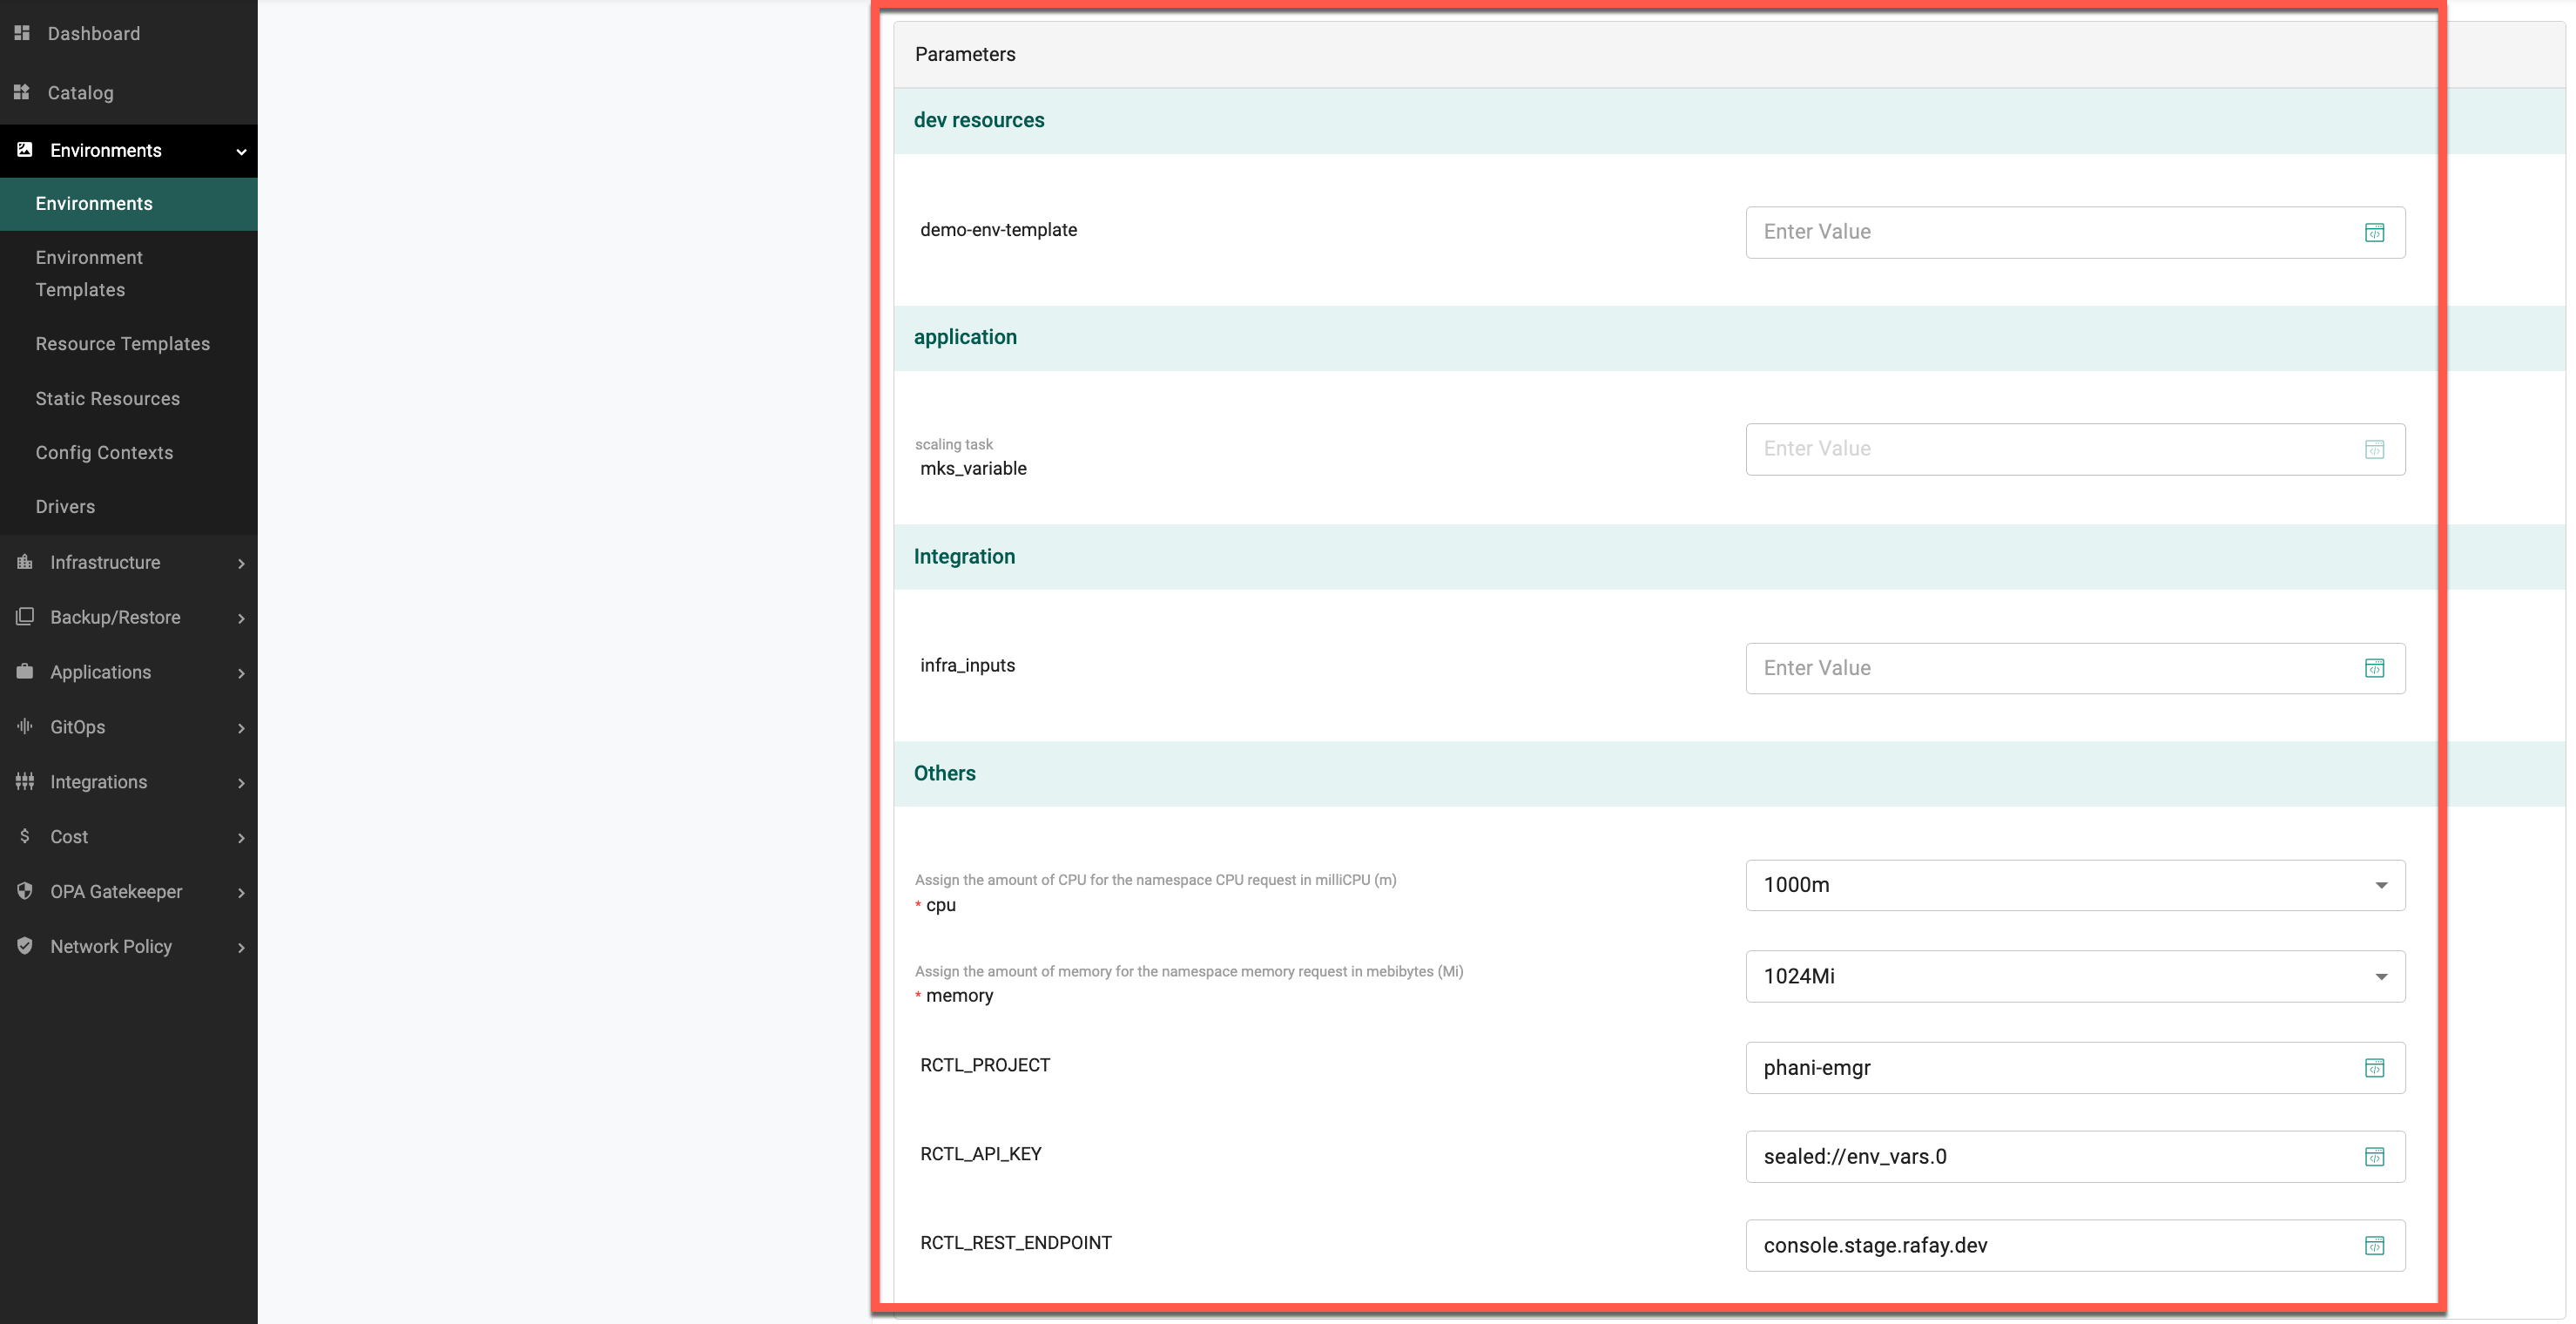
- Fill in the Parameters. Additional Parameters can be added as needed. Users can override the existing information
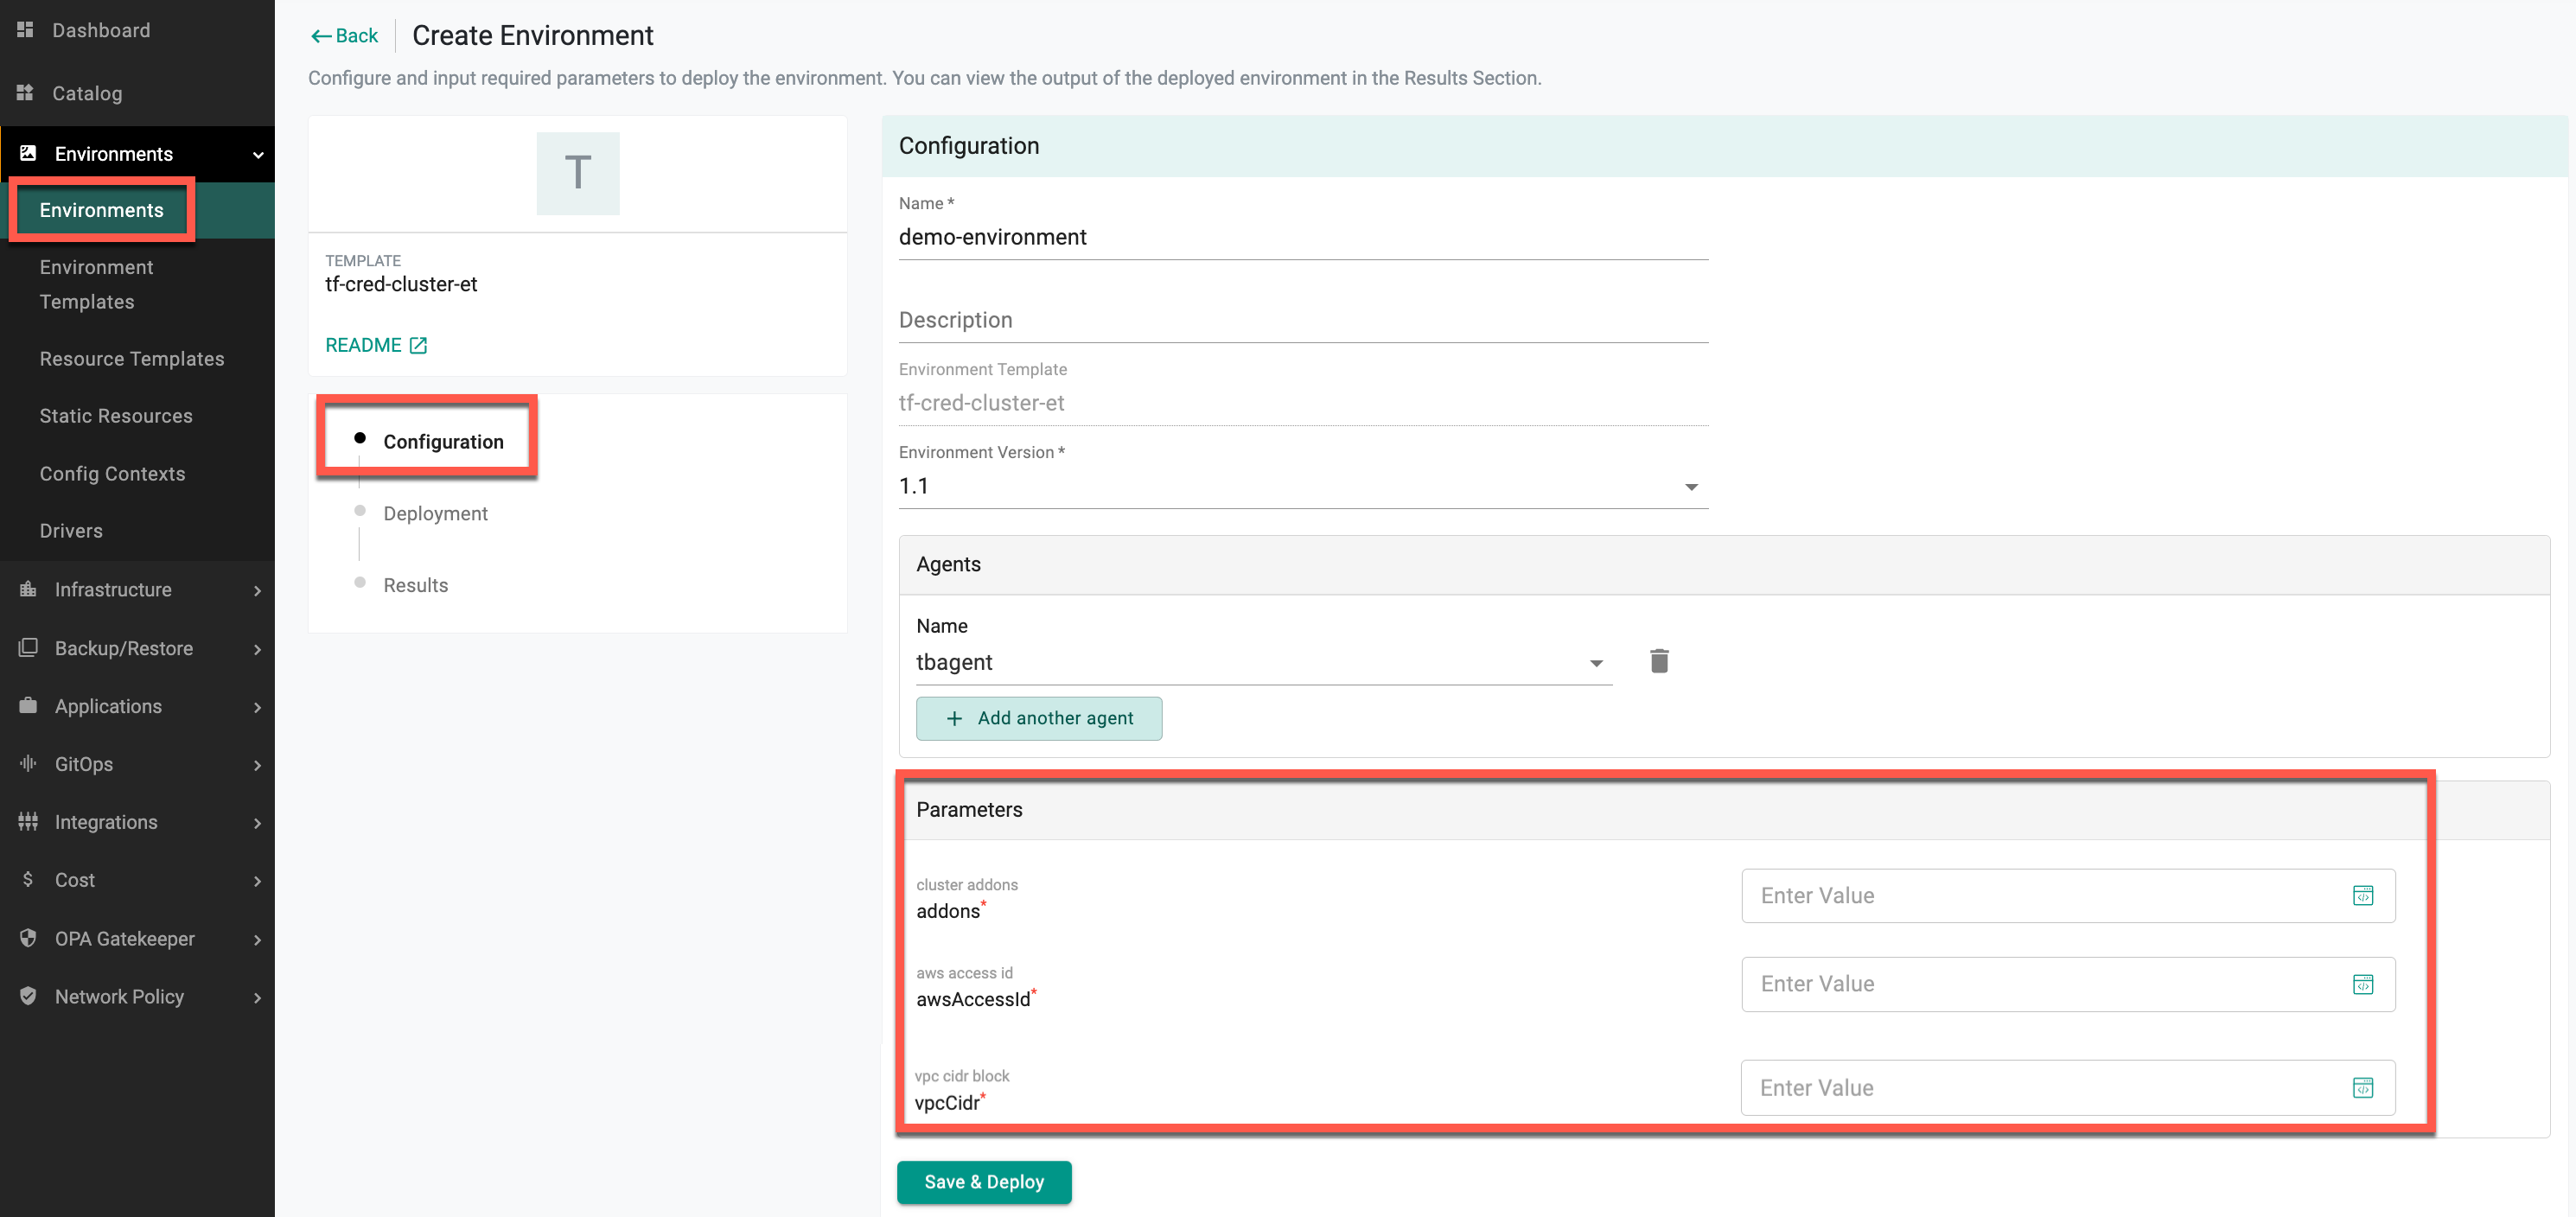
Refer below for details on each field
| Setting | Description |
|---|---|
| Name | Enter a name for the environment |
| Description | Enter a description for the environment |
| Environment Template | Select an environment template to use to create an environment |
| Environment Template Version | Select the version to use to create an environment |
| Parameters | Provide the environment parameters (example: instance configuration parameters such as disk type, disk size, and region) |
🔔 Important Note:
Input variables are organized into sections according to the Grouping Section settings defined in the Environment Template Input Variables. The order of these sections follows the Order/Weight value, with lower numbers appearing first.
Input Variables that are added but not assigned an Order/Weight or Section will be placed under the "Others" category.
- Click Save & Deploy
Schedules
If the schedules are defined in the associated environment template, they will be available on the environment page, allowing users to opt out of these scheduled actions. The table displays the scheduled actions associated with the current environment. It includes the following details for each scheduled action:
- Task Name: The name of the scheduled action, such as "Destroy-ec2-instance" or "Create-ec2-instance." This describes the operation that will be performed
- Next Scheduled Trigger: Indicates the exact time and date when the next action will be triggered. The time is displayed based on the local timezone, which may vary depending on the region
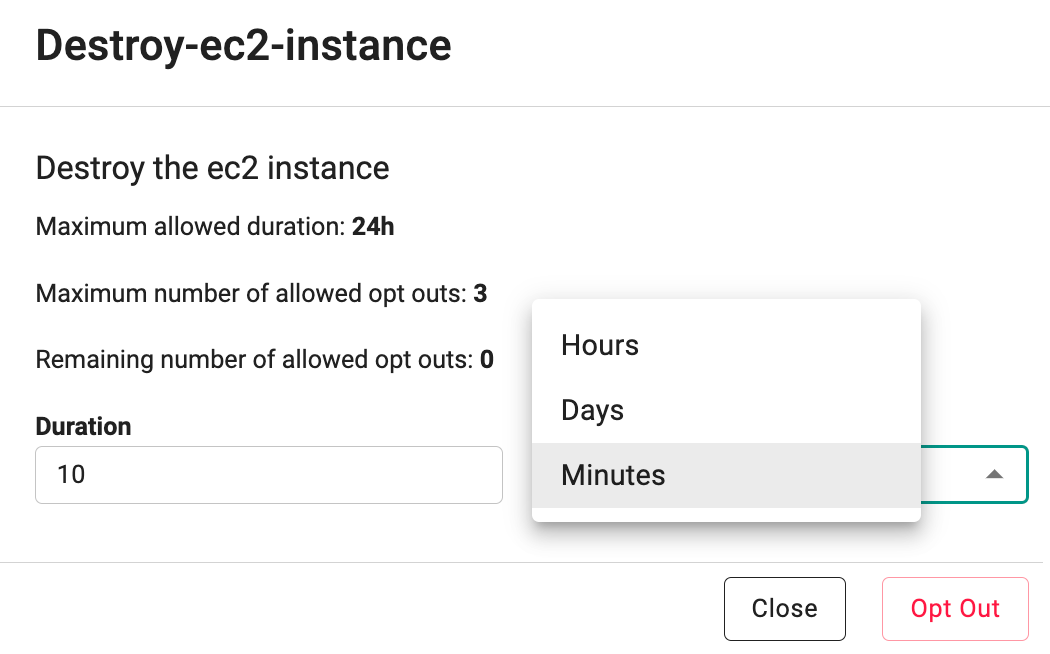
- Action Link: A clickable option to allow the user to opt out of the scheduled task. By selecting "Do you want to opt out?", the user can prevent the specific action from being triggered at the scheduled time
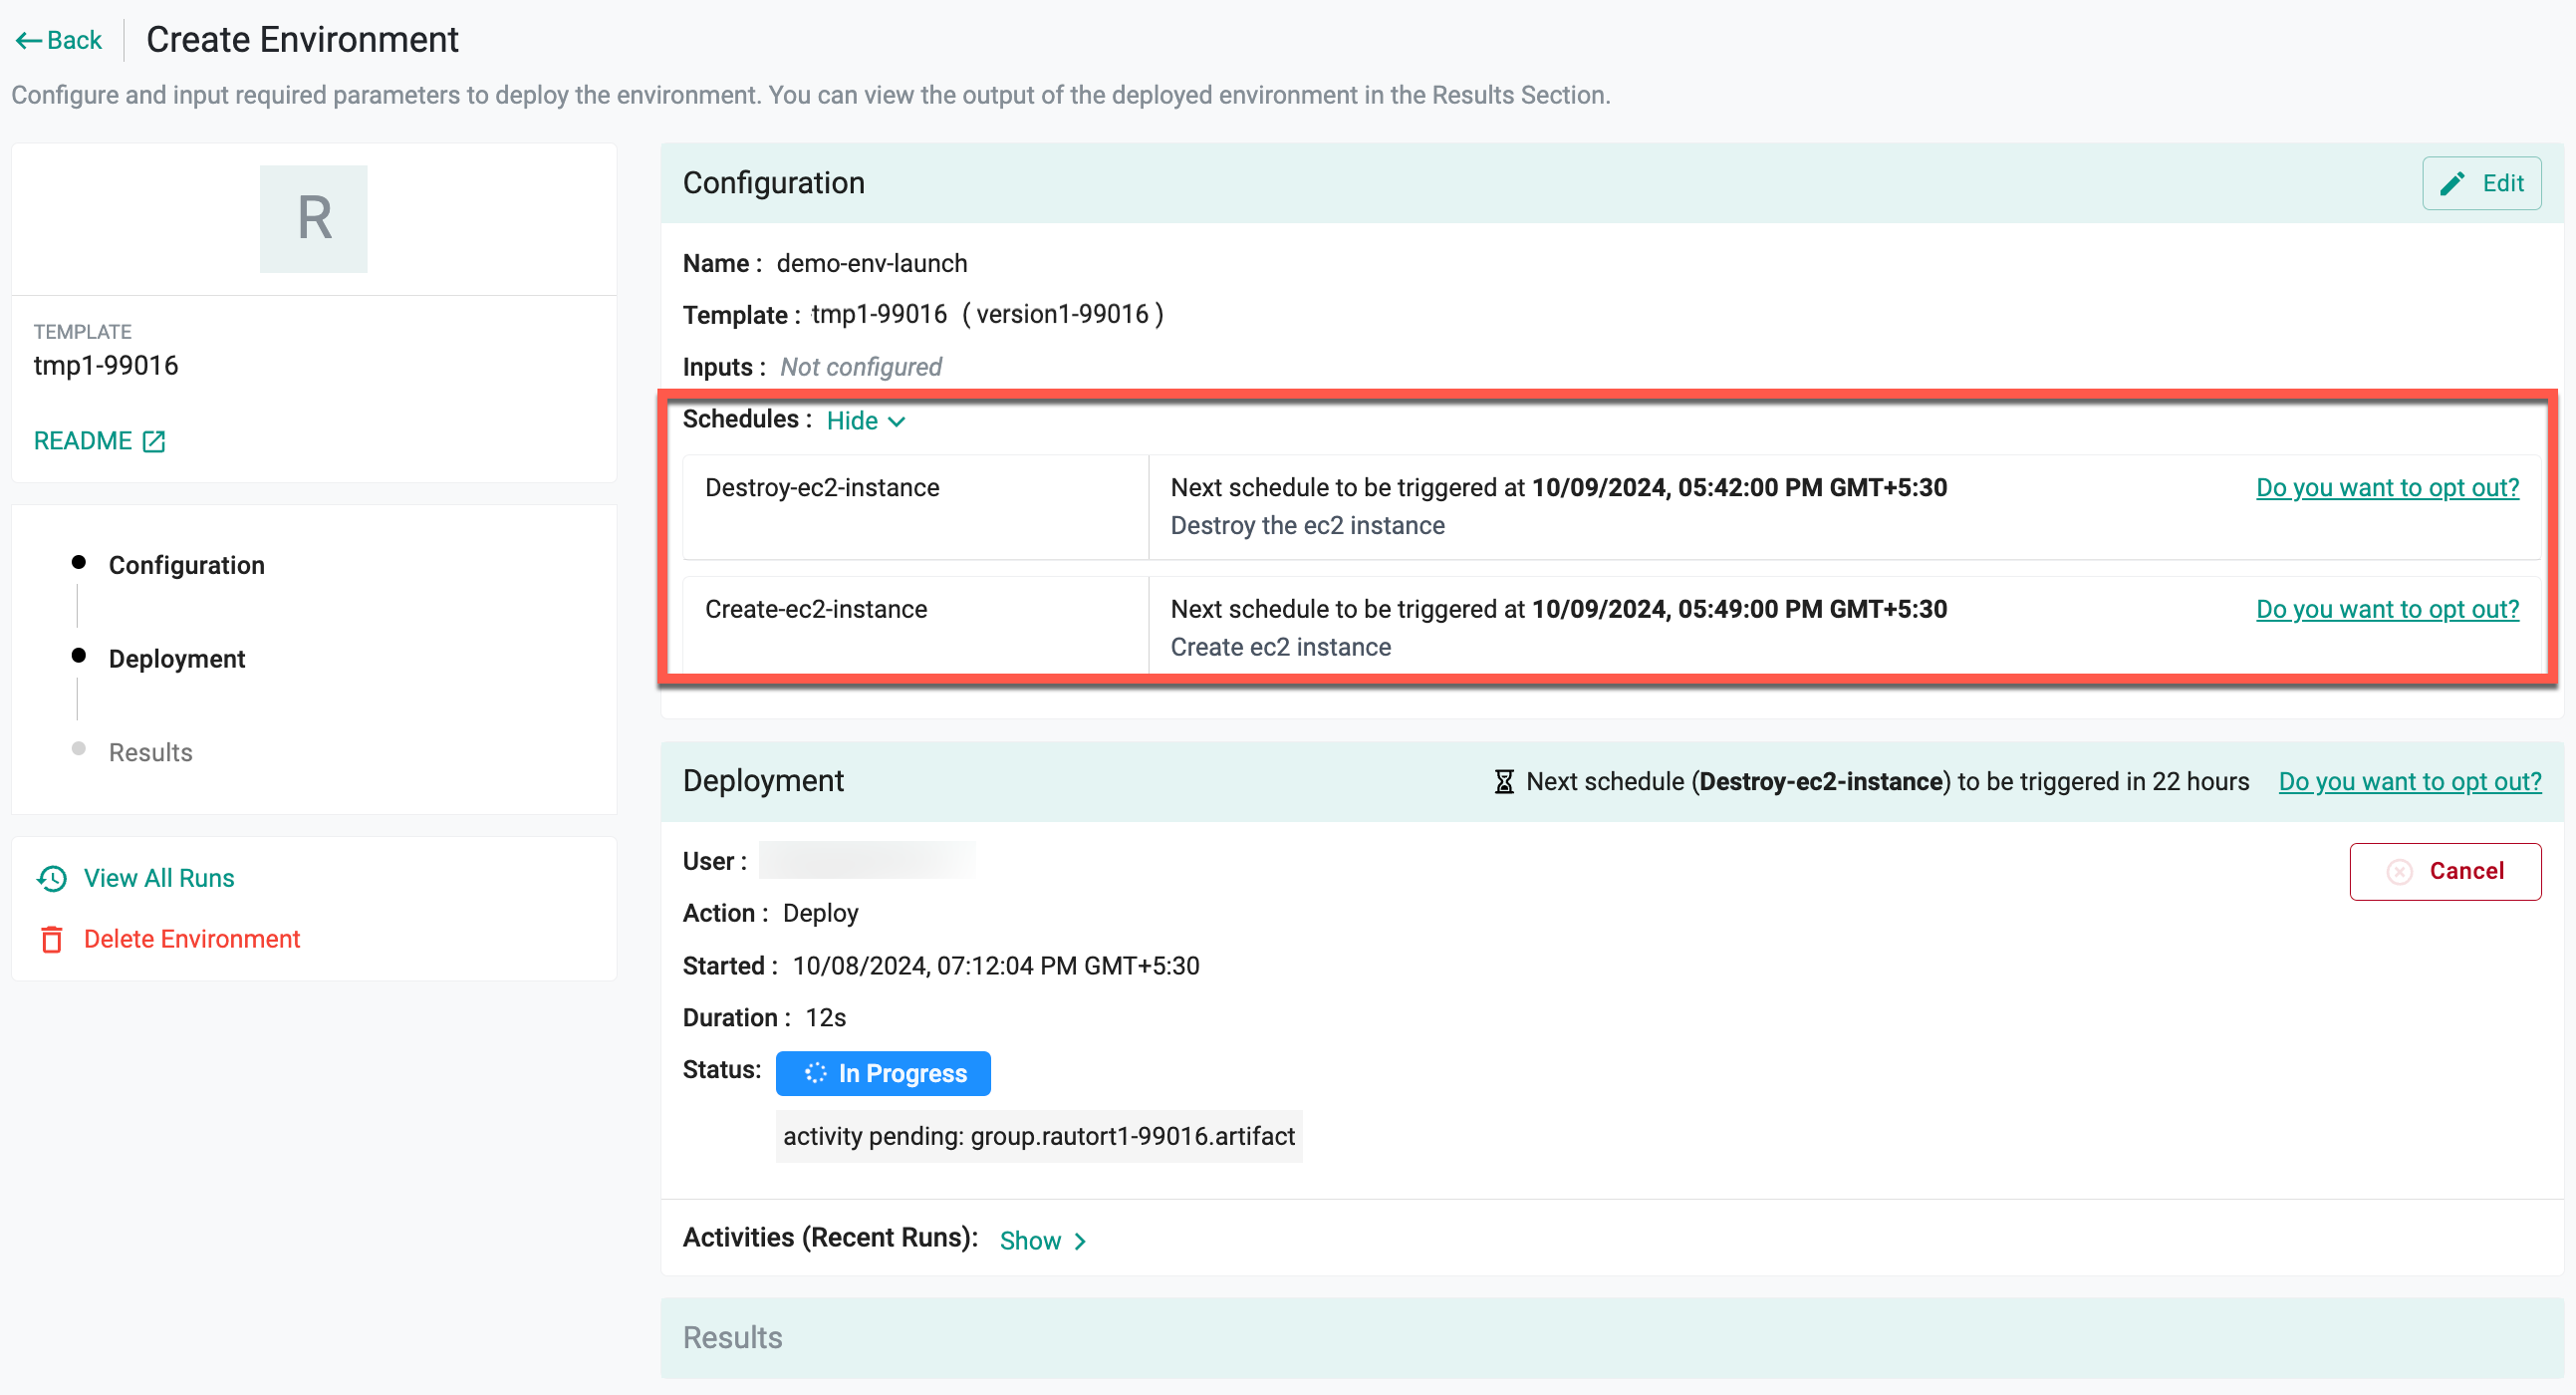
To modify specific scheduled actions, click Do you want to opt out? next to the desired schedule in the environment configuration. This option allows you to delay the scheduled tasks, providing flexibility in managing the schedule associated with your environment.
- Select the required duration and click Opt Out
The configuration context attached to the schedules will appear under environment input variables when the schedules are triggered.
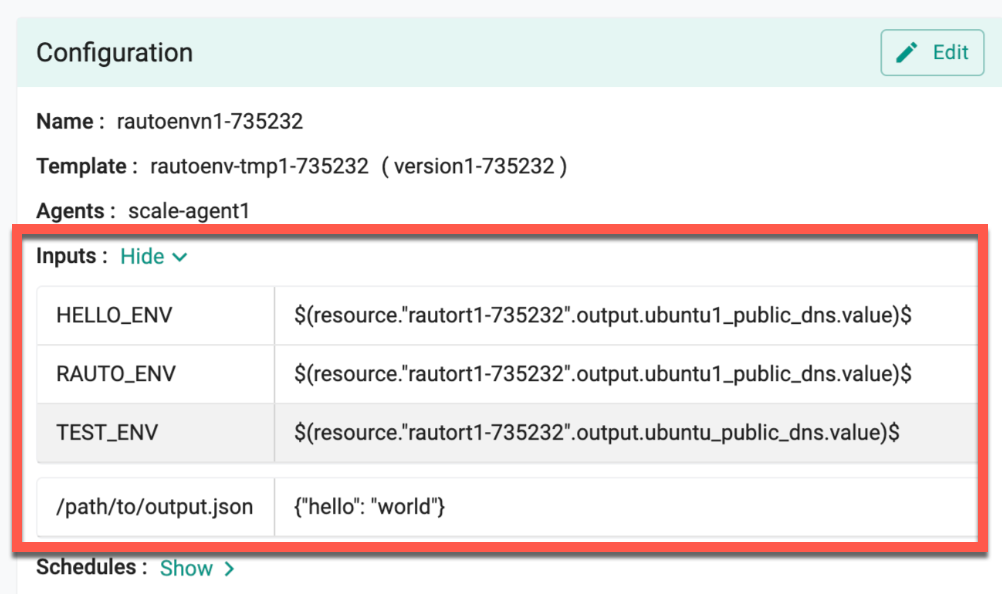
- Click Deploy
The scheduled action will be deferred for the specified duration, preventing it from being triggered within that period.
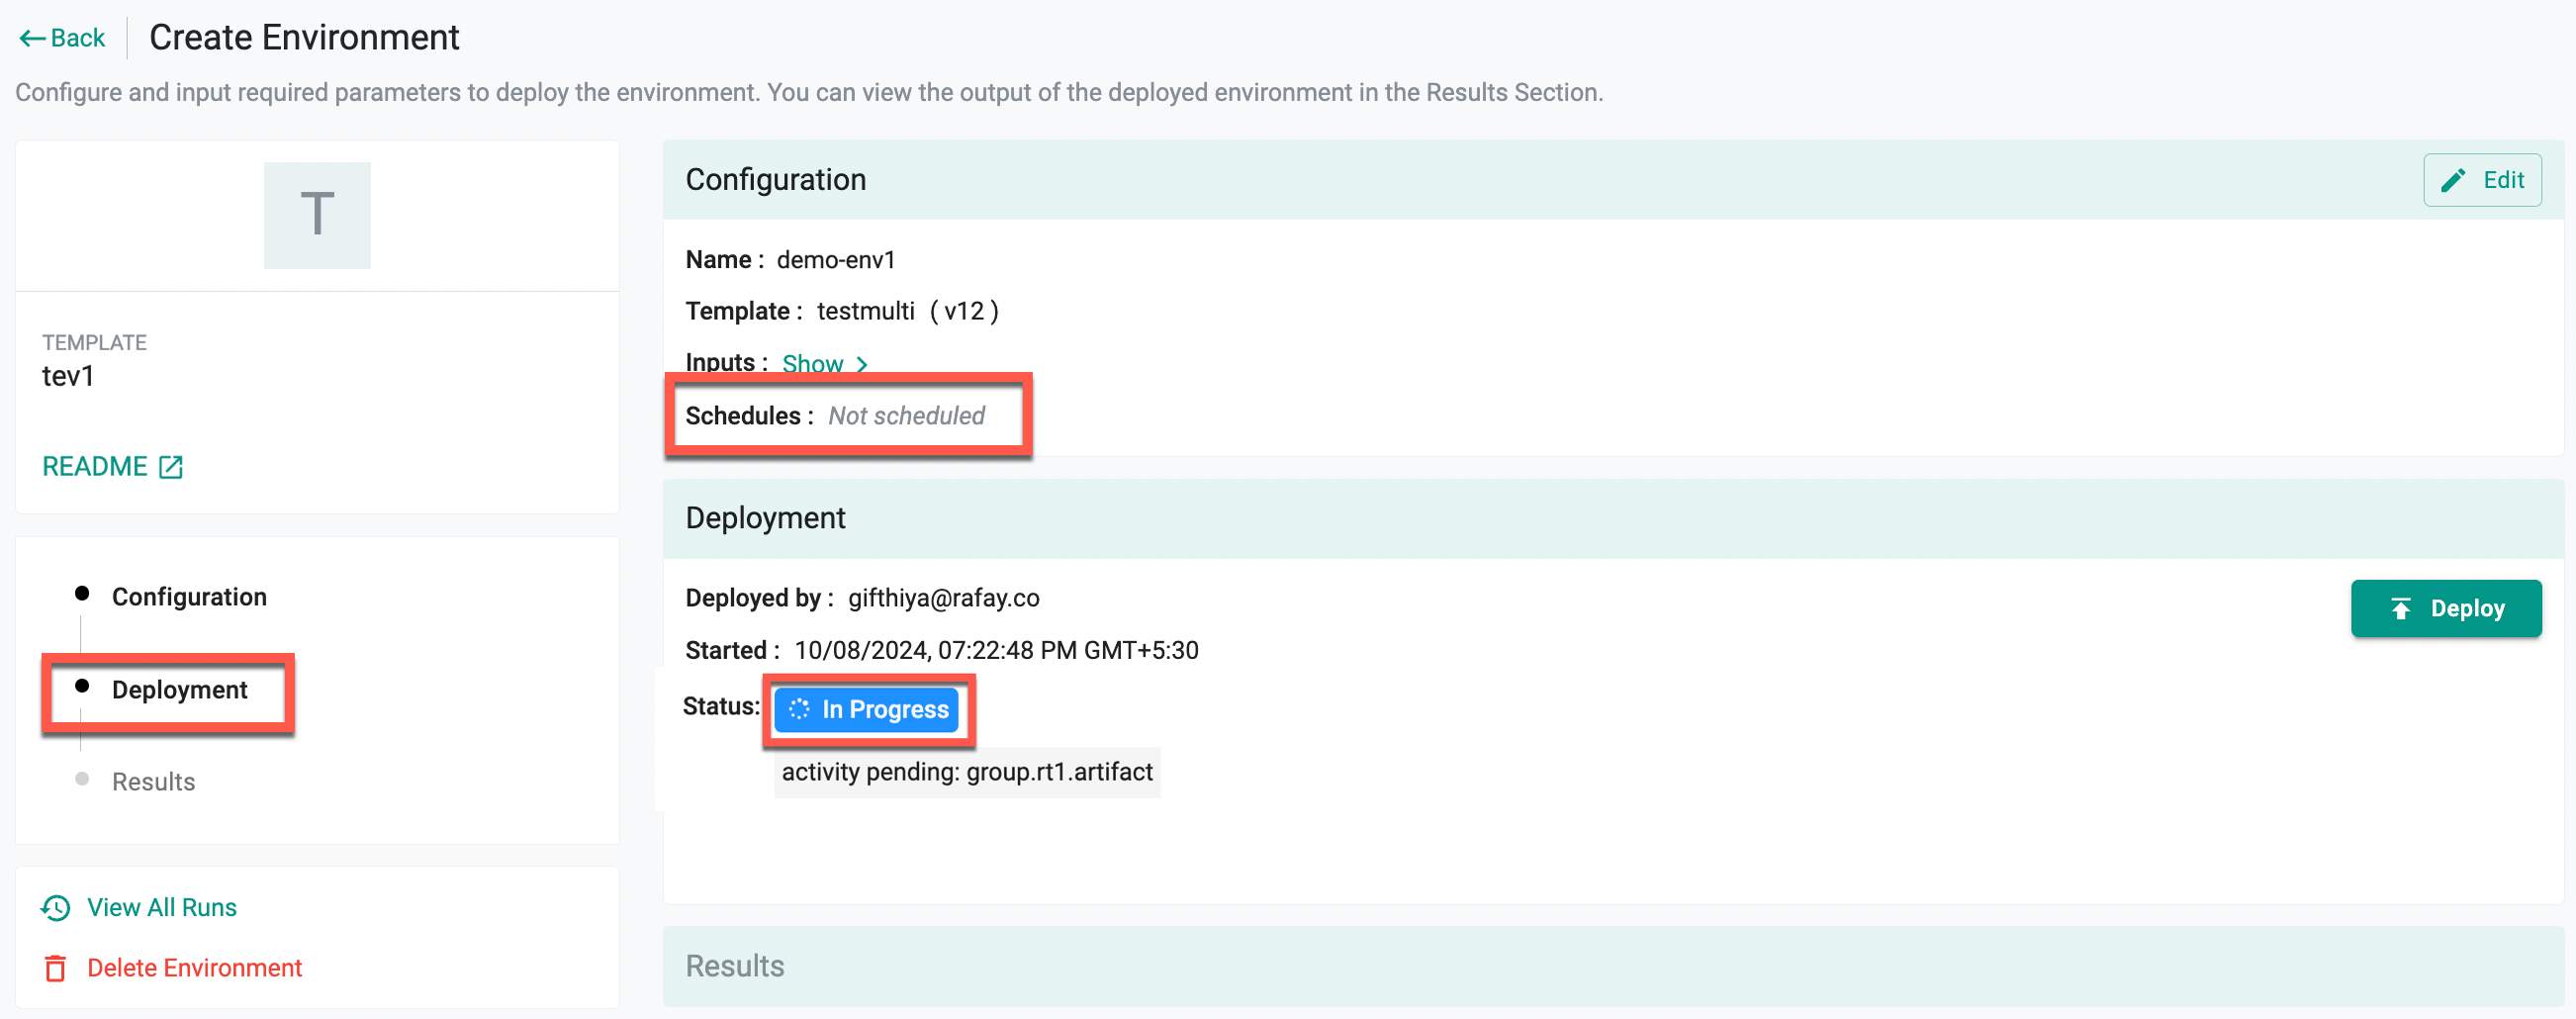
Note: If the environment template does not include any schedules, the opt-out options will not be displayed, and the status will be shown as "Not scheduled"
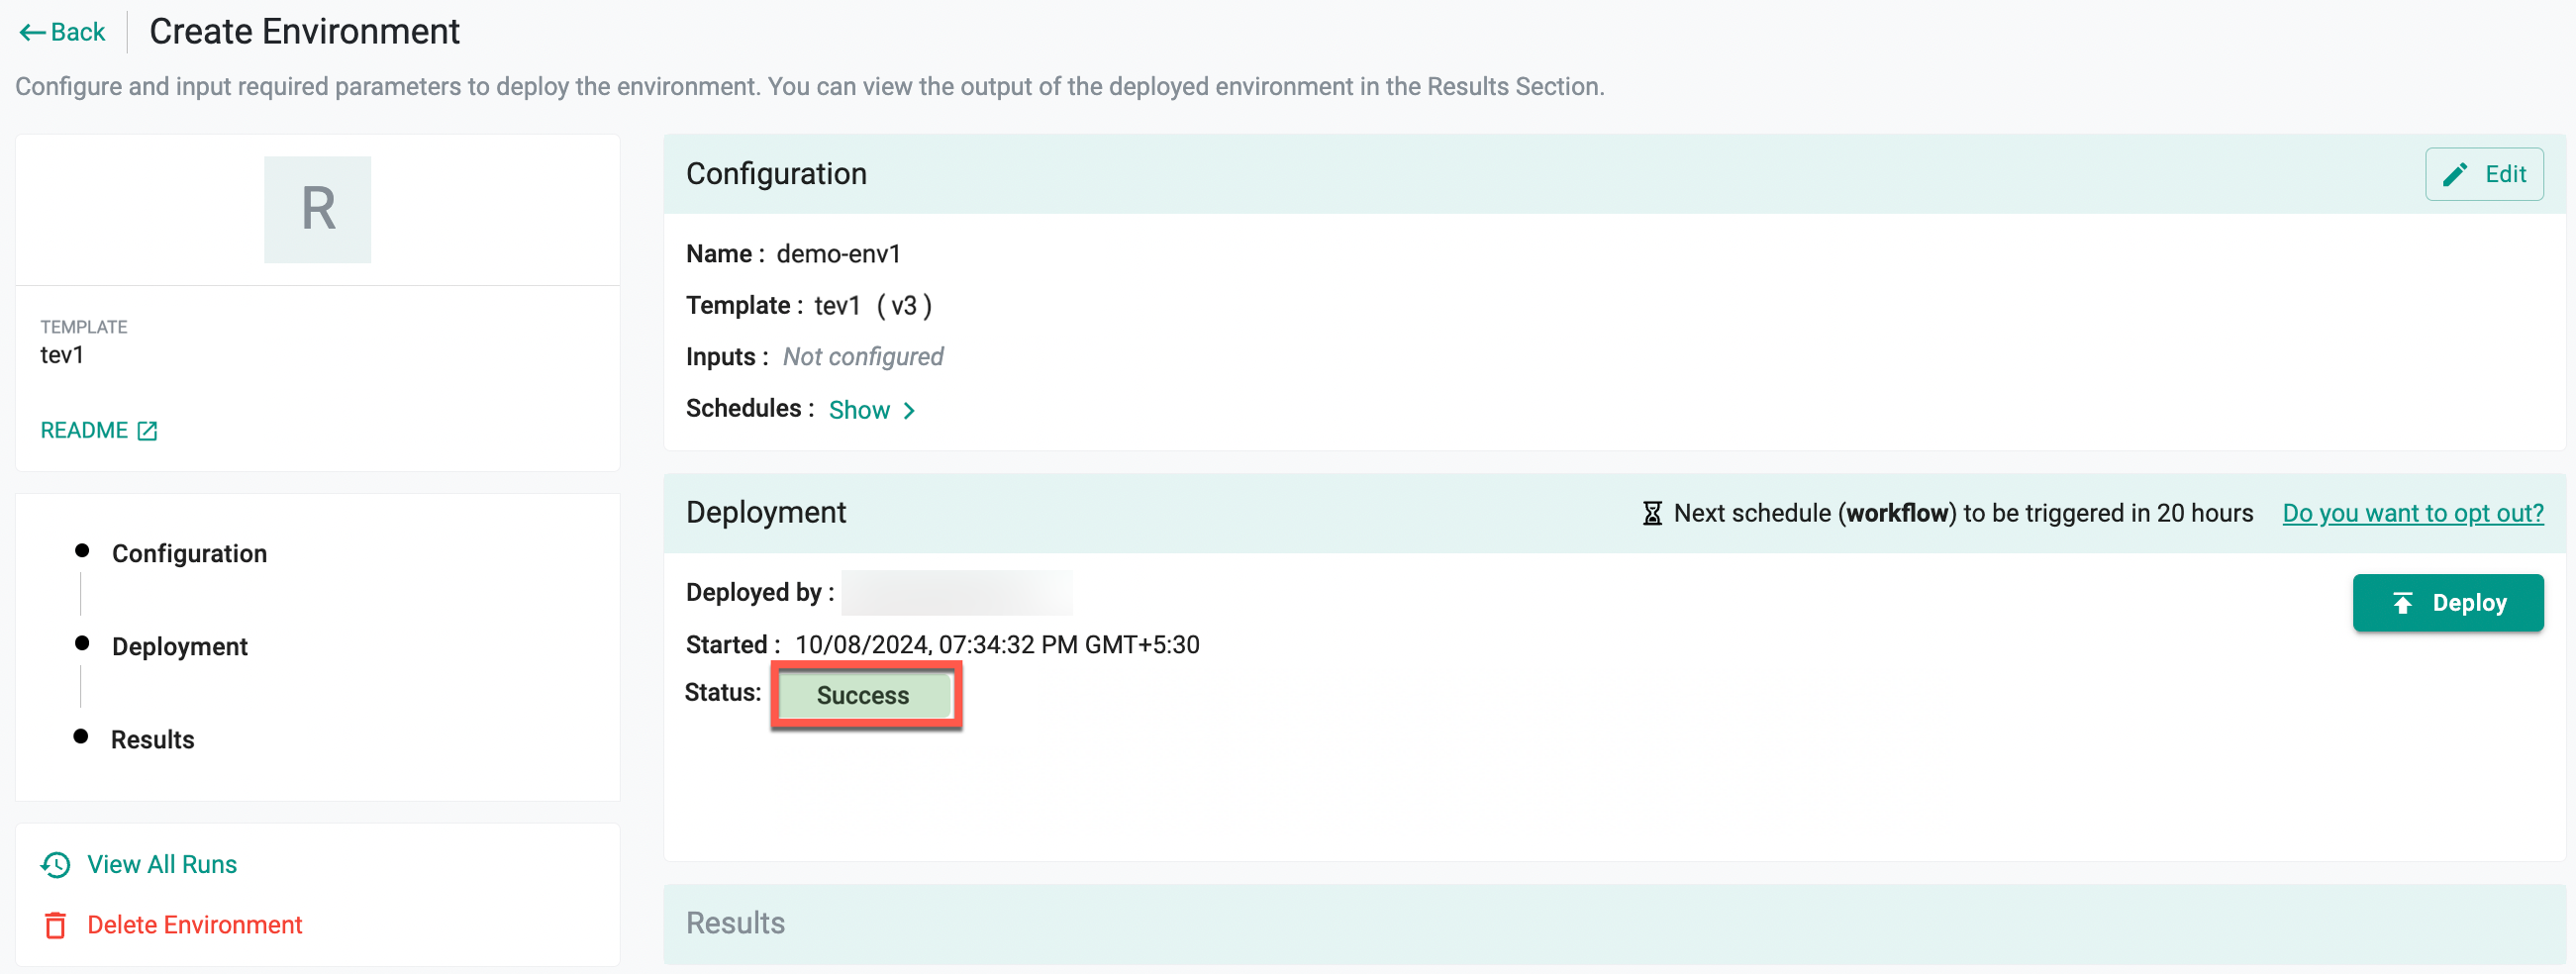
The deployment section indicates the current status and upcoming scheduled actions related to the environment, with the next schedule displaying the immediate action (e.g., "Destroy-ec2-instance") and its trigger time, typically within the next 24 hours. Users can opt out of this immediate action if needed.
- View the status In Progress
- Once the deployment is complete, the status changes to Success
Destroy/Delete Environment
- Click Destroy to remove the provisioned resources from the cloud provider, or click Delete Environment to both destroy the environment and remove it from the Environment Manager or database
- After deploying, to implement the modifications made to the Terraform script, click Deploy
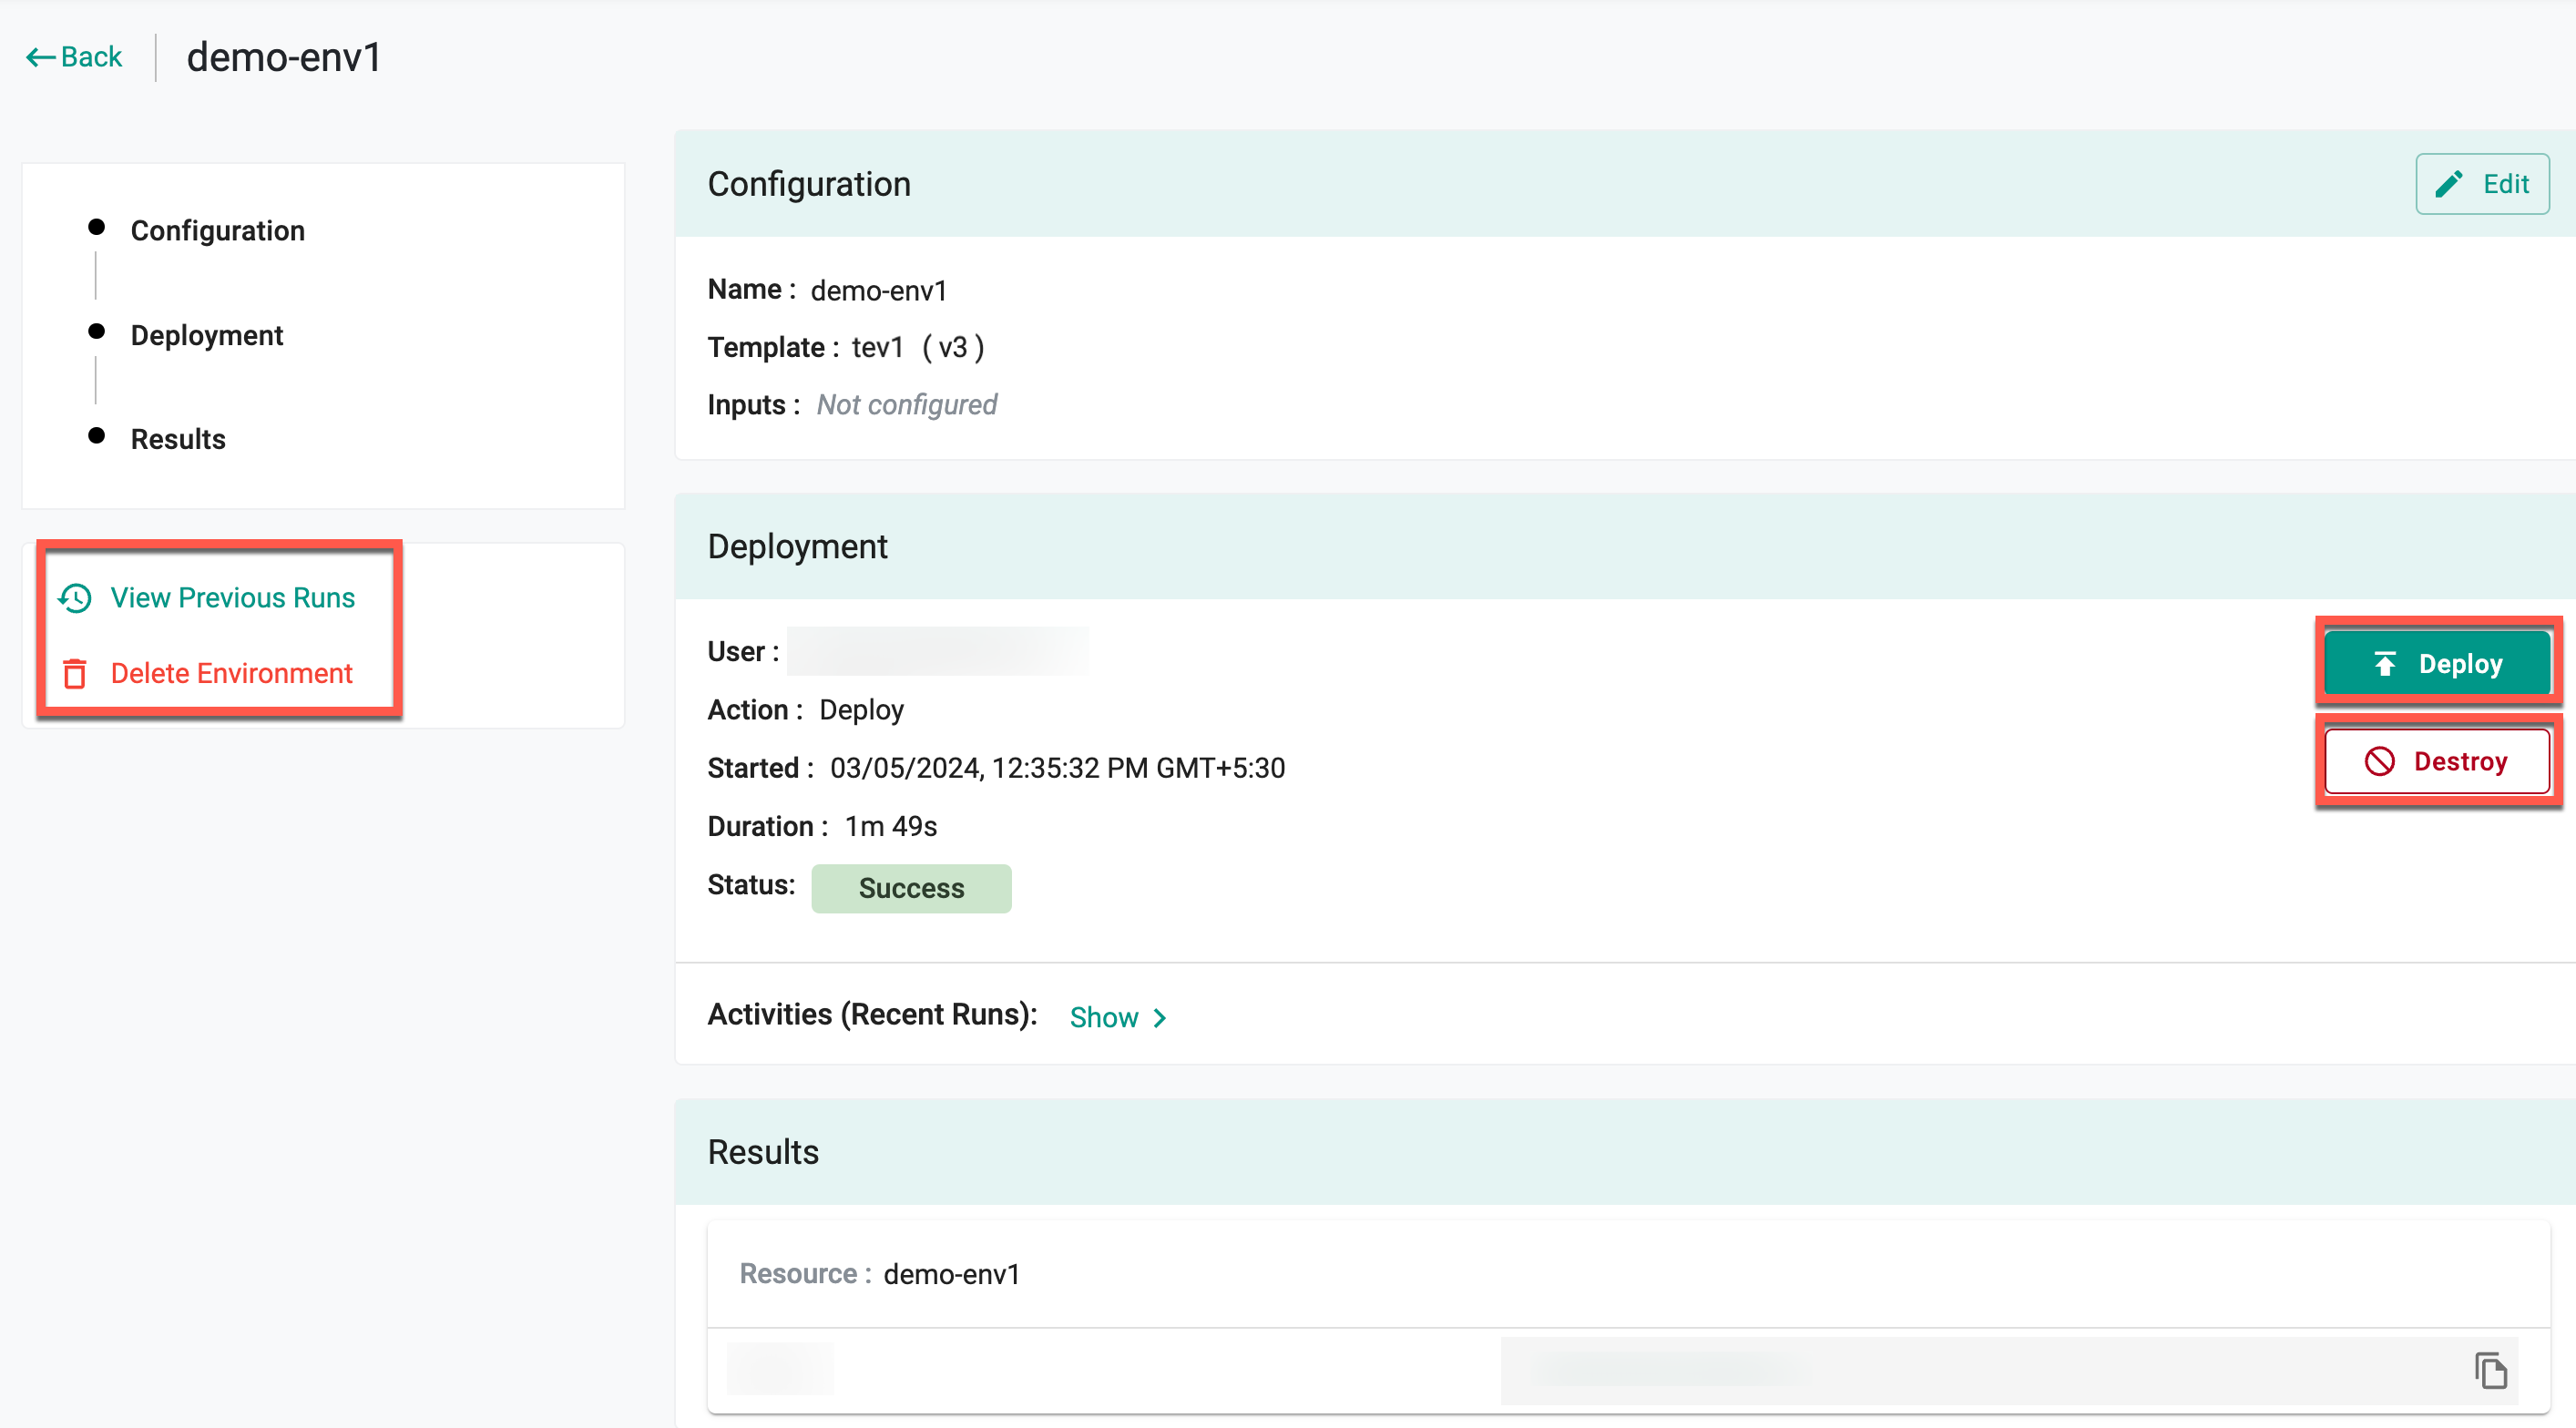
View Previous Runs
To view the history of previous runs, click View Previous Runs. To view more details of each run, click on the arrow to expand and display recent activities

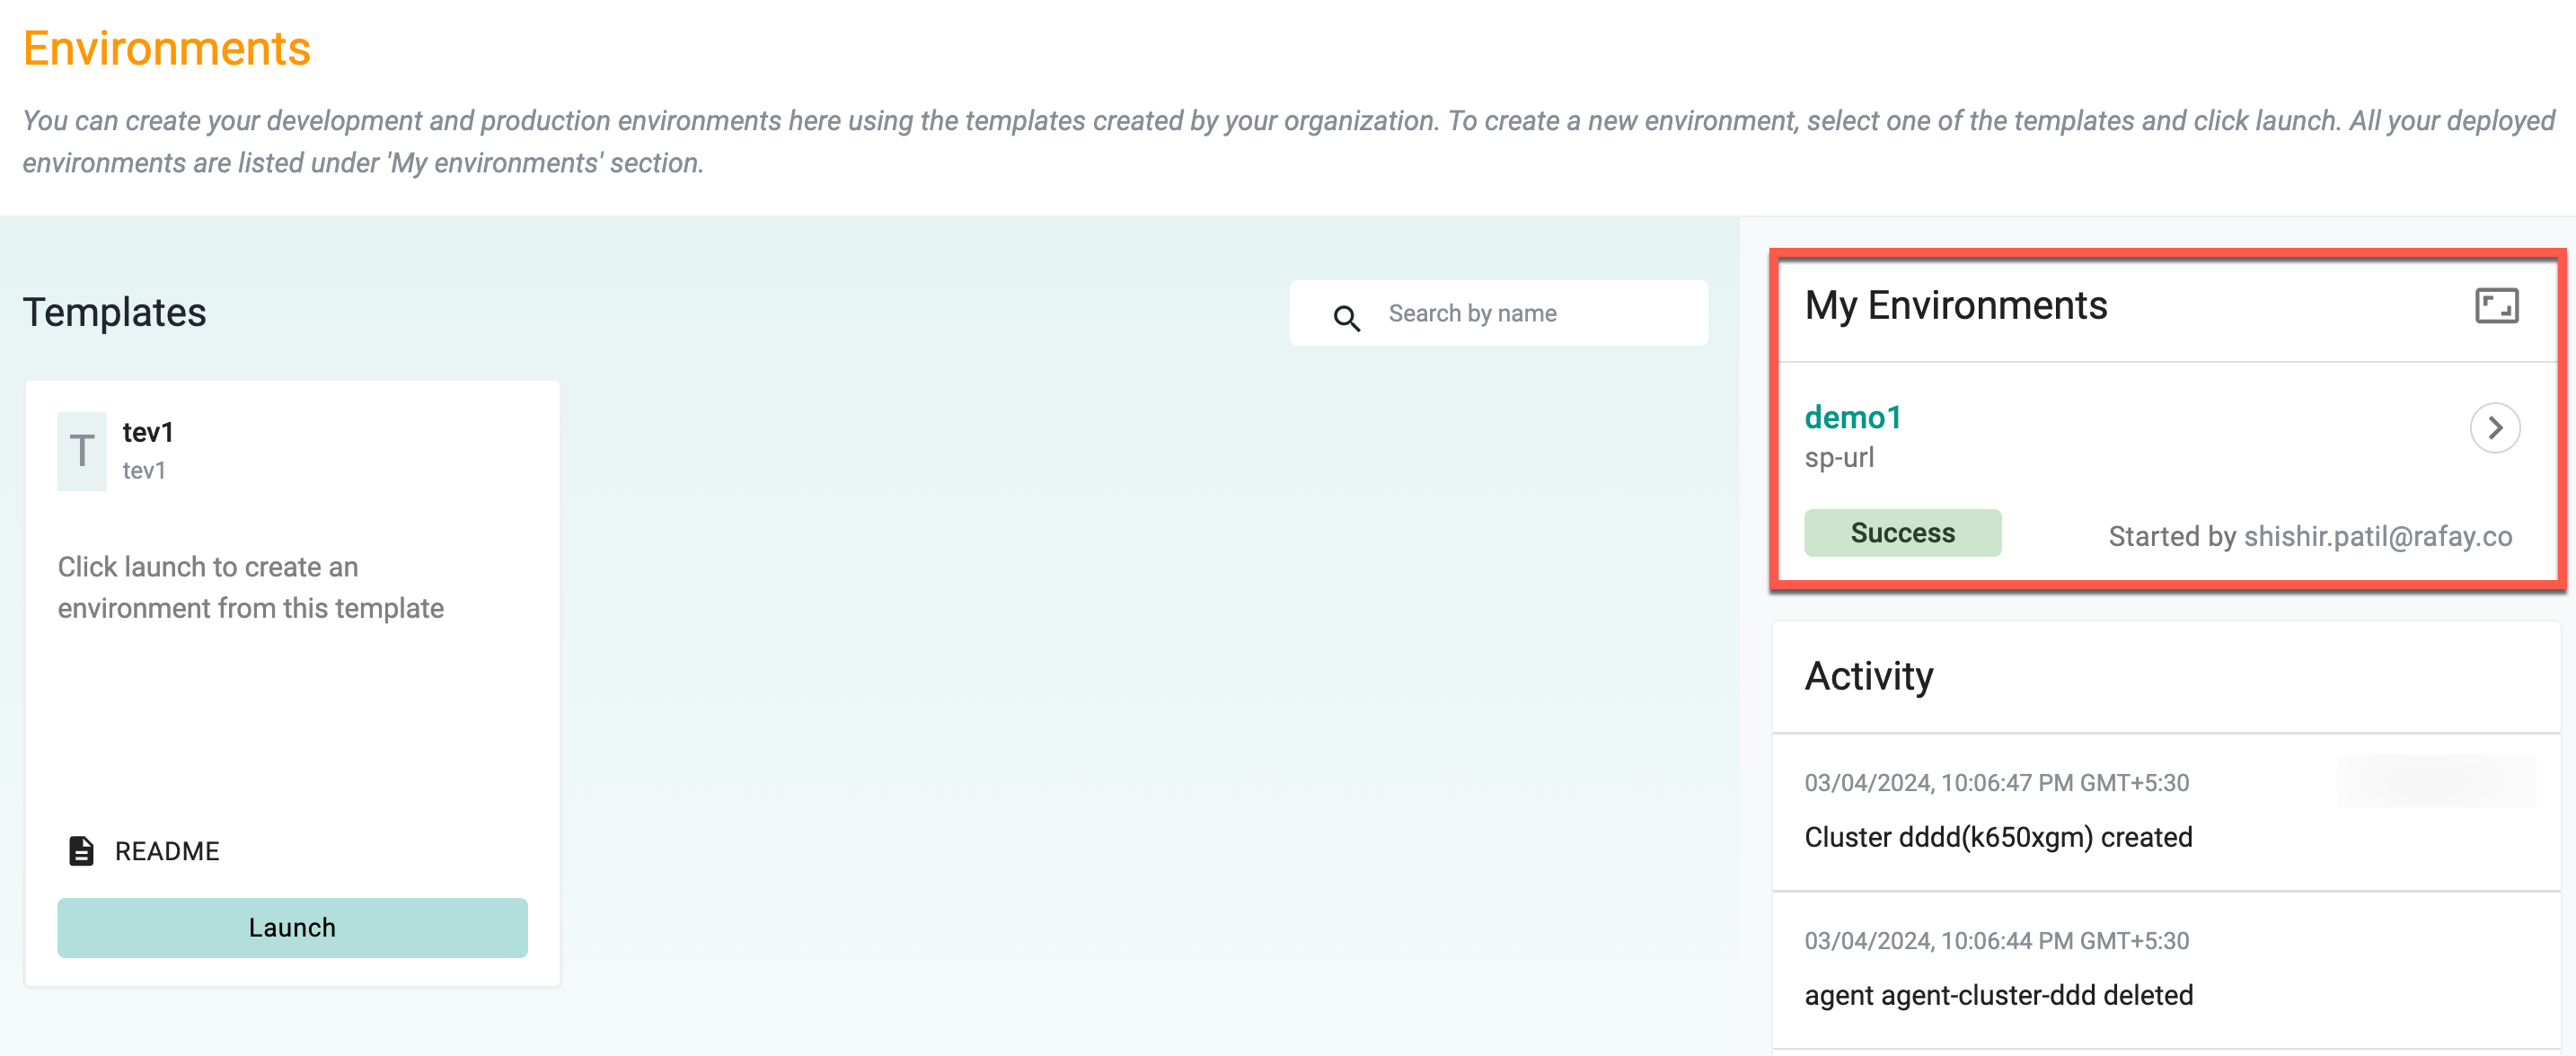
Once the environments are deployed, they will be listed in the right pane along with the activities performed on them. The activity section displays the events executed by various users.
