Master Nodes
Addition or removal of master nodes from the controller-provisioned and managed clusters is possible as a Day 2 operational task
Important
This workflow is supported for manually provisioned clusters.
Manually Provisioned Clusters
Add Master Nodes
- Create required VMs or instances
- Sign into the Web Console
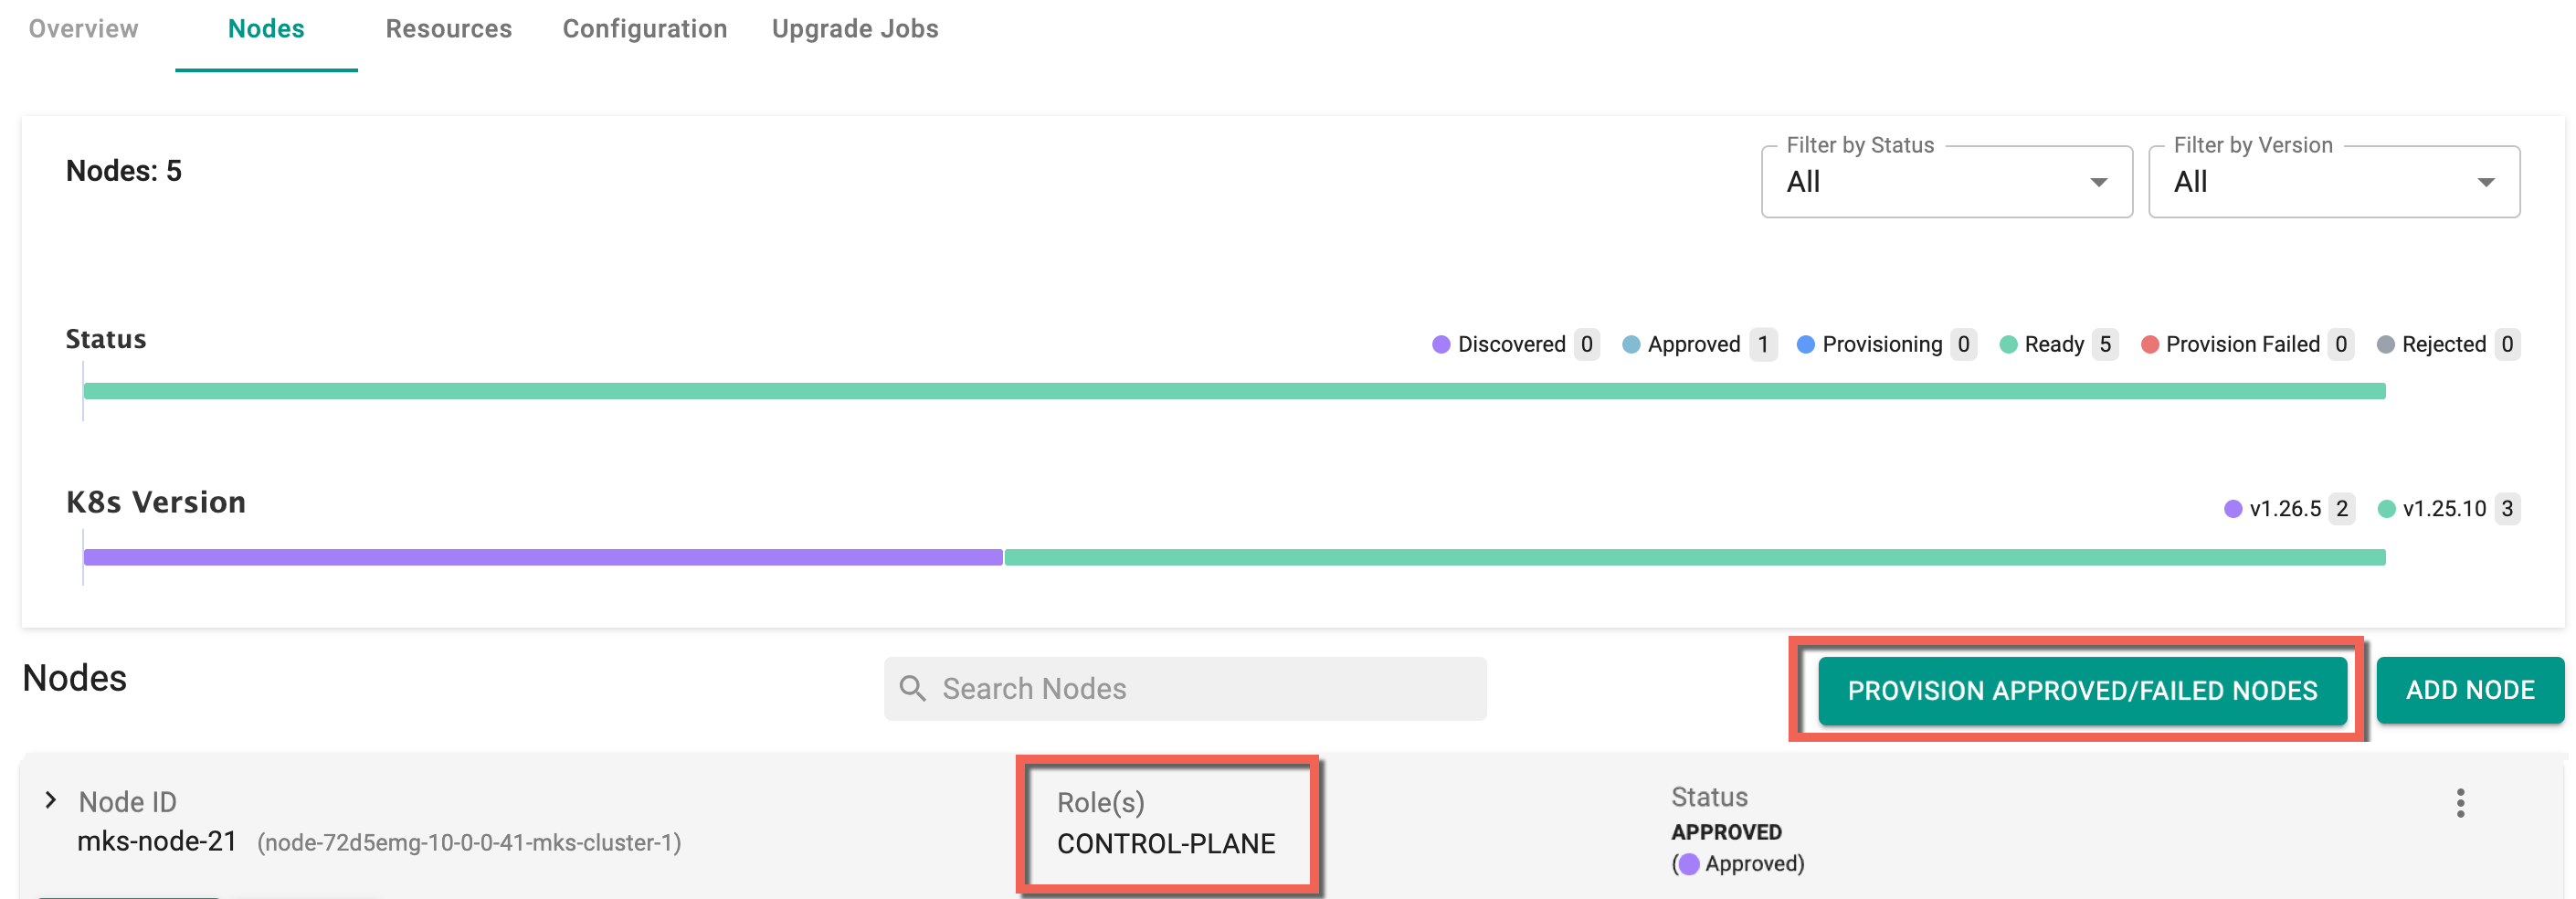
- Select the cluster and click on nodes. Here you can view a visual representation displaying the count of nodes categorized by their respective statuses and k8s version of each node (highlighted in different colors)
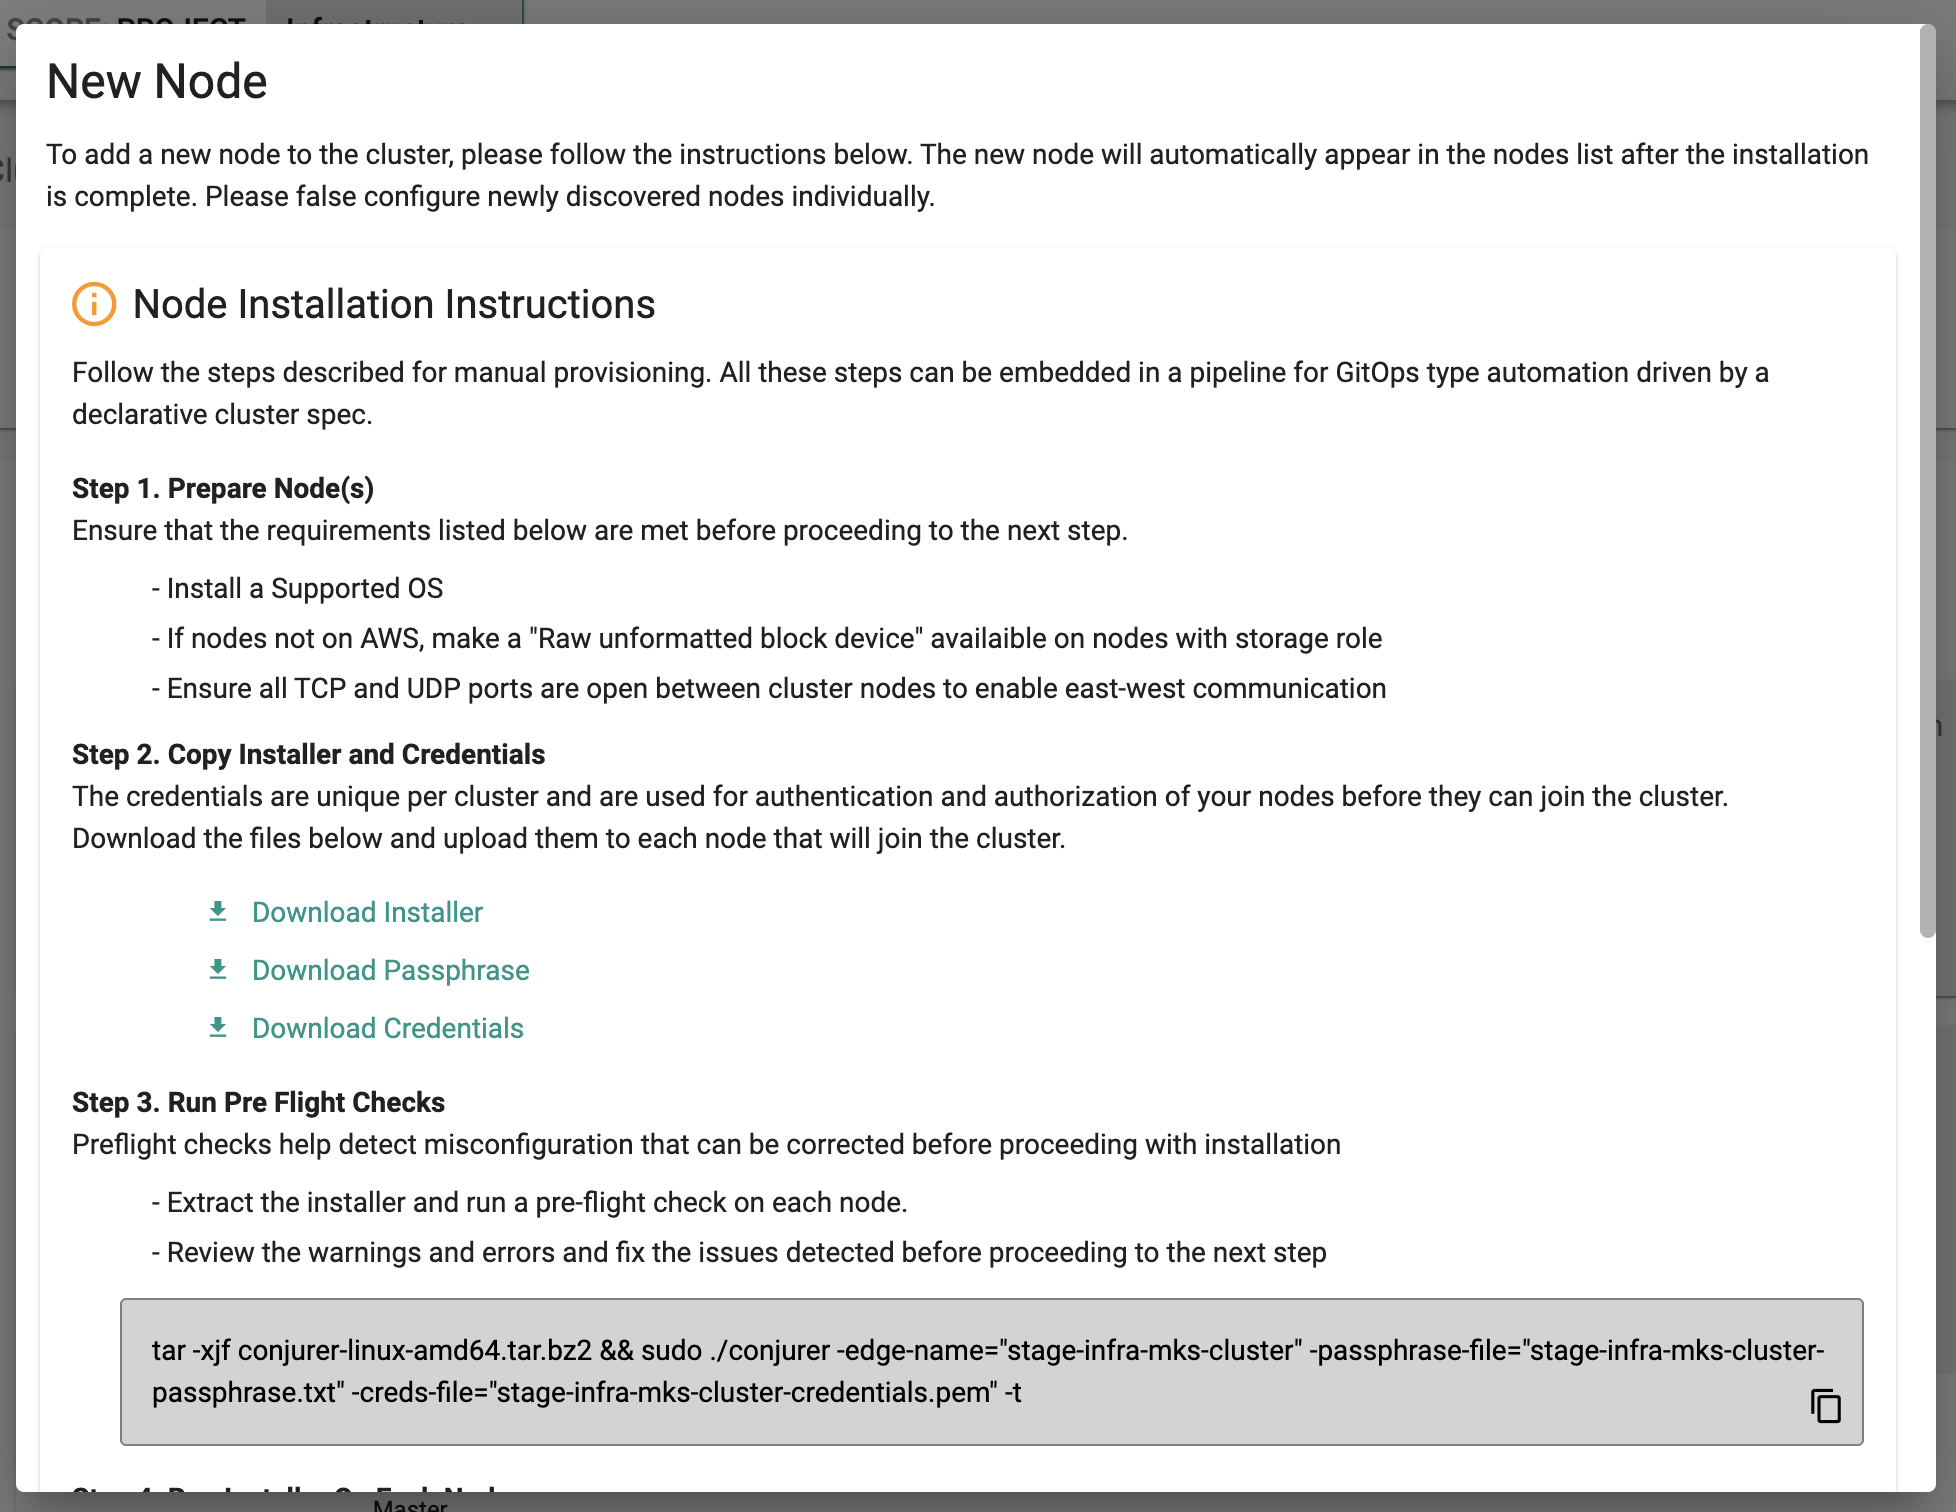
- Click "Add Node" and Follow the Node Installation Instructions to install the bootstrap agent on the VM
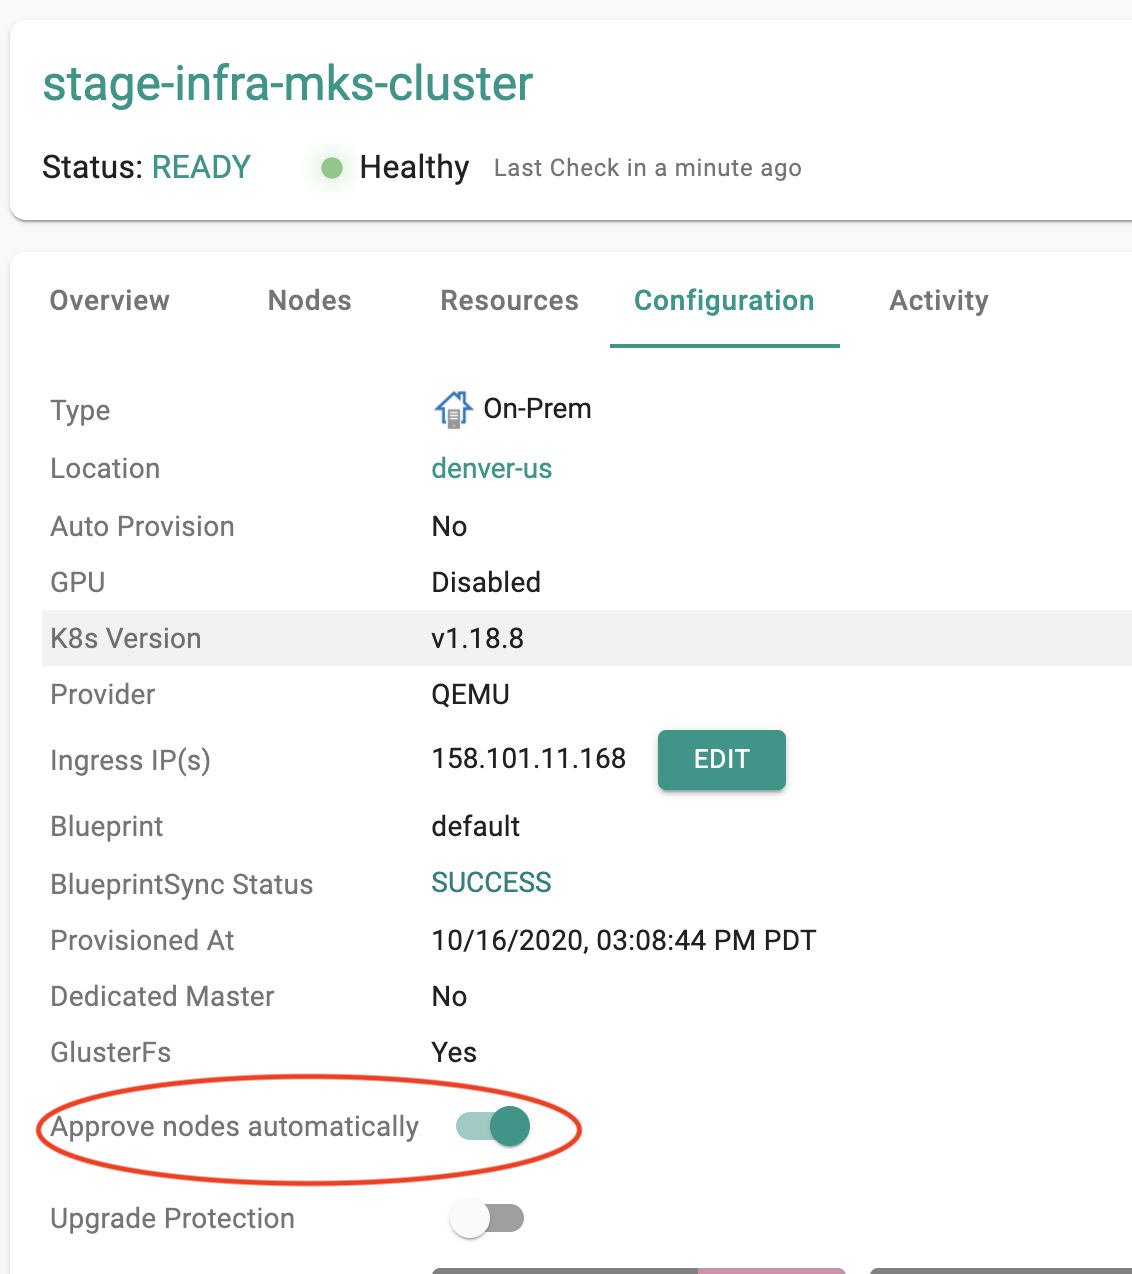
Users can optionally enable "auto approval" for new master nodes to join the cluster. Enable the auto approval "toggle" in the cluster configuration page as shown in the screenshot below.
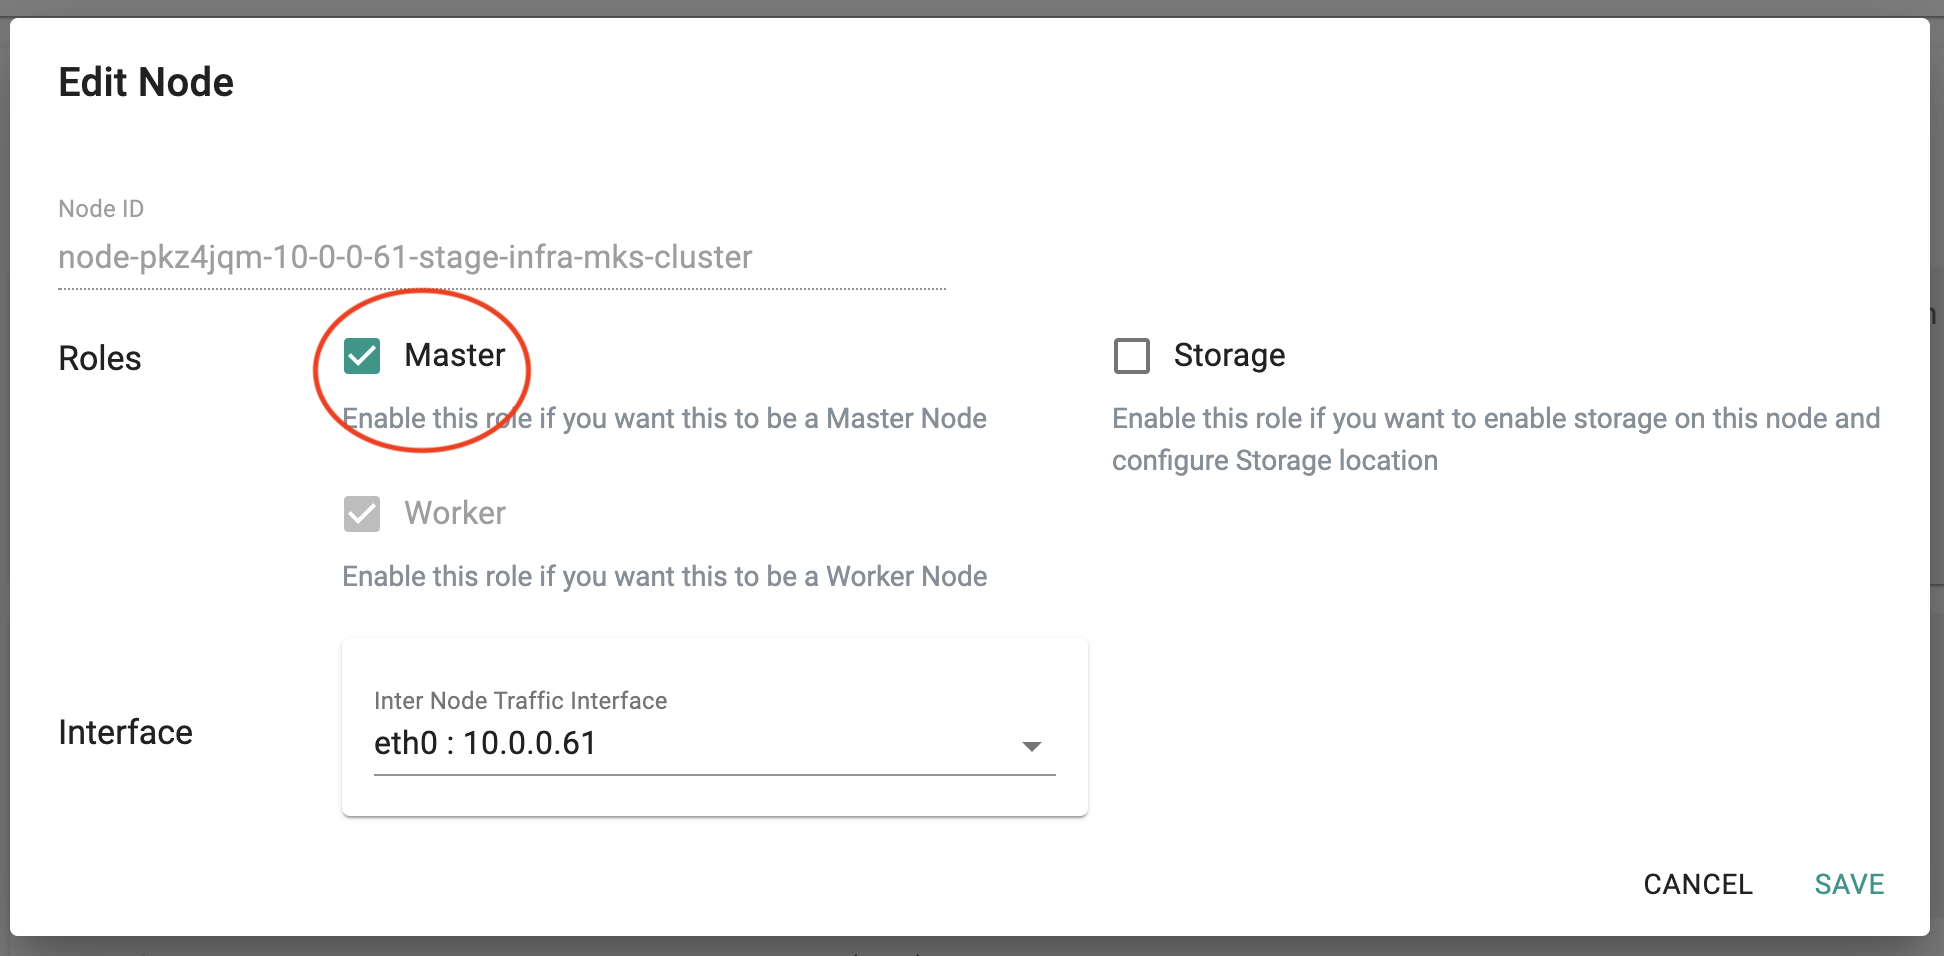
- Click on "Configure" to configure the node with Master Role so that it can be joined as a master node to the cluster
- Click Save
- In the Nodes page, click Provision Approved/Failed Nodes button to provision all the Approved/ Provision Failed / Pretest Failed nodes simultaneously
Important
If the approval process fails for a node, it is automatically retried when an add operation is triggered for another node, with failures typically caused by connectivity issues
- It will take couple minutes for the additional master node to be provisioned
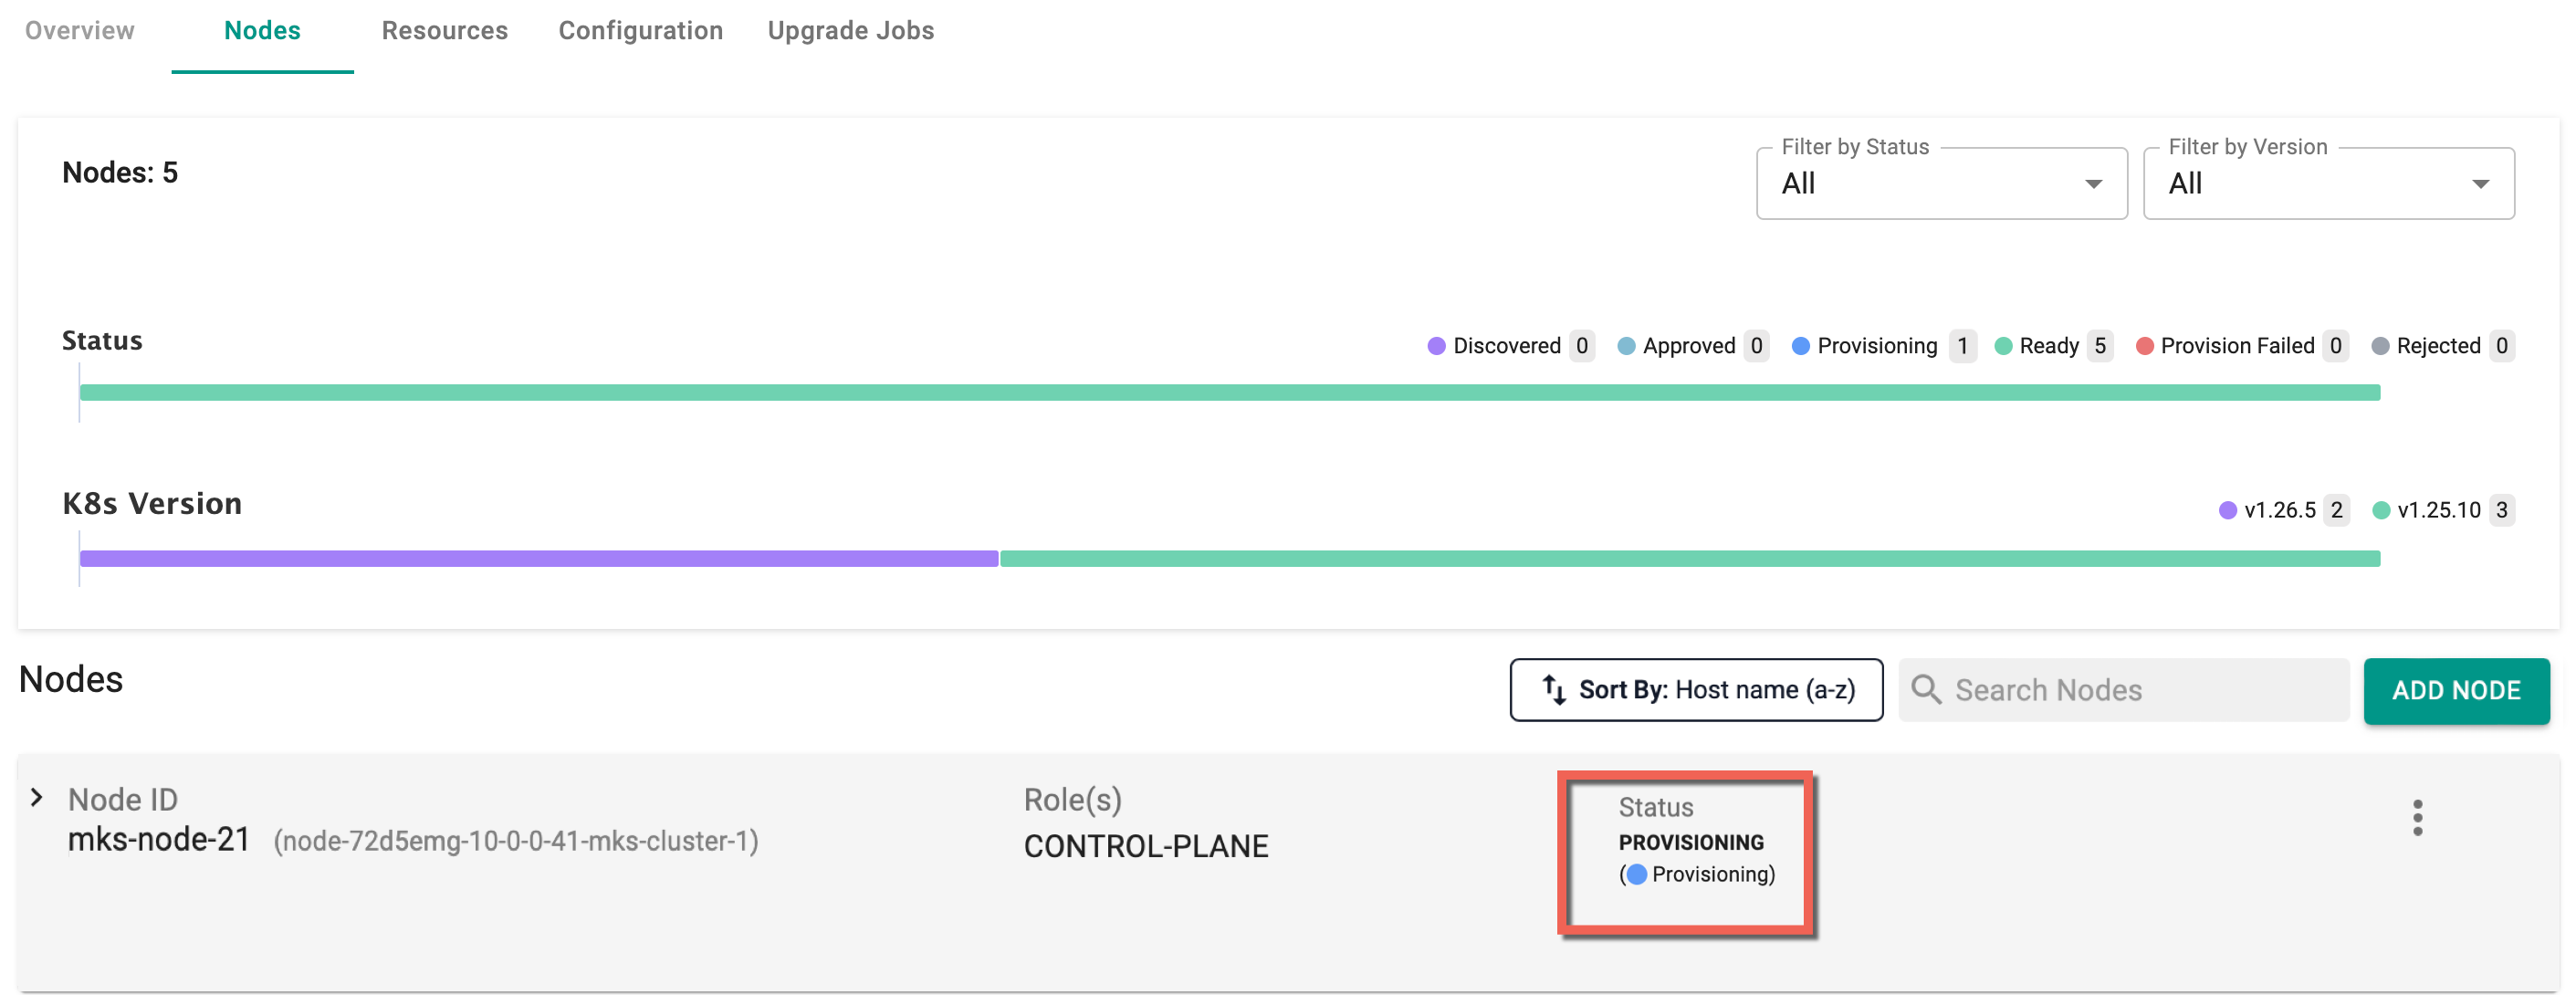
- Once the node is provisioned, it will join the cluster with the Master role
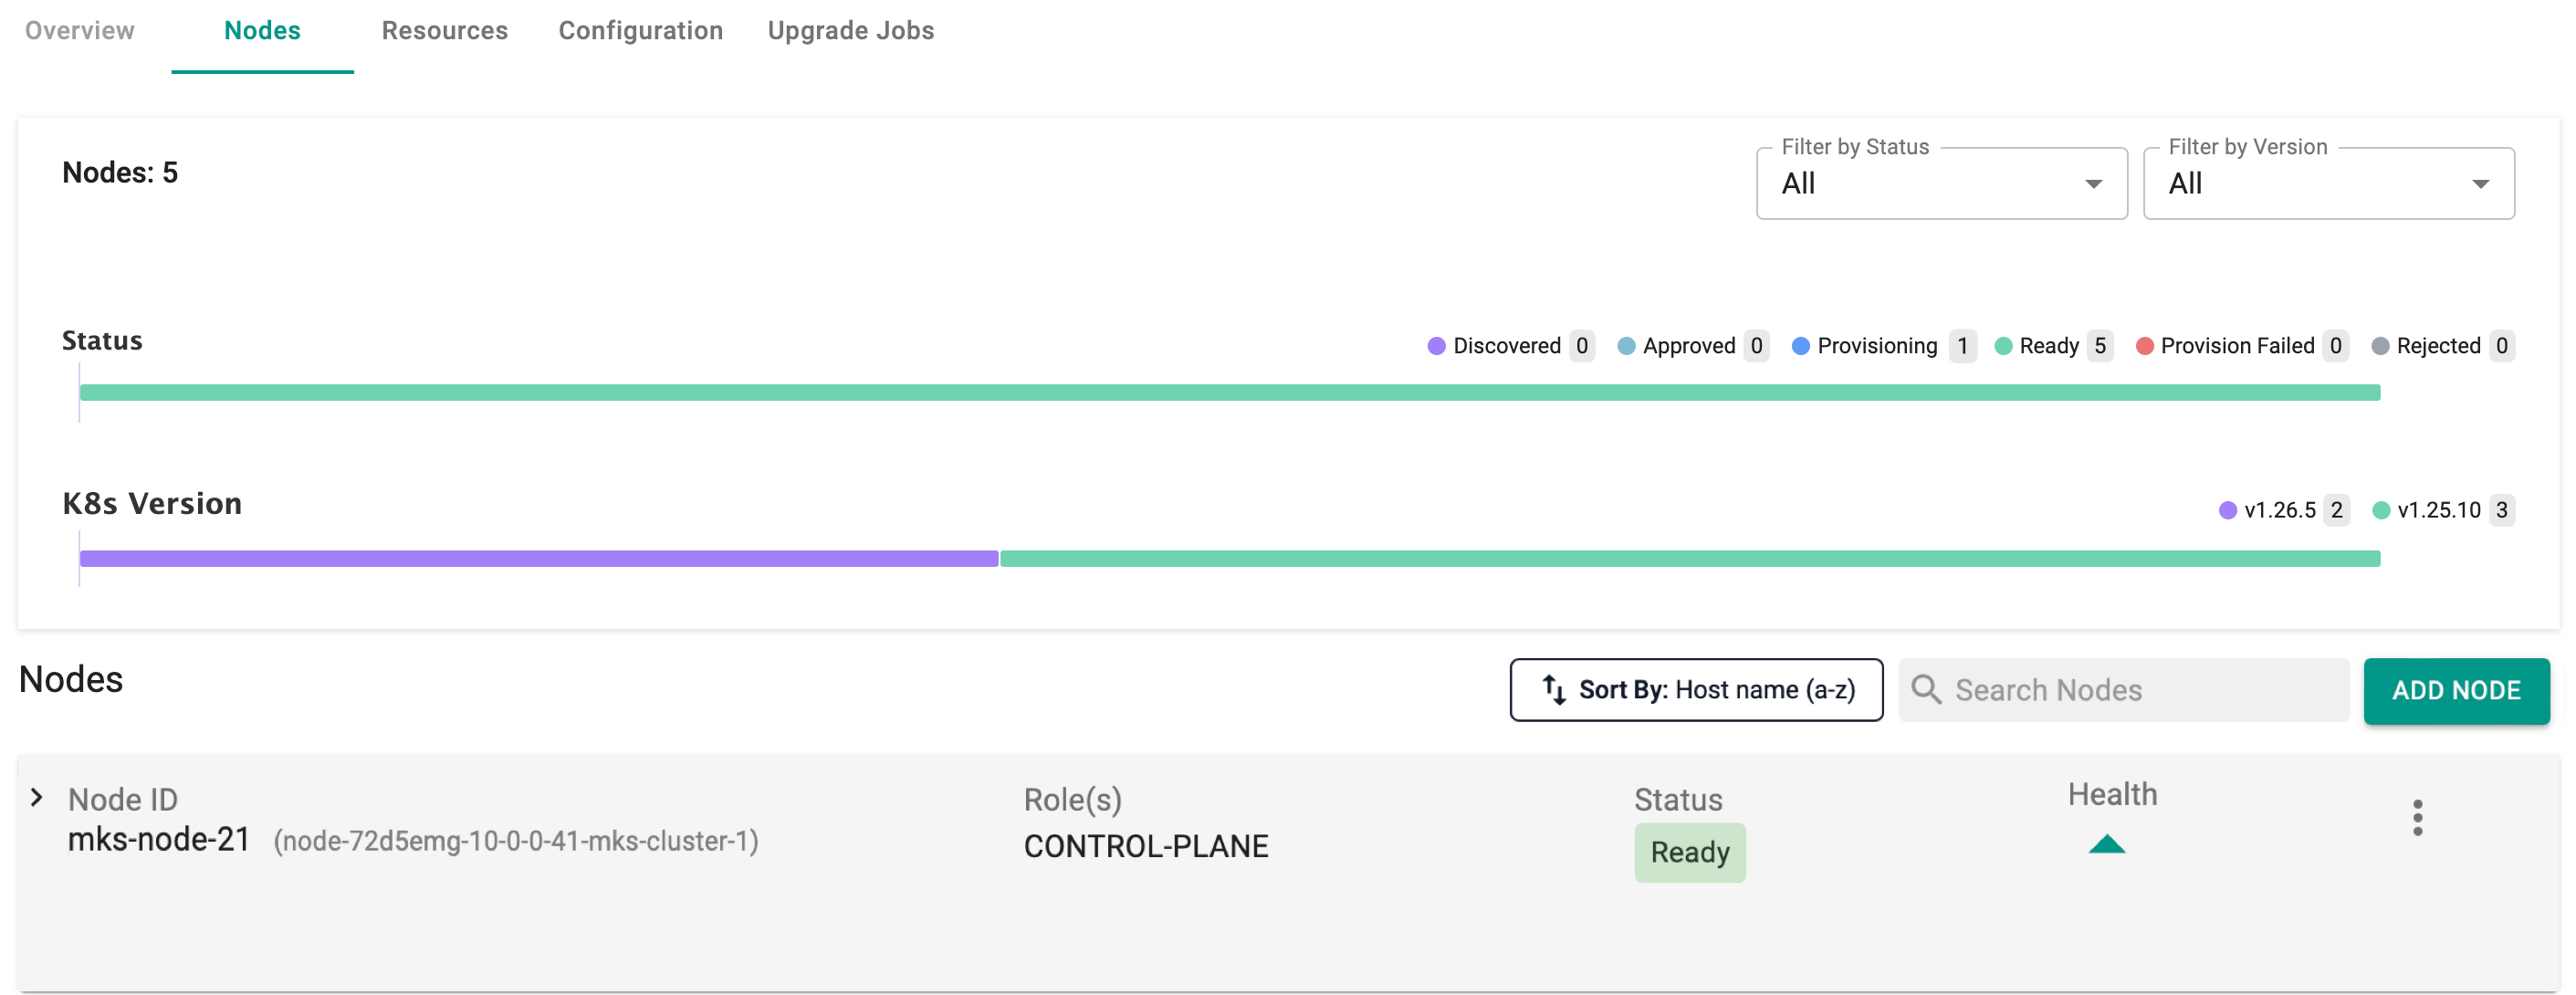

When all nodes have been provisioned, and there are no pending nodes for provisioning, the Provision Approved/Failed Nodes button will not be available on this page.
Important
On Day 2, post-cluster creation, master nodes must be added sequentially, with each node provisioned successfully before proceeding to the next, to prevent any provisioning issues
Cordon/Uncordon/Drain Nodes
Management of node scheduling through the controller UI allows the users to quickly change the status of master nodes:
- Click the ellipsis button of a specific node
- To mark node(s) as unschedulable, select Cordon and Yes
- To mark the node(s) as schedulable again, allowing new pods to be assigned to it, select Uncordon and click Yes
- To drain the node and remove all the running pods, select Drain and click Yes

Refer to this page for instructions on how to cordon, drain, or uncordon via the CLI and this page for instructions on how to cordon, drain, or uncordon via the API.
Debug Logs
The Debug Logs feature allows users to view and download detailed logs for each node within a cluster. These logs help troubleshoot provisioning issues, cluster upgrade failures, and node-level problems.
Note
The Debug Logs feature is supported only via the UI and API interfaces.
Access Debug Logs
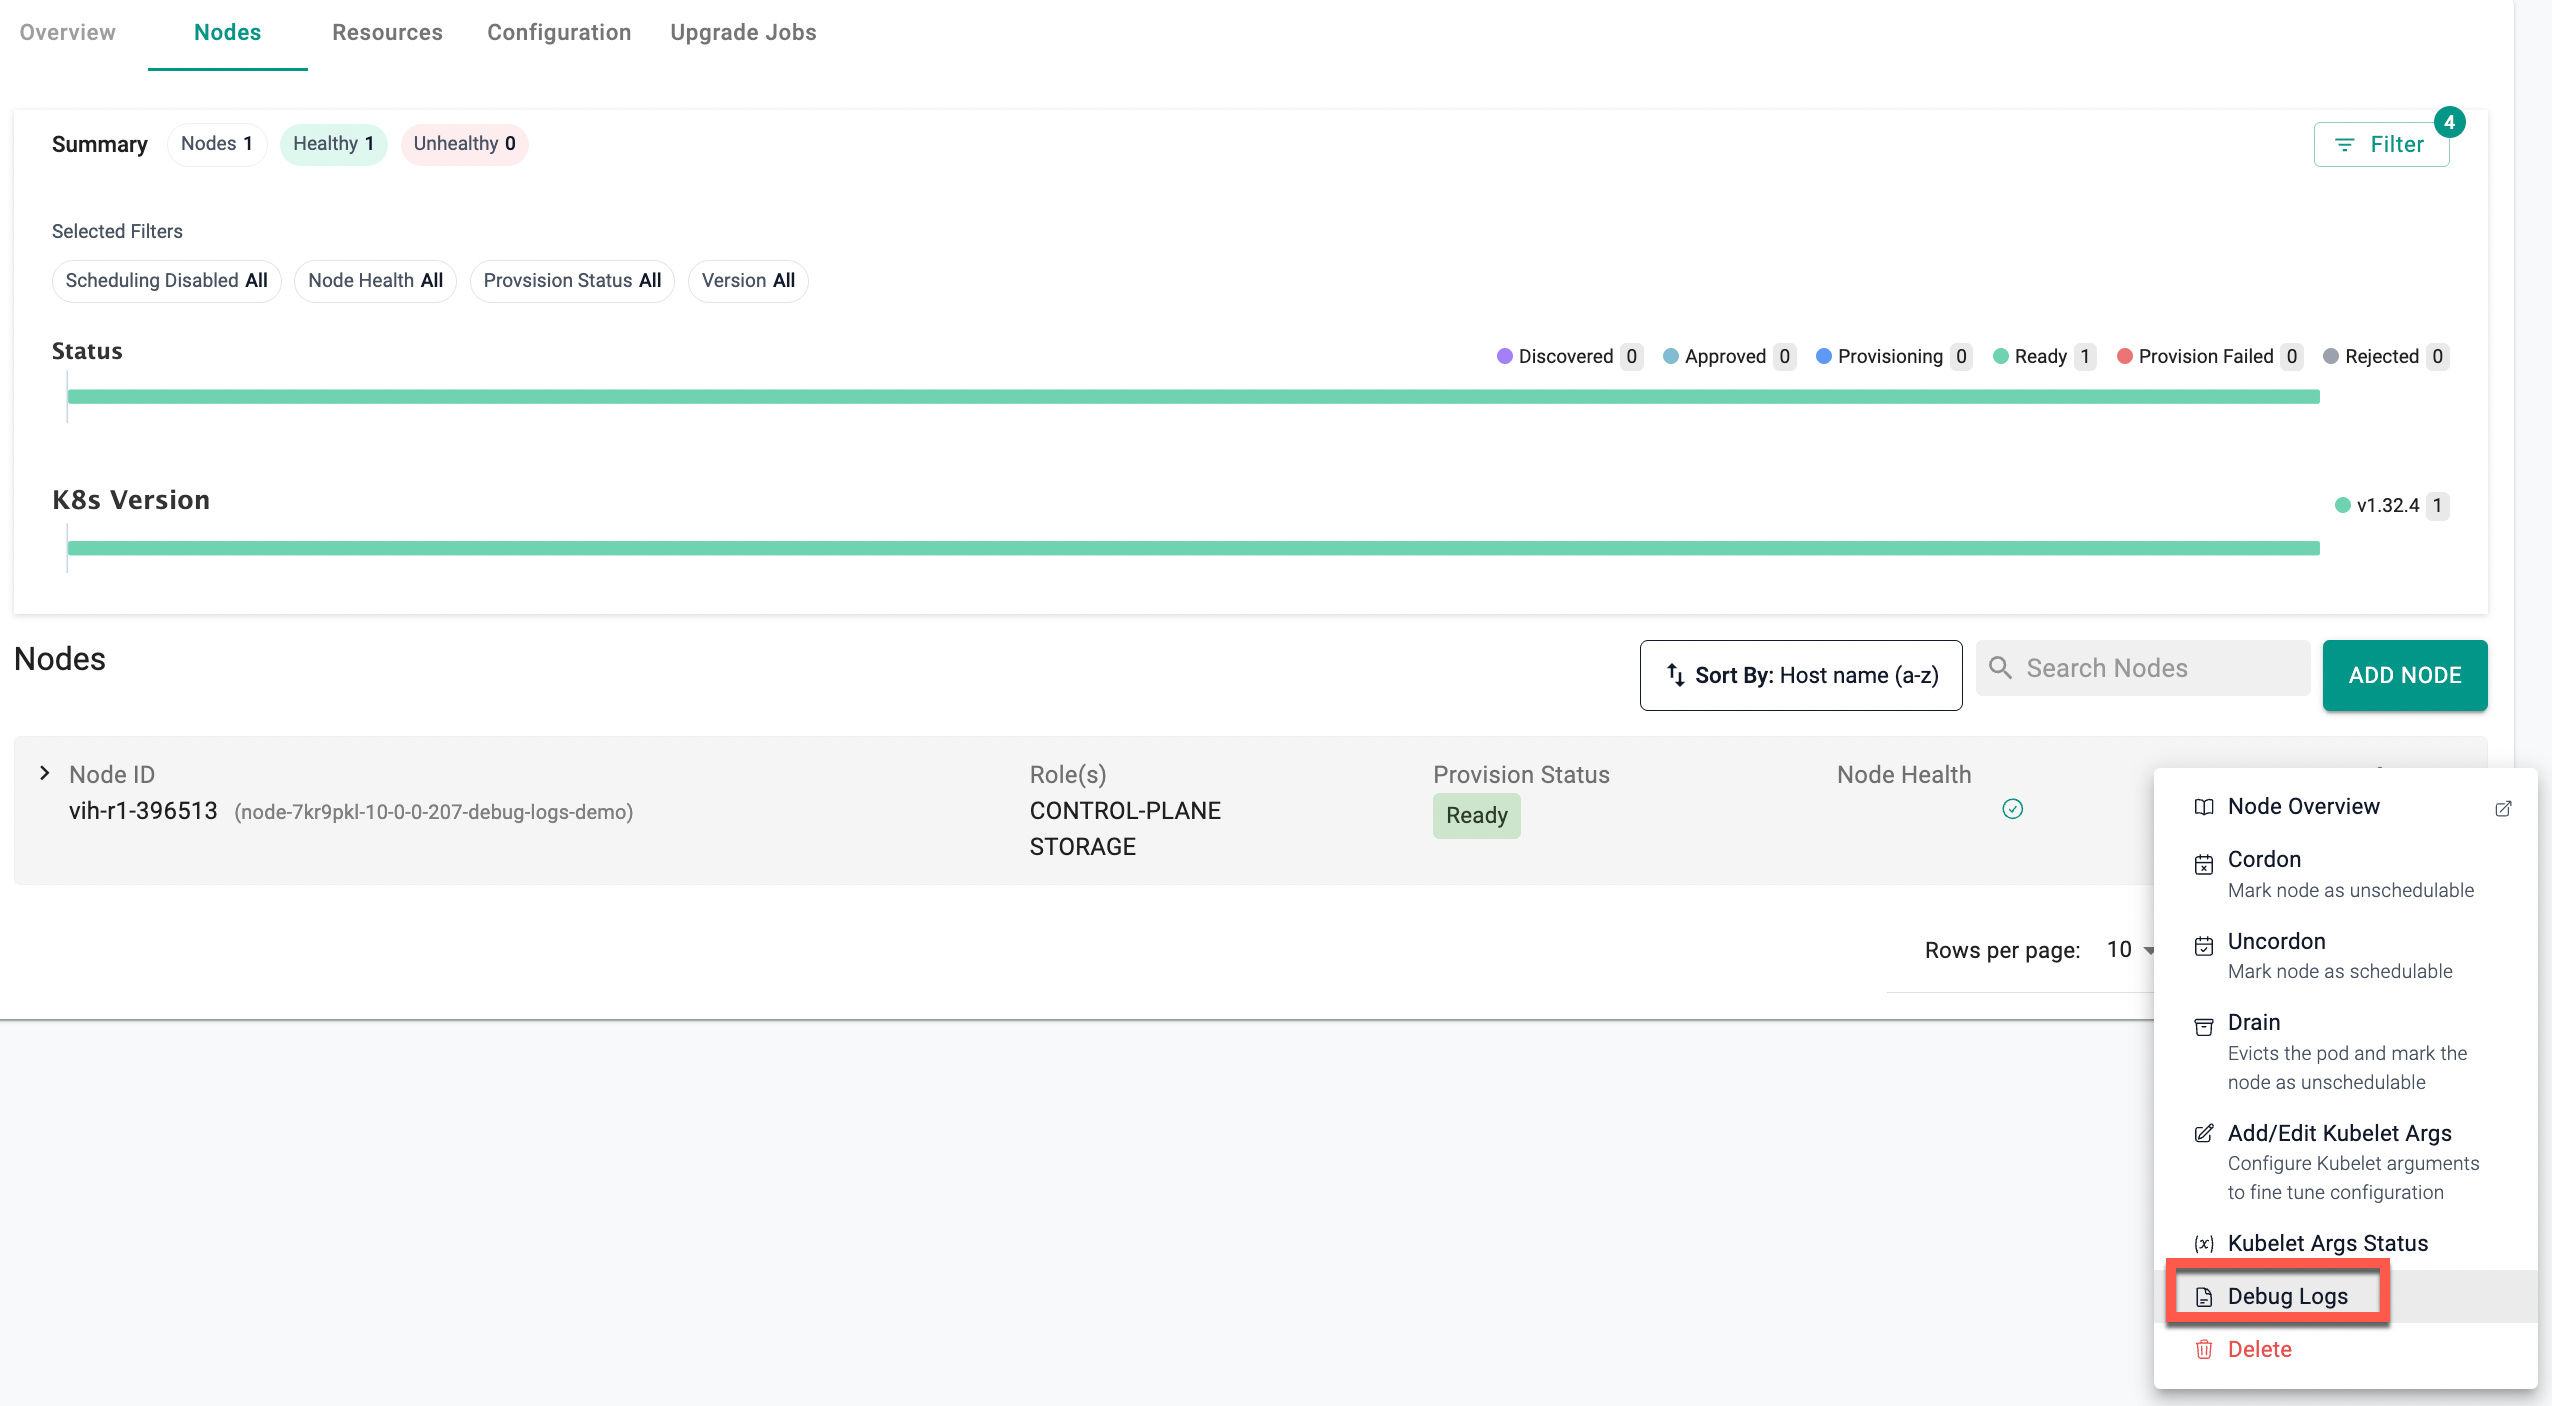
- Navigate to the Nodes tab of your cluster.
- From the node’s Actions menu, select Debug Logs.
Debug Logs Viewer
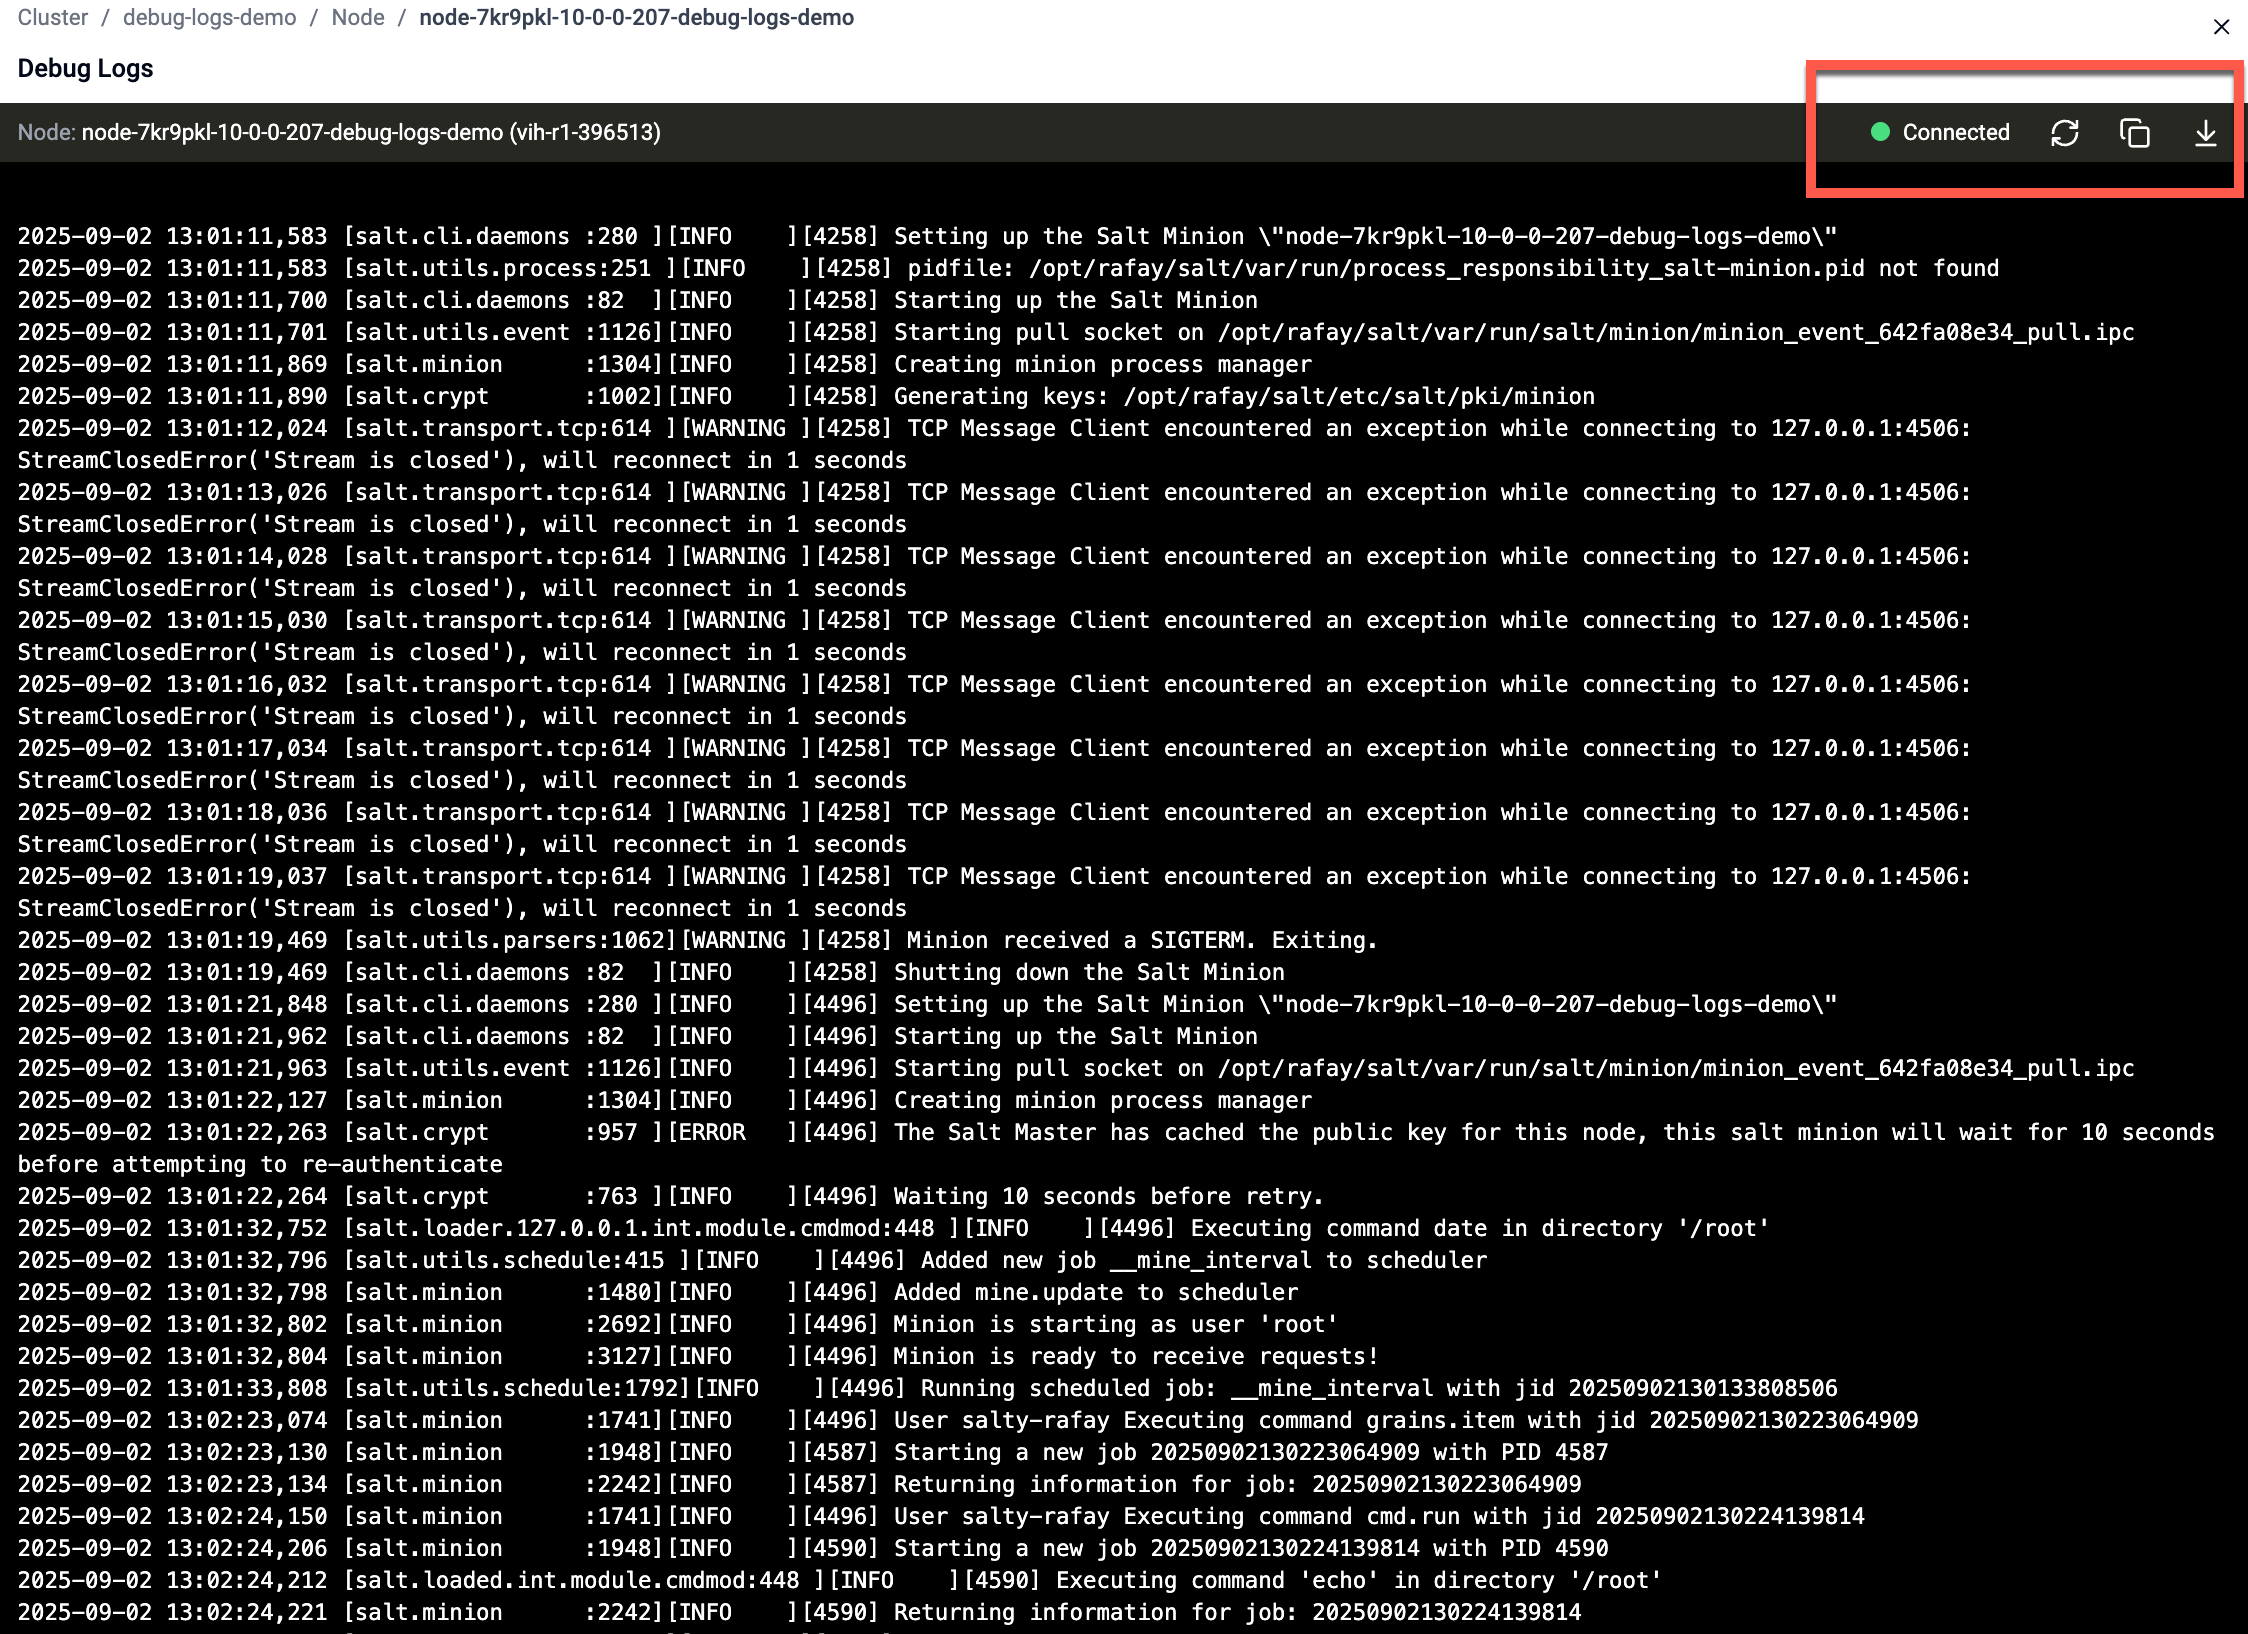
- The Debug Logs viewer opens in a new window
- Logs are displayed in real time with support for:
- Refresh – reload the latest logs
- Copy – copy logs to clipboard
- Download – export logs for offline analysis
- The Connection Status indicator shows whether the node is connected
Error Handling
- If a node is not connected, logs cannot be viewed
- An error message will be displayed with a link to troubleshooting instructions
- Customers can use this link to resolve common issues (e.g., restarting services) without requiring support
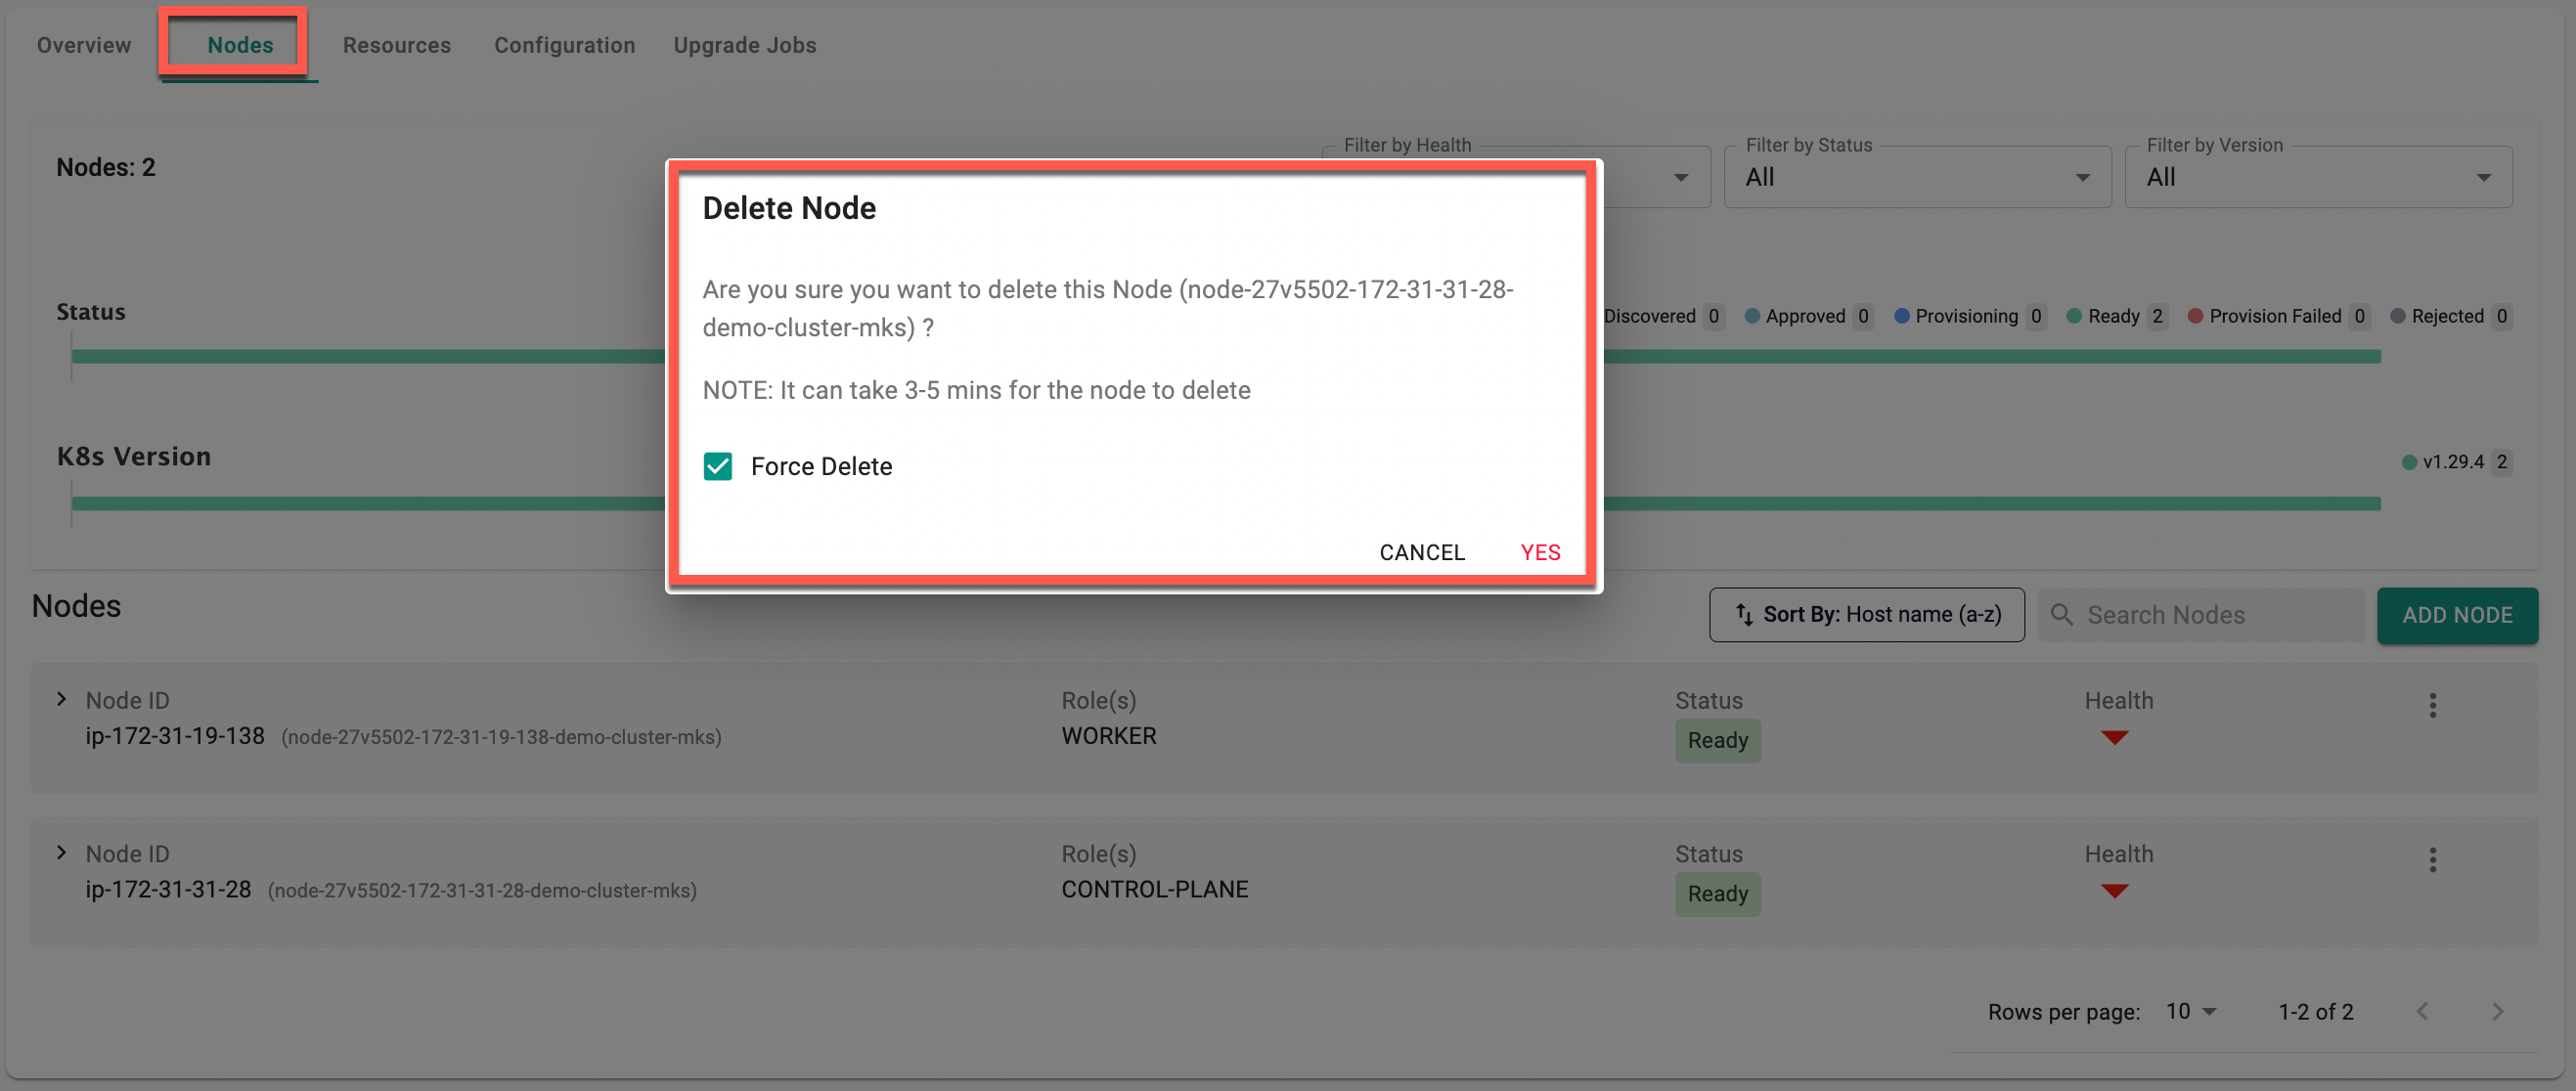
Delete Master Nodes
- Select the cluster and click on Nodes tab
- Click the ellipsis button next to the node you want to delete
- Click Delete and Yes to confirm the deletion
Force Delete
- Enabling the Force Delete option immediately deletes an MKS node, overriding any ongoing operations or errors that might otherwise block the deletion process.
- Once the process is kicked off, the controller will drain the node by rescheduling pods on other nodes and then remove the master node from the cluster
- When the node deletion is done, the master node will be removed from the cluster
Important
For manually provisioned clusters, it is the customer's responsibility to deprovision the VM or Instance after deleting the master node from the cluster.