Part 3: Blueprint
What Will You Do
In this part of the self-paced exercise, you will create a custom cluster blueprint with the EFS CSI Driver based on declarative specifications.
Step 1: EFS CSI Driver Repository
The EFS CSI driver is distributed from a Helm repository. In this step, you will create a repository in your project so that the controller can retrieve the Helm chart automatically.
- Open Terminal (on macOS/Linux) or Command Prompt (Windows) and navigate to the folder where you forked the Git repository
- Navigate to the folder "
/getstarted/efseks/addon"
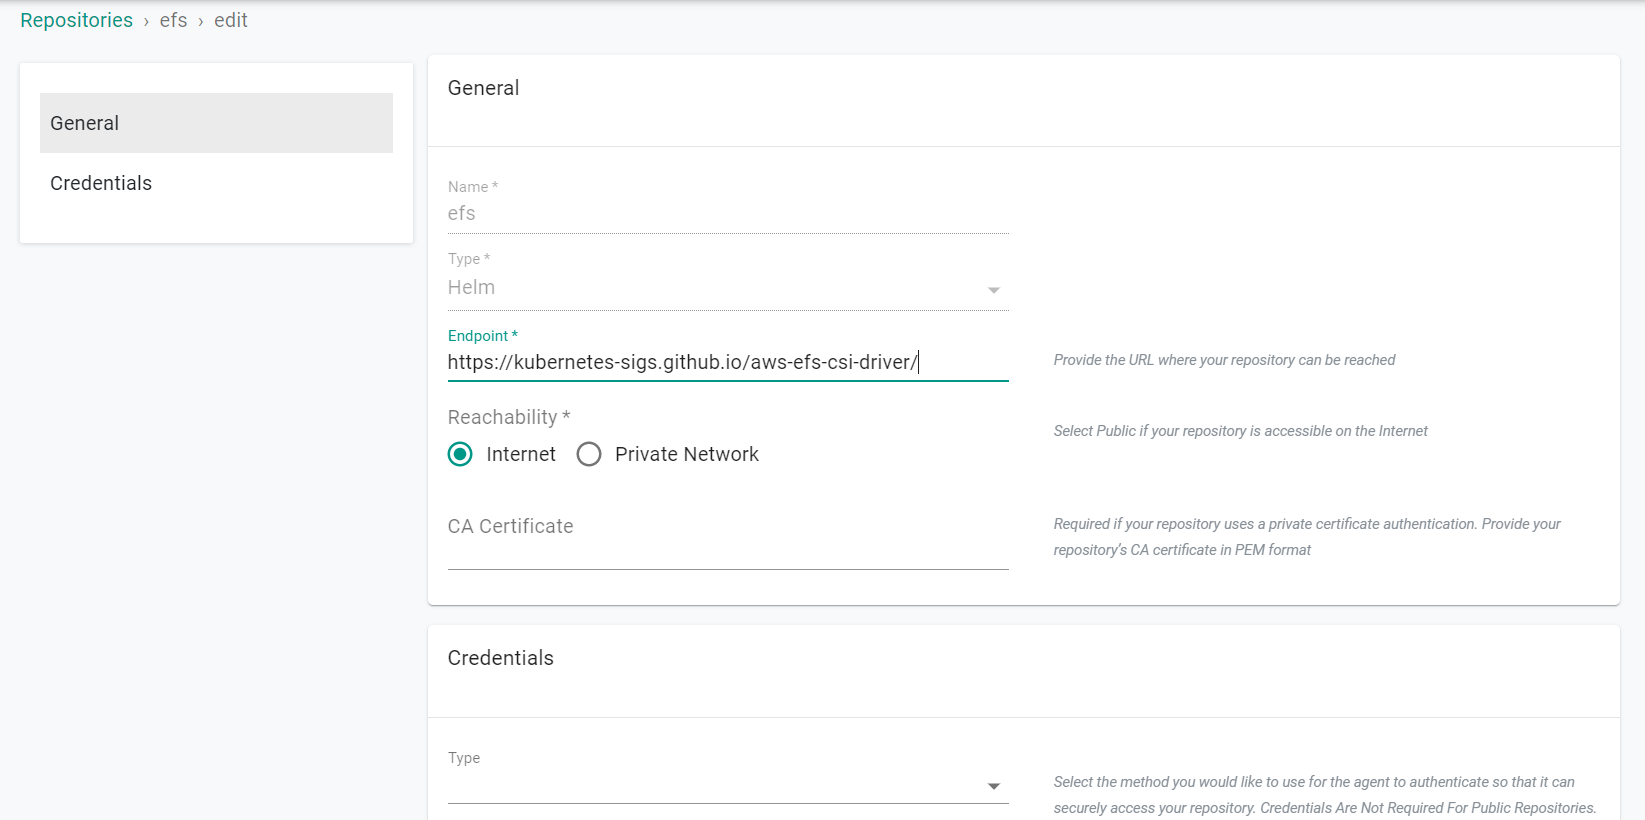
The "repository.yaml" file contains the declarative specification for the repository. In this case, the specification is of type "Helm Repository" and the "endpoint" is pointing to the Helm repository.
apiVersion: config.rafay.dev/v2
kind: Repository
metadata:
  name: efs
spec:
  repositoryType: HelmRepository
  endpoint:  https://kubernetes-sigs.github.io/aws-efs-csi-driver/
  credentialType: CredentialTypeNotSet
Type the command below
rctl create repository -f repository.yaml
If you did not encounter any errors, you can optionally verify if everything was created correctly on the controller.
- Navigate to your Org and Project
- Select Integrations -> Repositories and click on "efs"
Step 2: Create Namespace
In this step, you will create a namespace for the EFS CSI Driver. The "namespace.yaml" file contains the declarative specification
The following items may need to be updated/customized if you made changes to these or used alternate names.
- value: eks-efs-cluster
kind: ManagedNamespace
apiVersion: config.rafay.dev/v2
metadata:
  name: kube-system
  labels:
  annotations:
spec:
  type: RafayWizard
  resourceQuota:
  placement:
    placementType: ClusterSpecific
    clusterLabels:
    - key: rafay.dev/clusterName
      value: eks-efs-cluster
- Open Terminal (on macOS/Linux) or Command Prompt (Windows) and navigate to the folder where you forked the Git repository
- Navigate to the folder "
/getstarted/efseks/addon" - Type the command below
rctl create namespace -f namespace.yaml
If you did not encounter any errors, you can optionally verify if everything was created correctly on the controller.
- Navigate to the "defaultproject" project in your Org
- Select Infrastructure -> Namespaces
- You should see a namespace called "kube-system"

Step 3: Create Addon
In this step, you will create a custom addon for the EFS CSI Driver. The "addon.yaml" file contains the declarative specification
- "v1" because this is our first version
- Name of addon is "efs-csi-driver"
- The addon will be deployed to the "kube-system" namespace
- You will be using "v2.4.4" of the Helm chart
- You will be using a custom "values.yaml as an override
kind: AddonVersion
metadata:
  name: v1
  project: defaultproject
spec:
  addon: efs-csi-driver
  namespace: kube-system
  template:
    type: Helm3
    valuesFile: values.yaml
    repository_ref: efs
    repo_artifact_meta:
      helm:
       tag: v2.4.4
       chartName: aws-efs-csi-driver
Type the command below
rctl create addon version -f addon.yaml
If you did not encounter any errors, you can optionally verify if everything was created correctly on the controller.
- Navigate to your Org and "Default" Project
- Select Infrastructure -> Addons
- You should see an addon called "efs-csi-driver"

Step 4: Create Blueprint
In this step, you will create a custom cluster blueprint with the EFS CSI Driver as an addon. The "blueprint.yaml" file contains the declarative specification.
- Open Terminal (on macOS/Linux) or Command Prompt (Windows) and navigate to the folder where you forked the Git repository
- Navigate to the folder "
/getstarted/efseks/blueprint"
kind: Blueprint
metadata:
  # blueprint name
  name: efs-blueprint
  #project name
  project: defaultproject
- Type the command below
rctl create blueprint -f blueprint.yaml
If you did not encounter any errors, you can optionally verify if everything was created correctly on the controller.
- Navigate to your Org -> defaultproject
- Select Infrastructure -> Blueprint
- You should see an blueprint called efs-blueprint

New Version
Although we have a custom blueprint, we have not provided any details on what it comprises. In this step, you will create and add a new version to the custom blueprint. The YAML below is a declarative spec for the new version.
kind: BlueprintVersion
metadata:
  name: v1
  project: defaultproject
  description: efs csi driver
spec:
  blueprint: efs-blueprint
  baseSystemBlueprint: default
  baseSystemBlueprintVersion: ""
  addons:
    - name: efs-csi-driver
      version: v1
  # cluster-scoped or namespace-scoped
  pspScope: cluster-scoped
  rafayIngress: false
  rafayMonitoringAndAlerting: true
  # BlockAndNotify or DetectAndNotify
  driftAction: BlockAndNotify
- Type the command below to add a new version
rctl create blueprint version -f blueprint-v1.yaml
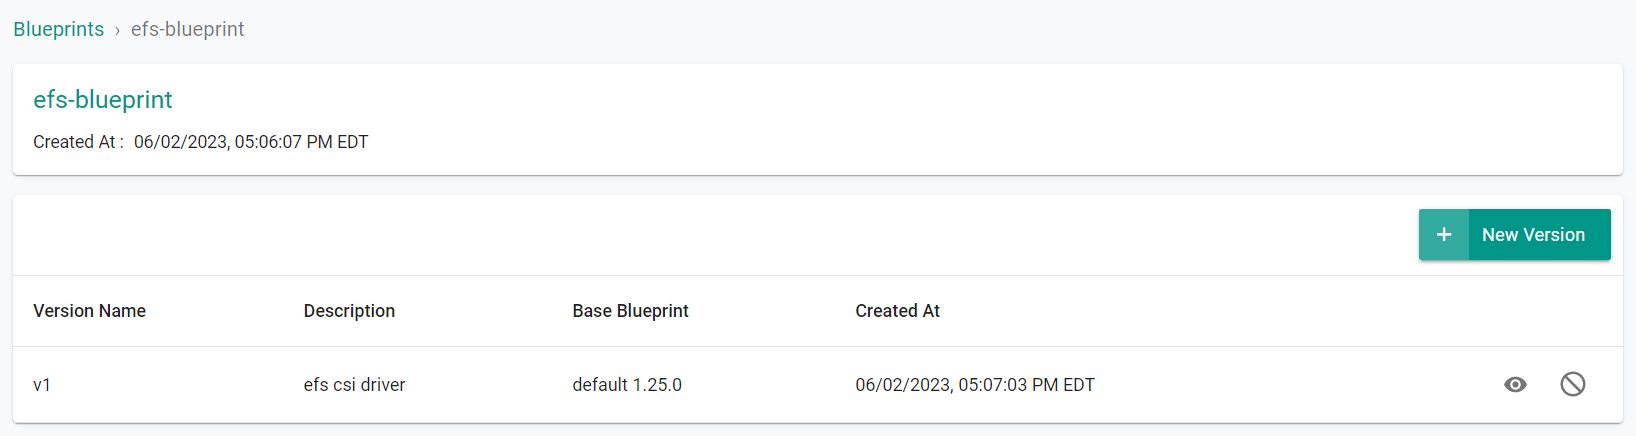
If you did not encounter any errors, you can optionally verify if everything was created correctly on the controller.
- Select Infrastructure -> Blueprint
- Click on the efs-blueprint custom cluster blueprint
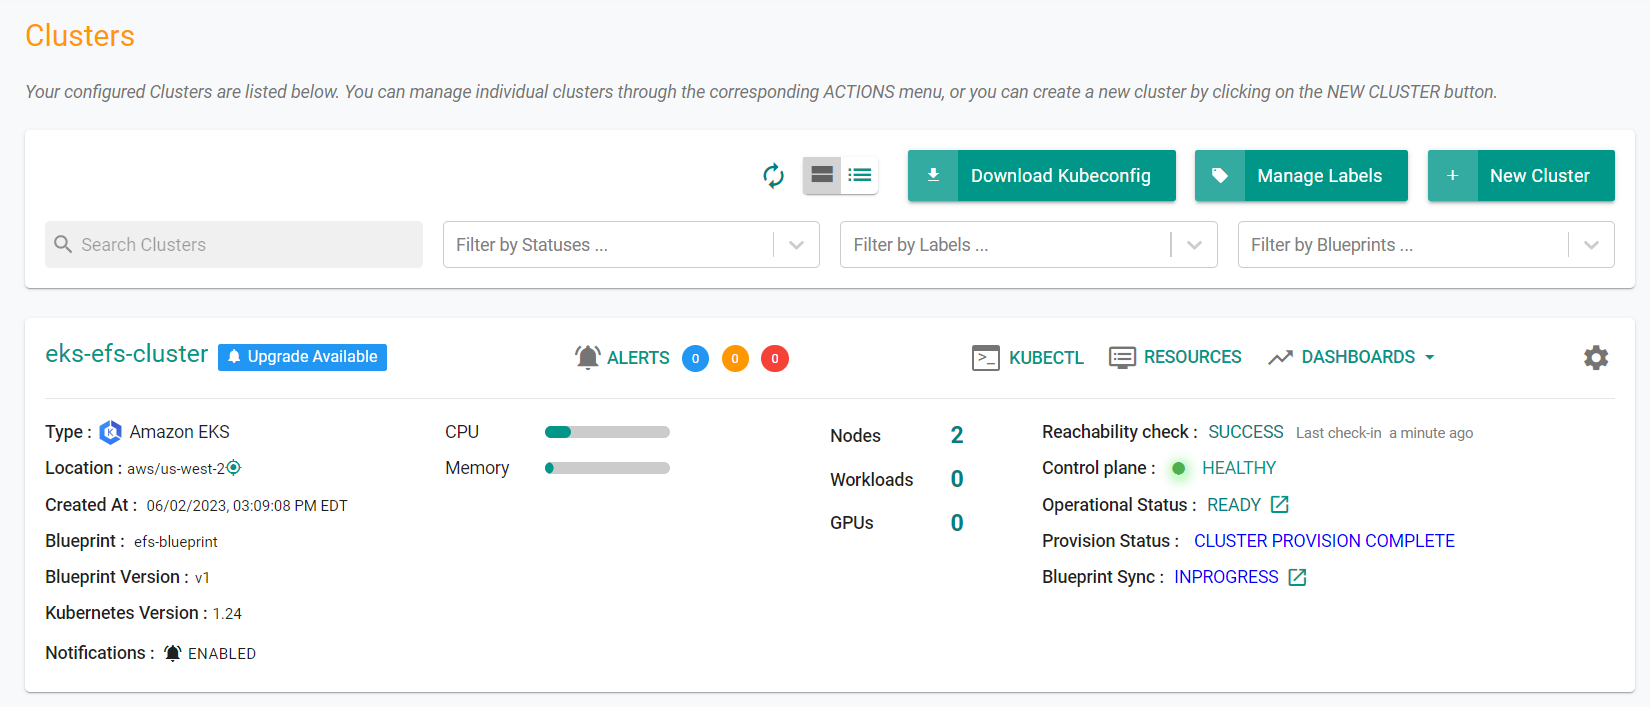
Step 5: Apply Blueprint
In this step, you will apply the custom blueprint with the EFS Driver to the cluster.
Type the command below
rctl update cluster eks-efs-cluster --blueprint efs-blueprint --blueprint-version v1
Step 4: Verify EFS CSI Driver
Now, let us verify whether the EFS CSI Driver's resources are operational on the EKS cluster
- Click on the kubectl link and type the following command
kubectl get po -n kube-system
You should see something like the following showing the efs-csi* pods in a running state.
NAME                                  READY   STATUS    RESTARTS   AGE
aws-node-pj564                        1/1     Running   0          104m
aws-node-ptrt4                        1/1     Running   0          104m
coredns-79d687cd9b-46gjw              1/1     Running   0          102m
coredns-79d687cd9b-twpb2              1/1     Running   0          102m
ebs-csi-controller-7f9bb6788b-9kkkx   6/6     Running   0          87m
ebs-csi-controller-7f9bb6788b-d7ksq   6/6     Running   0          87m
ebs-csi-node-cvwxm                    3/3     Running   0          87m
ebs-csi-node-jtpqb                    3/3     Running   0          87m
efs-csi-controller-864d8b88f6-44brq   3/3     Running   0          61s
efs-csi-controller-864d8b88f6-jdq4w   3/3     Running   0          61s
efs-csi-node-9tttz                    3/3     Running   0          61s
efs-csi-node-ngd4k                    3/3     Running   0          61s
kube-proxy-vn94q                      1/1     Running   0          104m
kube-proxy-zkdx4                      1/1     Running   0          104m
Recap
As of this step, you have created a "cluster blueprint" with the EFS CSI Driver as one of the addons and applied the blueprint to the cluster.
Note that you can also reuse this cluster blueprint for as many clusters as you require in this project and also share the blueprint with other projects.